

Installation
How to unbox, mount, and power up your SenseAi device in minutes.
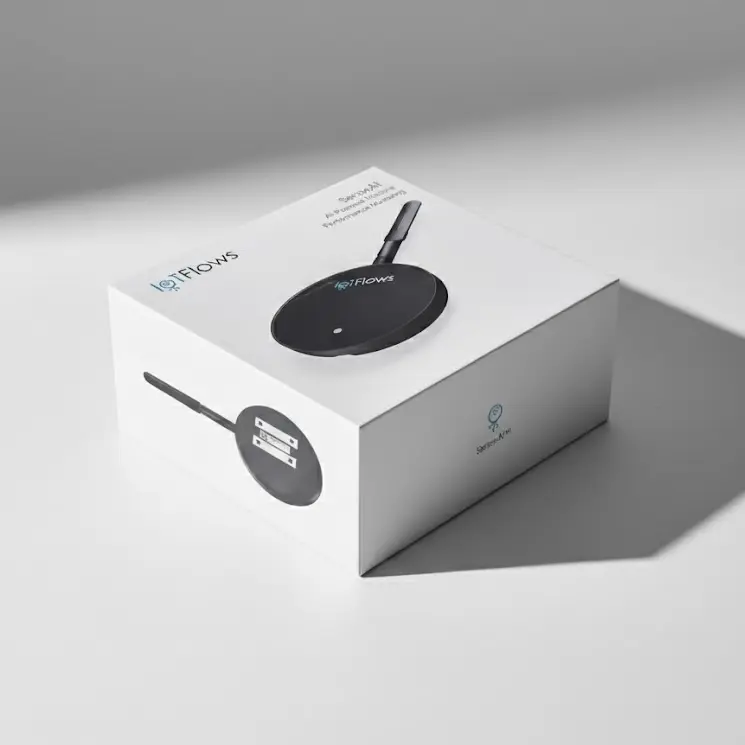
Unboxing
When your SenseAi arrives, it's fully pre-configured and ready to deploy.
Included in the box:
- 1× SenseAi device
- 1× External antenna
- 1× USB cable
- 1× Power adapter
Physical Installation
Step 1: Connect the Antenna
Unbox the SenseAi unit and connect the external antenna to the device.
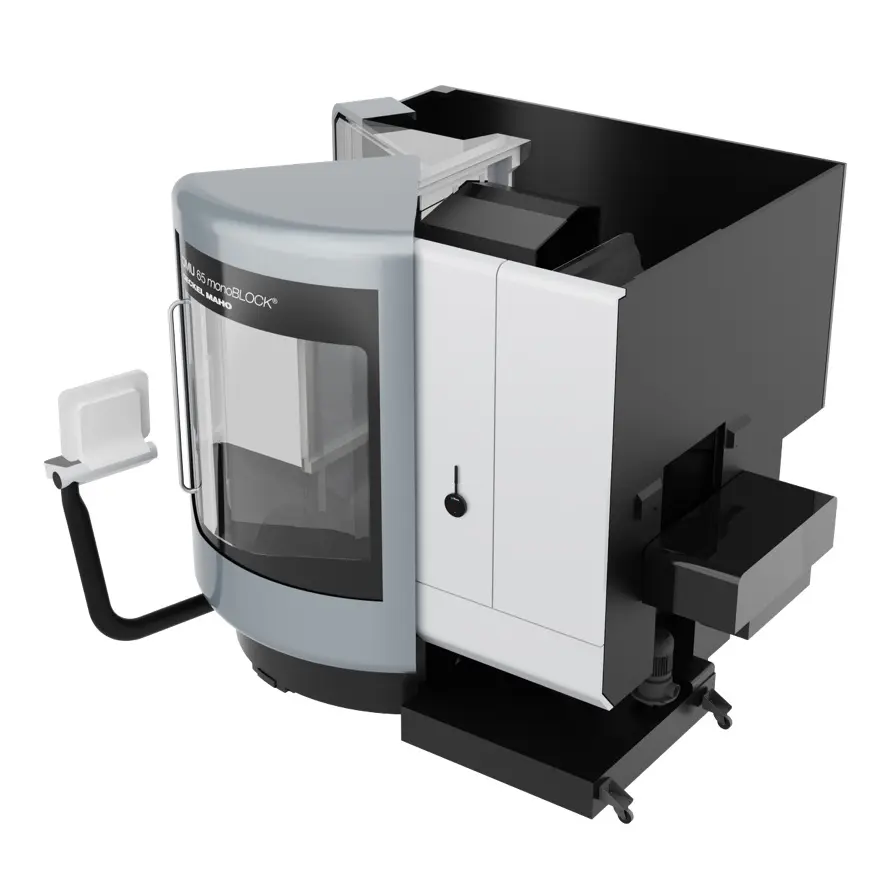
Step 2: Choose a Mounting Location
Select a mounting spot that:
- Detects vibration from the machine's operation
- Does not interfere with machine operation or operator safety
- Is as close as possible to the spindle or primary vibration source
- Has a clear, stable magnetic surface
Best Practice: Mount near the spindle or main motor for optimal vibration detection. Avoid mounting on covers or panels that may vibrate independently from the machine's core operation.
Step 3: Attach the Sensor
Attach the sensor magnetically to your machine at the chosen location. The strong magnetic base ensures a secure connection.
Powering Up
Connect Power
You have two power options:
Option A: Power Adapter (Recommended)
- Connect the USB cable to the SenseAi device
- Connect the other end to the provided power adapter
- Plug the adapter into a standard outlet
Option B: Machine USB Port
- Connect the USB cable to the SenseAi device
- Connect the other end to a USB port on your machine
If using a machine USB Port, ensure it supplies at least 500 mA of current.
First Boot
After powering on:
- The Power LED will turn on
- One of two things will happen:
- If you ordered a 4G/LTE router: Device automatically connects
- If connecting to WiFi: LED begins blinking blue (WiFi setup mode)
Next Steps
✅ Device is now powered on!
Continue to Network Setup to connect your device to the internet.