

Trigger maintenance from meter readings
Count runtime or parts toward a trigger point, and act automatically when the machine gets there.
Before you start. You need a machine that is already reporting, from Add a machine. You need to be an Owner or an Administrator, from Roles and permissions.
1. What a meter counts
A meter is a running total on one machine that never goes down on its own. IoTFlows adds to it from the machine's own stream, so nobody types a reading in.
A trigger point is the number the total is counting toward. Reaching it is what makes the meter act.
Open a machine from the Assets page and select the Meters tab, at /<organization>/assets/selected-asset/<asset>. The tab is headed Usage Meters and shows one card per meter. See Inspect a single machine for the other tabs.
Each card carries three numbers and a chart:
- Time to Service is how long the meter has left at the rate it has been running since its last reset. It reads
N/Auntil there are two readings in the current cycle, andExceededonce the total is past the trigger point. - Current is the latest total. It turns amber at 75% of the trigger point and red at 100%.
- Trigger Point is the number you set.
The chart draws the total as a solid area and the forecast as a dashed one, against a red dashed line at the trigger point. The range buttons above it are 1M, 3M, 6M, 1Y and All, and open on All. Each reset starts a fresh segment, so the line drops back to zero at every reset rather than climbing forever.
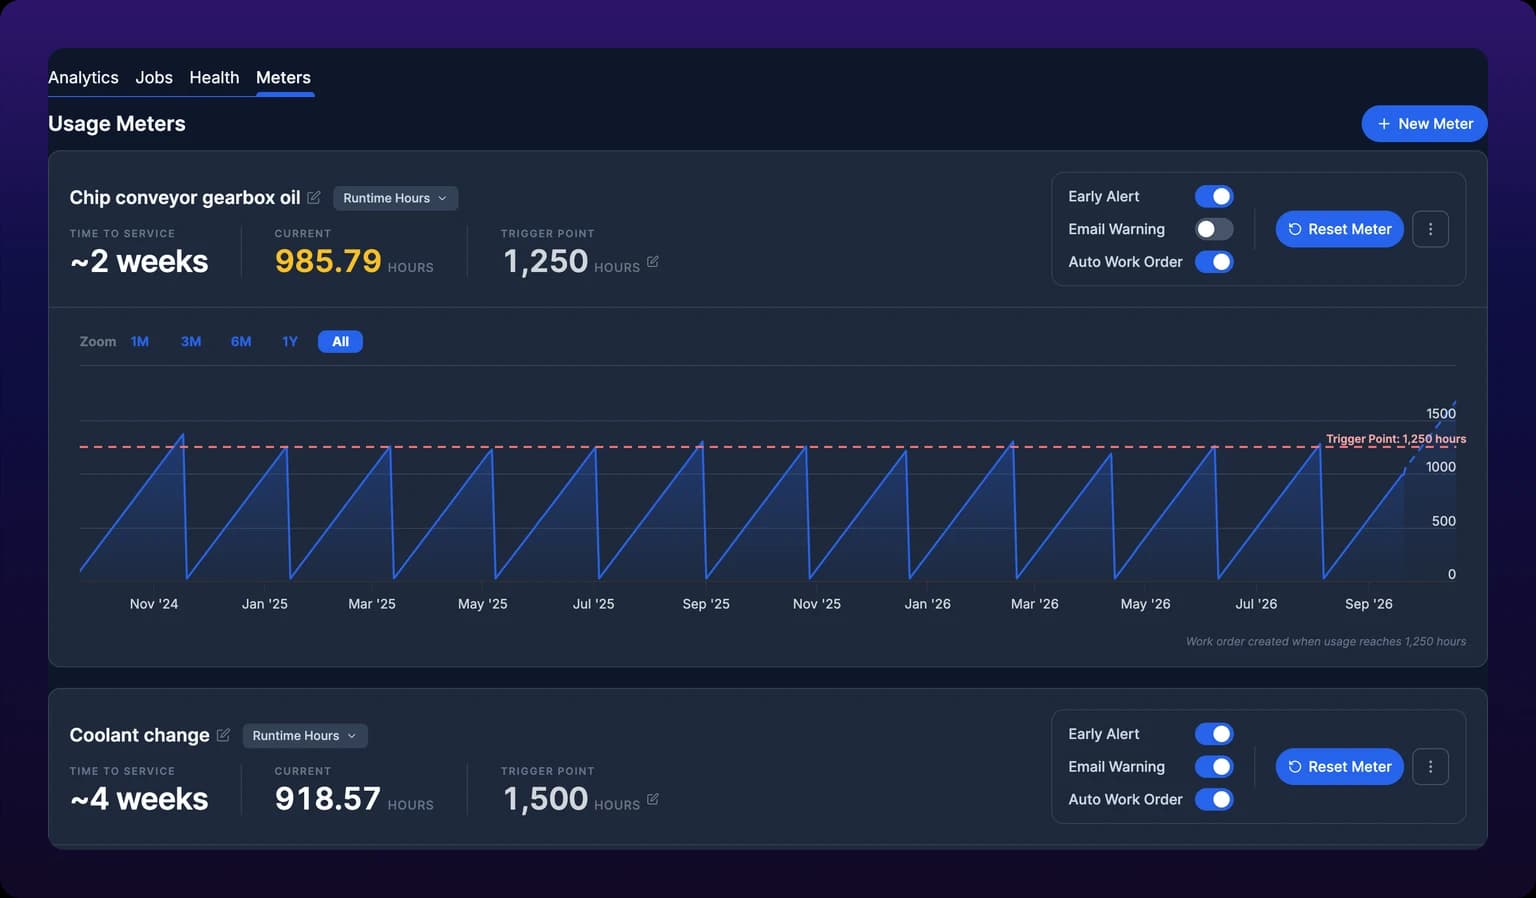
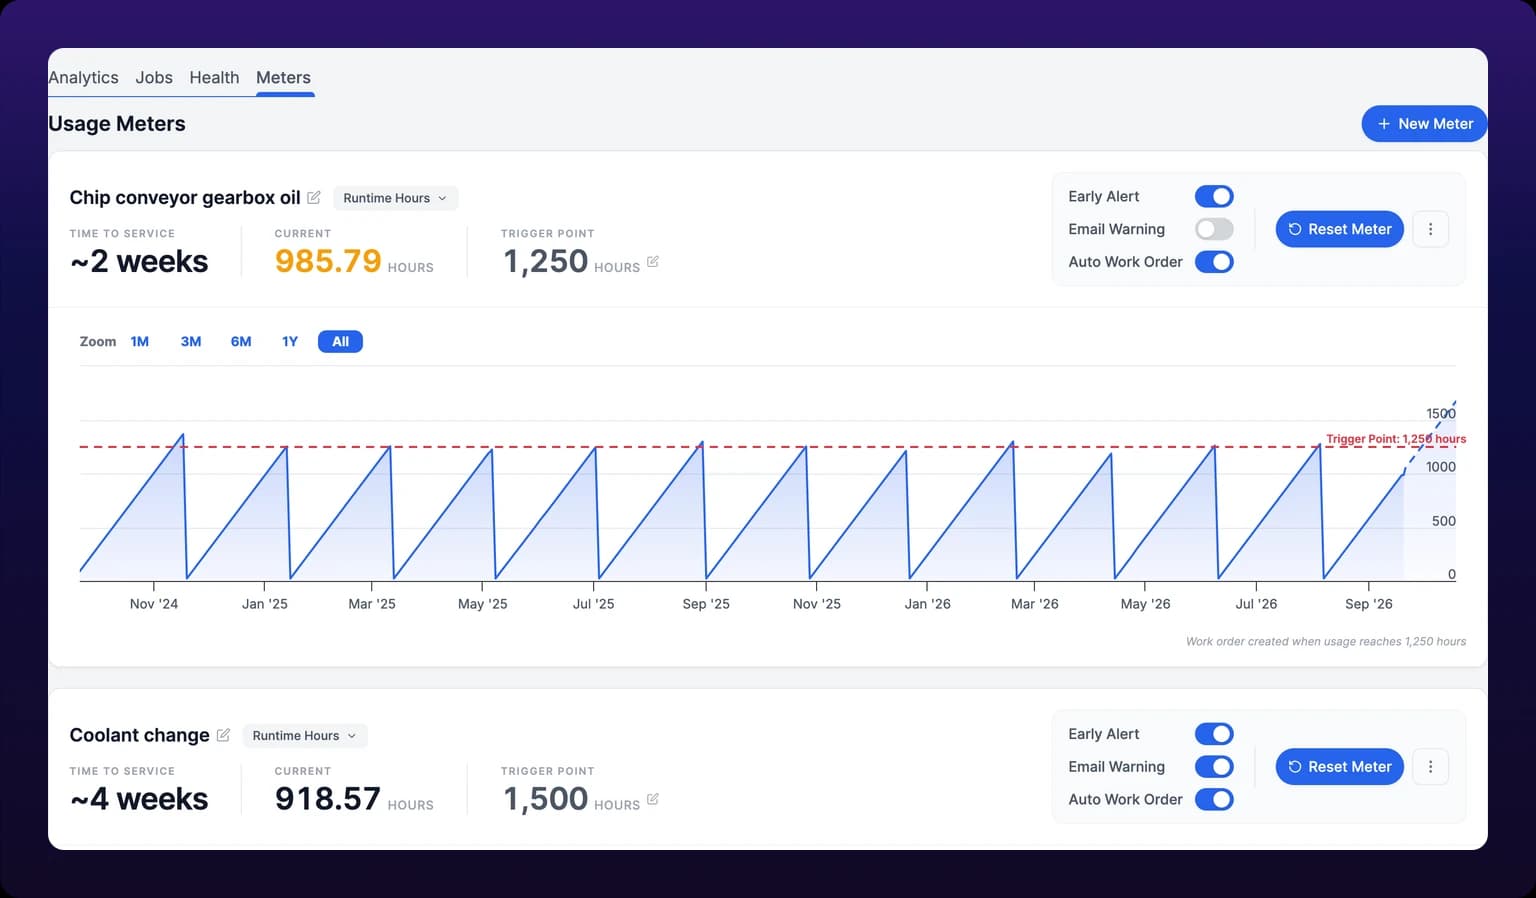 Meters on a machine. Each counts toward a trigger point.
A meter or a recurrence rule?
Choose a meter when the machine's usage varies week to week. Calendar PMs on a machine that ran two shifts last week and none this week are either early or late, never right.
Choose a recurrence rule when the job is owed by the calendar whatever the machine did, like an annual inspection. See Schedule preventive maintenance.
2. Create a meter
- On the Meters tab, select New Meter. The Create Meter modal opens.
- Enter a Name, for example
Spindle bearing grease. - Pick a Meter Type. The list is served by the platform; the runtime type counts in
hoursand the production type counts incount. Leave it on None and the meter counts with no unit. - Enter a Trigger Point. It starts at
1000. - Turn on the behaviors you want. All three are off by default, and all three are covered in The three alert behaviors.
- Select Create Meter. A toast reads Meter created and the card appears on the tab.
Create Meter stays disabled until the name has a character in it. Nothing else is required. ⌘+Enter, or Ctrl+Enter on Windows, submits the form; Escape closes it and discards what you typed.
A failed create raises the server's own message, or Failed to create meter when it has none.
Meter fields
| Field | Required | Unit | Effect |
|---|---|---|---|
| Name | Yes | — | Names the card and the emails the meter sends. Editable later. |
| Meter Type | No | Sets the unit | The runtime type reads hours, the production type reads count, None reads nothing. The unit is a label on the numbers, not a conversion. |
| Trigger Point | No, defaults to 1000 | The type's unit | The number the total counts toward. Drawn as the red dashed line on the chart. |
| Early Warning Alert | No | — | Emails the maintenance team at 85% of the trigger point. |
| Email Warning | No | — | Emails the maintenance team when the trigger point is reached. |
| Auto Work Order Creation | No | — | Creates a maintenance work order at 100%. |
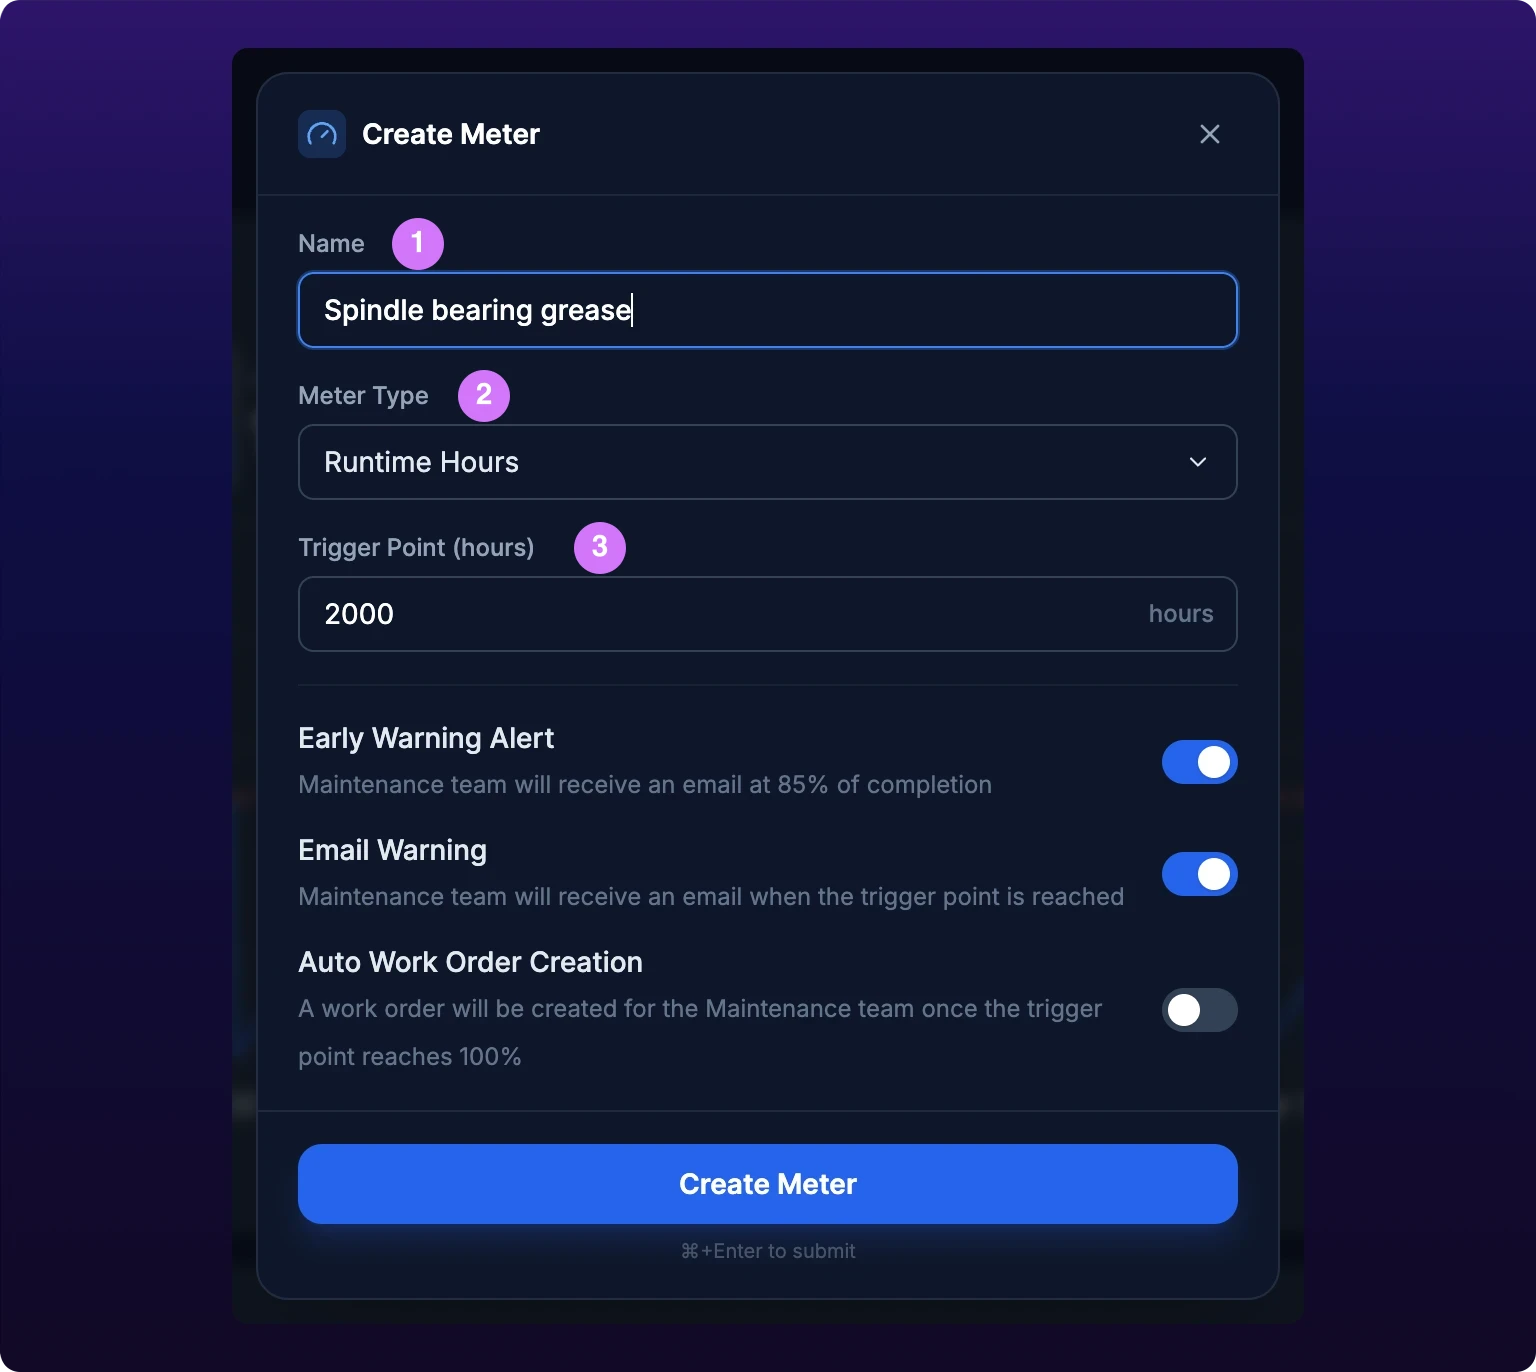
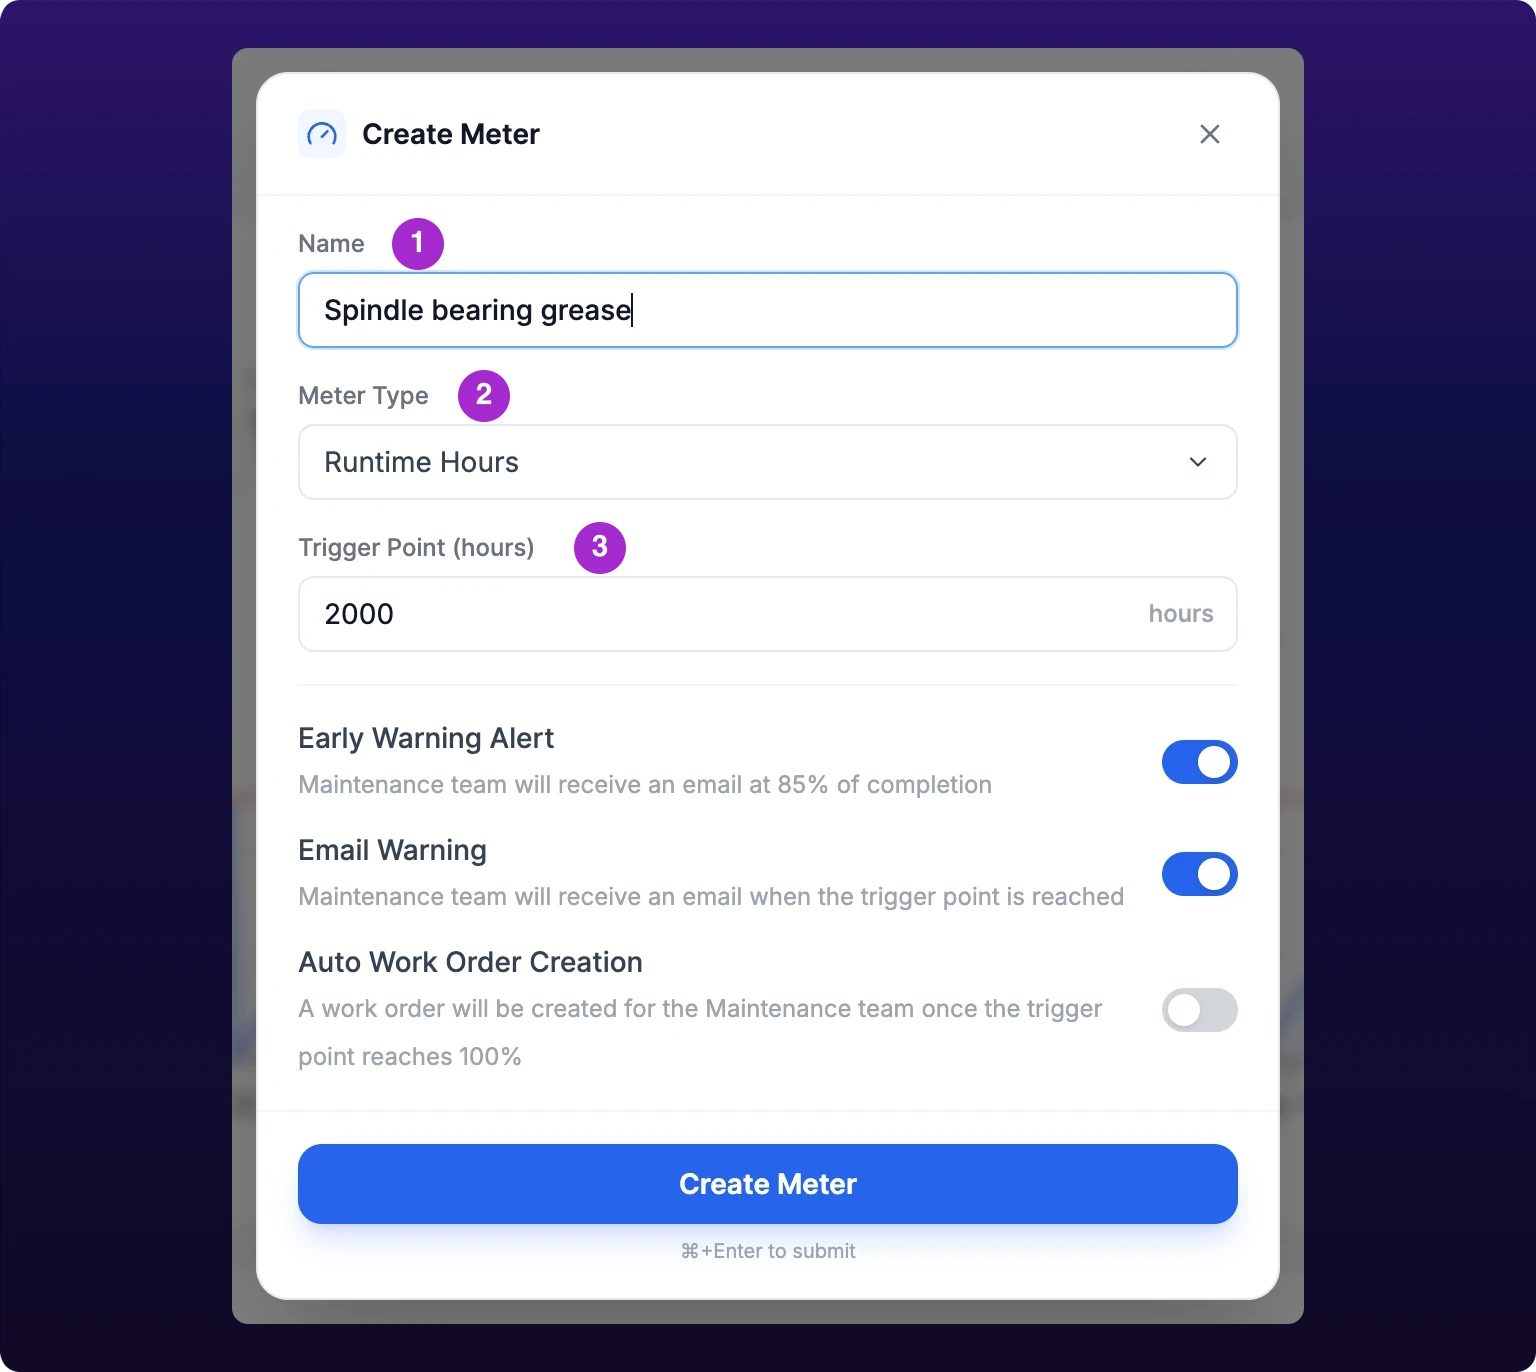 Creating a meter and setting its trigger point.
3. Set the trigger point
Set it to the interval the work is actually owed on, in the meter's own unit: 500 running hours between grease intervals, 20,000 parts between die changes.
To change it later, select the Trigger Point number on the card and type over it. Enter saves, Escape cancels, and clicking away saves. A value of zero or less, or anything that is not a number, is discarded with no message, so check the number went in.
Changing the trigger point moves the red line and recomputes Time to Service straight away. It does not rewrite history: the totals already recorded stay where they are, and a meter that was under its old trigger point can be over the new one the moment you save.
4. The three alert behaviors
Each behavior is its own toggle on the card, and they are independent. A meter with all three off still counts; it never tells anyone.
| Behavior | Fires at | Channel | Creates work order |
|---|---|---|---|
| Early Alert | 85% of the trigger point | Email to the maintenance team | No |
| Email Warning | The trigger point, 100% | Email to the maintenance team | No |
| Auto Work Order | 100% | A work order for the maintenance team | Yes |
The toggles are labeled Early Warning Alert, Email Warning and Auto Work Order Creation in the create modal, and Early Alert, Email Warning and Auto Work Order on the card. They are the same three settings.
A toggle writes the moment you flip it, and a thin progress bar runs across the top of the card while it saves. A failed write puts the toggle back where it was and raises Failed to update meter.
Turn on the 85% early warning when the work needs a part ordered, and the 100% auto work order when it does not. An auto work order that arrives the day the part runs out is a work order that sits On Hold.
You do not need all three. Two emails about the same meter four days apart is how people learn to filter the sender.
 The three behaviors: early warning at 85%, email at the trigger, and an automatic work order at 100%.

The line under the chart is not a status
Every meter card carries the sentence Work order created when usage reaches N under its chart, whether Auto Work Order is on or off. It restates the trigger point; it does not tell you the behavior is armed. The toggle is the only place that does.
5. Reset a meter
A reset ends the current cycle and starts the count again from zero on the date you give it. Reset the meter when the work is done, not when the work order is created, or the next cycle starts early.
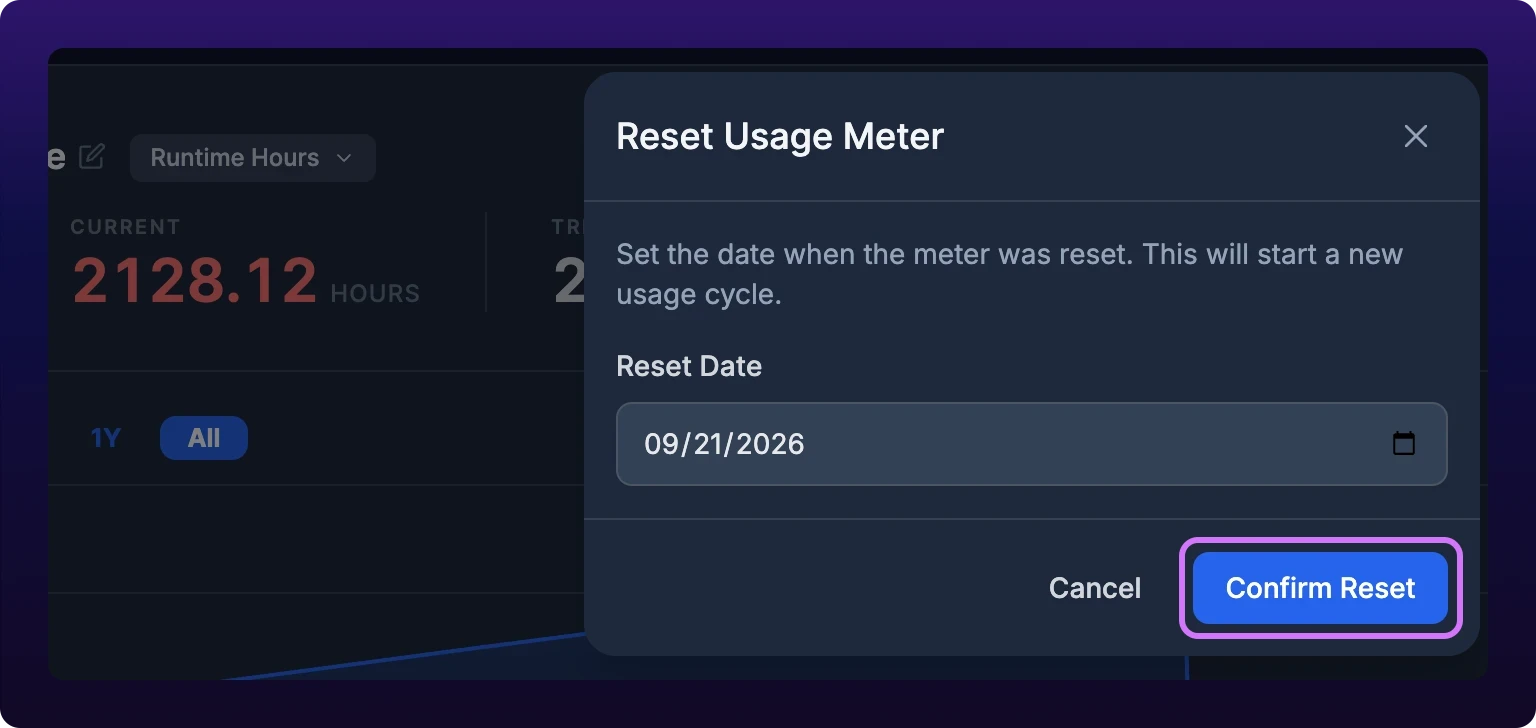
- On the card, select Reset Meter. The Reset Usage Meter dialog opens.
- Set Reset Date. It defaults to today, and you can backdate it to the day the technician actually did the job.
- Select Confirm Reset.
A toast reads Meter reset successfully and the card reloads: Current drops back toward zero, the chart starts a new segment at the reset date, and Time to Service reads N/A until the new cycle has two readings in it.
The dialog takes a date and not a time. Every reset is stored at noon UTC on the date you pick, so a reset dated today and a reading from this morning land in the order you would expect wherever your plant is.
A failed reset raises Failed to reset meter and the cycle is unchanged.
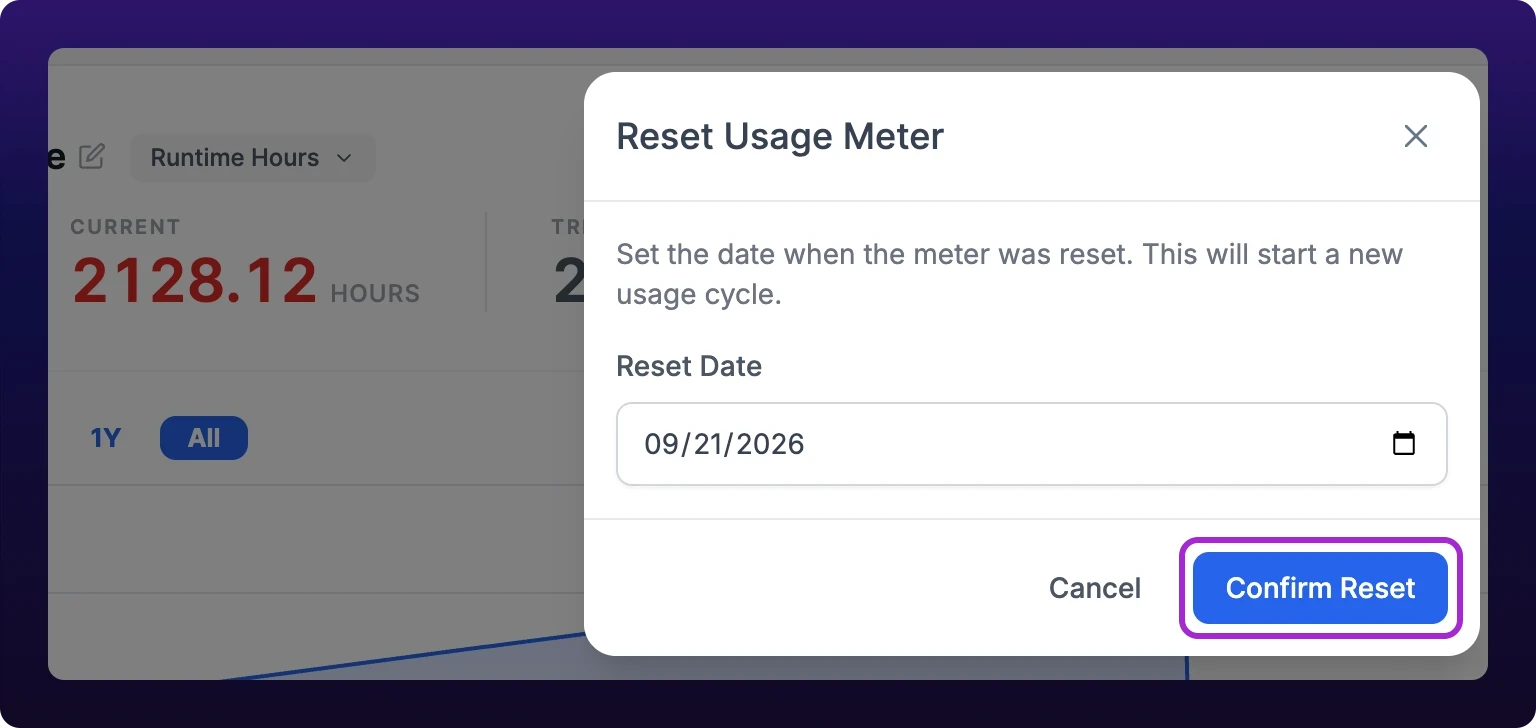 Resetting a meter after the work is done.
6. Reset history
Select the ⋮ button beside Reset Meter, then Reset History. The dialog lists every reset on the meter, newest first.
| Column | What it holds |
|---|---|
| Reset Date | The date the cycle restarted from. |
| Updated By | The member who logged the reset, with their avatar. |
| Last Modified | When the row was last written, to the minute. |
Only the newest row carries Edit and Delete, because only the newest reset bounds the cycle the meter is counting now. Select Edit to correct the date and Save to write it: the toast reads Reset updated, or Failed to update reset. Delete removes the reset and folds its cycle back into the one before it, with Reset deleted or Failed to delete reset.
A meter nobody has reset yet reads No reset history found.
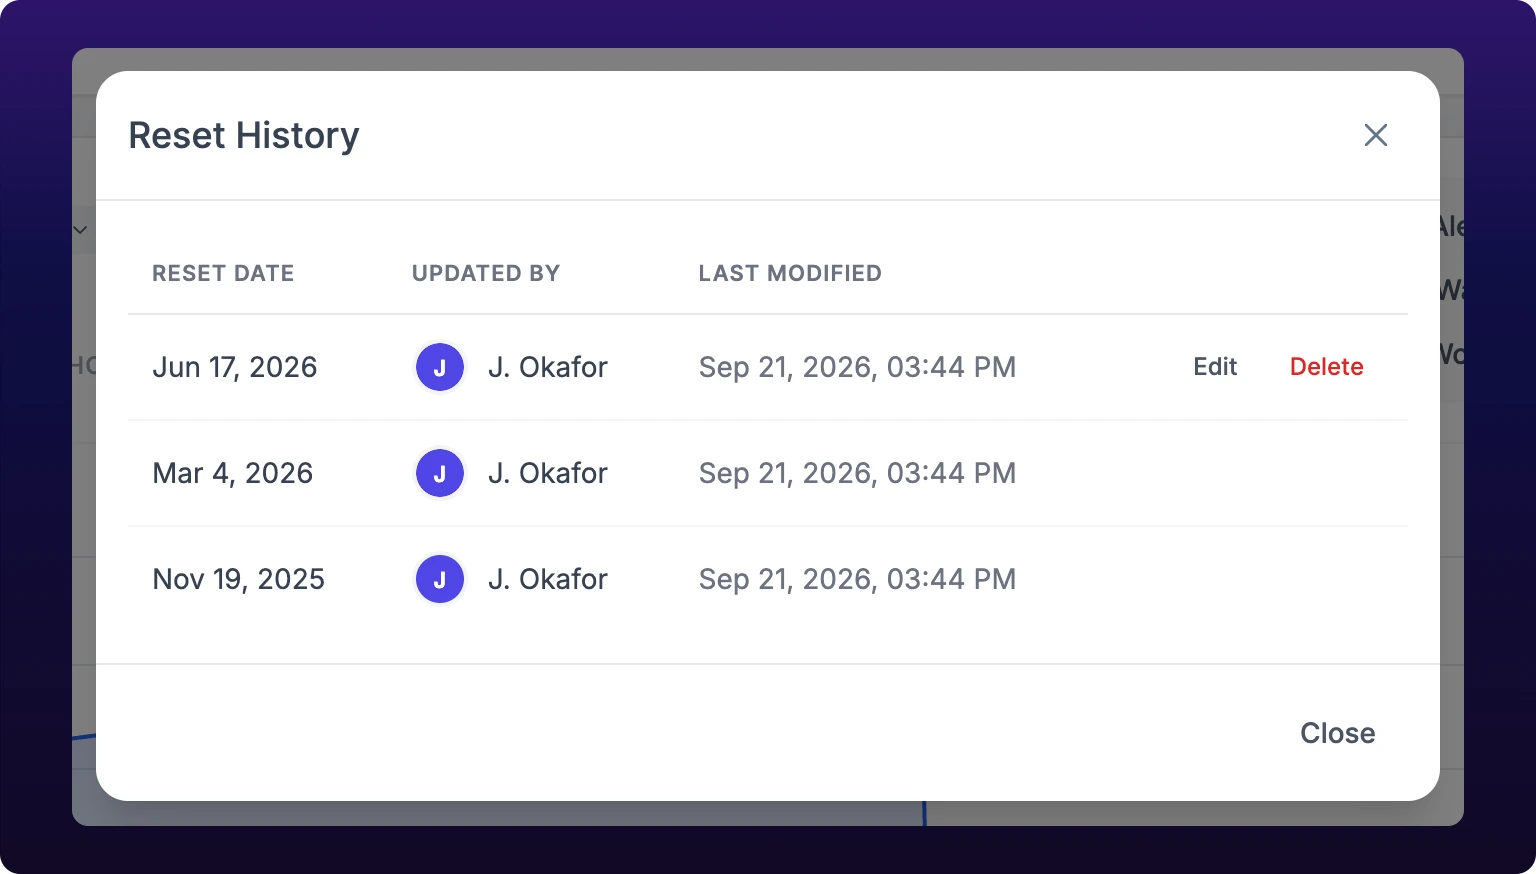 The Reset History table: one row per reset, with the member who logged it and when. Only the newest row can be edited or deleted.
7. Linked work orders
Select ⋮, then Work Orders, to see the maintenance work orders this meter produced, newest first. Each row shows the work order number, its title, its status badge and when it was last touched.
Selecting a row closes the dialog and opens the maintenance board with that work order in the drawer, at /<organization>/maintenance?selected_wo=<work order>. From there it is an ordinary work order: assign it, add parts, close it. See Update, discuss, and close a work order.
A meter that has never reached 100% with Auto Work Order on reads No pending work orders for this meter. This list is the meter's own output, so a work order you raised by hand for the same job does not appear here.
This dialog is the fastest way to answer "did anyone act on this meter", which is worth checking before you reset it.
8. Edit or delete a meter
Everything on the card is editable in place, and every edit saves on its own:
- Select the name to rename the meter. Enter saves, Escape cancels. An empty name is discarded.
- Select the type pill beside the name to change the meter type. The card's list holds the platform's types and no None option, so a meter created without a type can be given one here but not have it taken away.
- Select the Trigger Point number to change it, as in Set the trigger point.
- Flip any of the three toggles.
Each edit applies to the card immediately and then writes. If the write fails, the card reverts and raises Failed to update meter, so the number you are looking at is always the number that saved.
To delete, select ⋮, then Delete Meter, then Delete in the confirmation. A toast reads Meter has been deleted and the card leaves the tab.
Check Work Orders before you delete
The confirmation asks only "Are you sure you want to delete meter name?". It does not count the work orders the meter created or say what happens to them. Open Work Orders first and close or reassign anything still open, so nothing is left on the board with no meter behind it.
See also
- Schedule preventive maintenance. The calendar alternative to a meter, for work the machine's usage does not drive.
- Set alert rules for a machine. The other way a machine raises a work order on its own.
- Inspect a single machine. The tabs beside Meters on the same page.
- Create a maintenance work order. Every field a work order carries, including the ones an auto work order arrives without.
- How each metric is calculated. Where the part counts a meter reads come from.
From the blog
- What is a CMMS, and why start it from the machine?A CMMS tracks work orders, PM schedules, assets and spare parts. See what it does for a plant, why hand-entered history misleads, and how to judge floor fit.
- Usage-based maintenance from run hours and part countsUsage-based maintenance makes PM due on run hours or parts made, not dates. Pick the unit, set the first interval, size the warning and keep dates where needed.
- How to choose a maintenance strategy for each machineMatch each machine to reactive, preventive, usage-based, condition-based or predictive maintenance with a four-question test, survey data and worked examples.
Preventive maintenance in IoTFlows is a recurrence rule on a work order, not an object of its own. The Recurrence picker sits in the create modal and in the work-order drawer, anchors every pattern to the work order's due date, and takes an interval, a weekday set, an end date, and the timezone the rule is read in. A rule authored in the planner's timezone rather than the plant's lands on the wrong shift every time it fires.
Board membership decides who can be assigned a maintenance work order. Your organization has one maintenance board, and you add people to it as named members or as whole teams from the Invite to Maintain dialog in the control bar above the board. The dialog writes as you click, with no Save step: one click adds a person or a team, a crown marks a board owner, and a trash icon removes access. Android carries the same membership list; iOS does not have this surface.