

Connect a device to Wi-Fi
Put any IoTFlows sensor onto a network using Bluetooth from the mobile app.
The procedure is the same for all three devices. Only the first step differs, because SenseAi and SenseAi Embedded have a button and BeamTracker has a touchscreen.
If your devices ship with an IoTFlows 4G/LTE router, skip this page. Devices assigned to a router join it on their own: see Connect a device through the 4G/LTE router.
Before you start
This requires the iOS or Android app. Bluetooth provisioning is not available on the web, so a device that is not yet on a network cannot be set up from the dashboard. Install the app from Install the mobile app.
The dashboard refuses the job in as many words: Device must be online to connect to Wi-Fi. Please use the IoTFlows iOS or Android app for Wi-Fi provisioning. Once a device is online, moving it to a different network is a dashboard task and needs no phone at all. That is Change the network later.
You also need:
- A powered device, mounted or on the bench. See the install page for SenseAi, SenseAi Embedded or BeamTracker.
- A 2.4 GHz network and its password. 5 GHz is not supported by any IoTFlows device.
- Bluetooth turned on on the phone, and the phone near the device.
The app shows Bluetooth is ON or Bluetooth is OFF before it scans. Turn it on in the phone's settings, not in the app.
This is not pairing. The Add Device button on the same screen ties a sensor to a machine, which IoTFlows does for you during onboarding. This page covers Connect Device to WiFi, which is the network only. If a device is on the network but reporting for the wrong machine, contact support.
The provisioning sequence: your phone talks to the device over Bluetooth, hands it Wi-Fi credentials, and the device then reaches the cloud on its own.A sequence diagram with four actors in a row: your phone, the device, the Wi-Fi network, and the IoTFlows cloud. Three numbered exchanges run between them. First, the phone finds the device over Bluetooth, which works only while the device is in setup mode. Second, the phone sends the network name and password to the device over that Bluetooth link. Third, the device reboots, joins the Wi-Fi network on its own, and reports to the cloud. A note reads that the phone is out of the picture after step two, so nothing that goes wrong afterwards is a phone problem.Bluetooth carries the credentials once. The phone does not need to stay near the machine afterwards.
Put the device in setup mode
Setup mode is the window in which a device accepts Wi-Fi credentials over Bluetooth. Outside it, the app cannot see the device at all.
| Device | How to enter setup mode | Indicator | Timeout |
|---|---|---|---|
| SenseAi | Hold the Wi-Fi button for 10 seconds | LED blinking blue | Not published |
| SenseAi Embedded | Hold the Wi-Fi button for 10 seconds | LED blinking blue | Not published |
| BeamTracker | Tap the Settings icon, then WiFi Configuration | The WiFi Setup screen | Not published |
On the two sensors, the LED blinks purple while you hold the button and turns red at ten seconds. Release it then. The device reboots and comes back blinking blue.
If the LED is already blinking blue, the device is in setup mode and you can leave it alone.
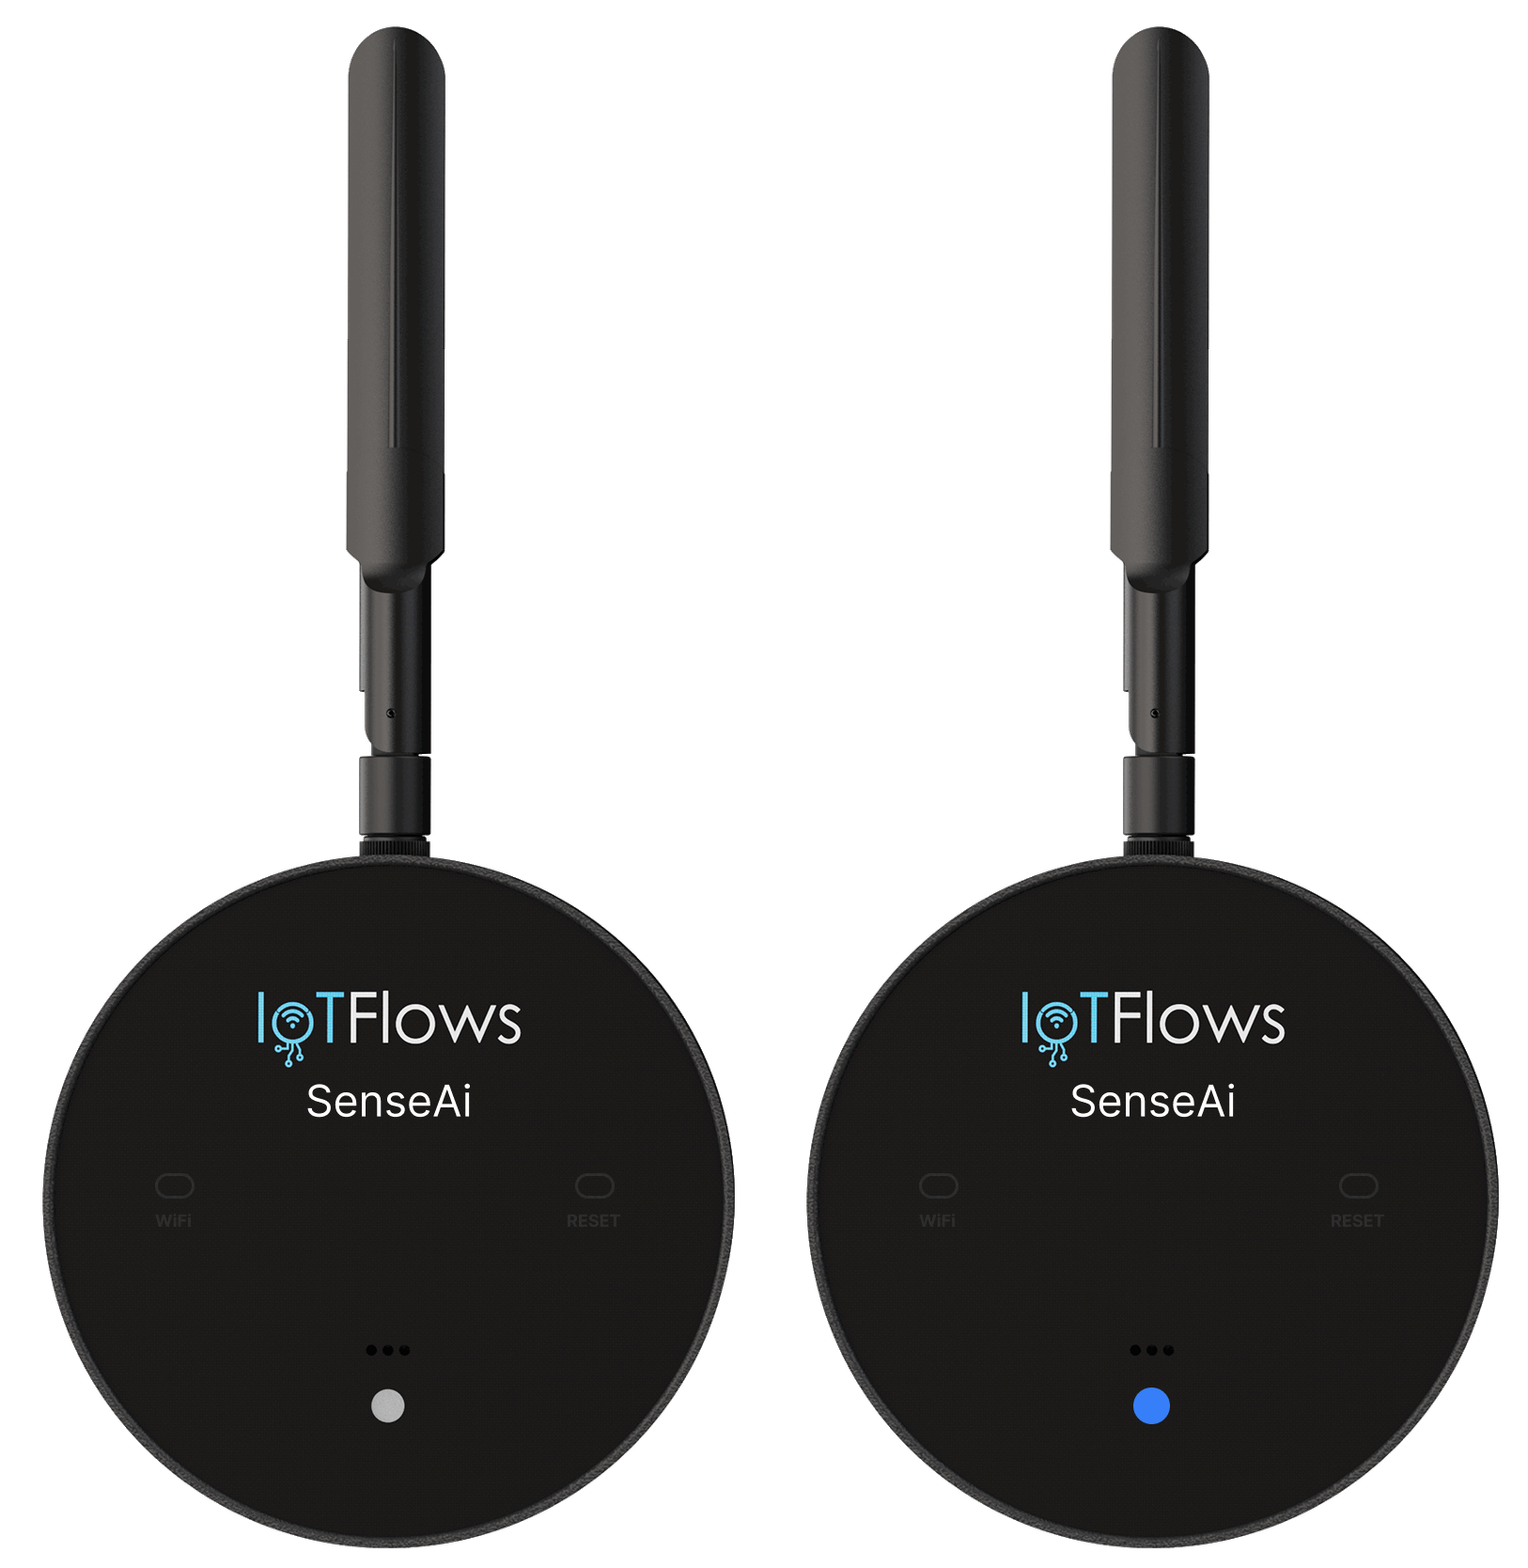 The setup-mode LED pattern. A device that is not blinking blue will not appear in the app's scan.
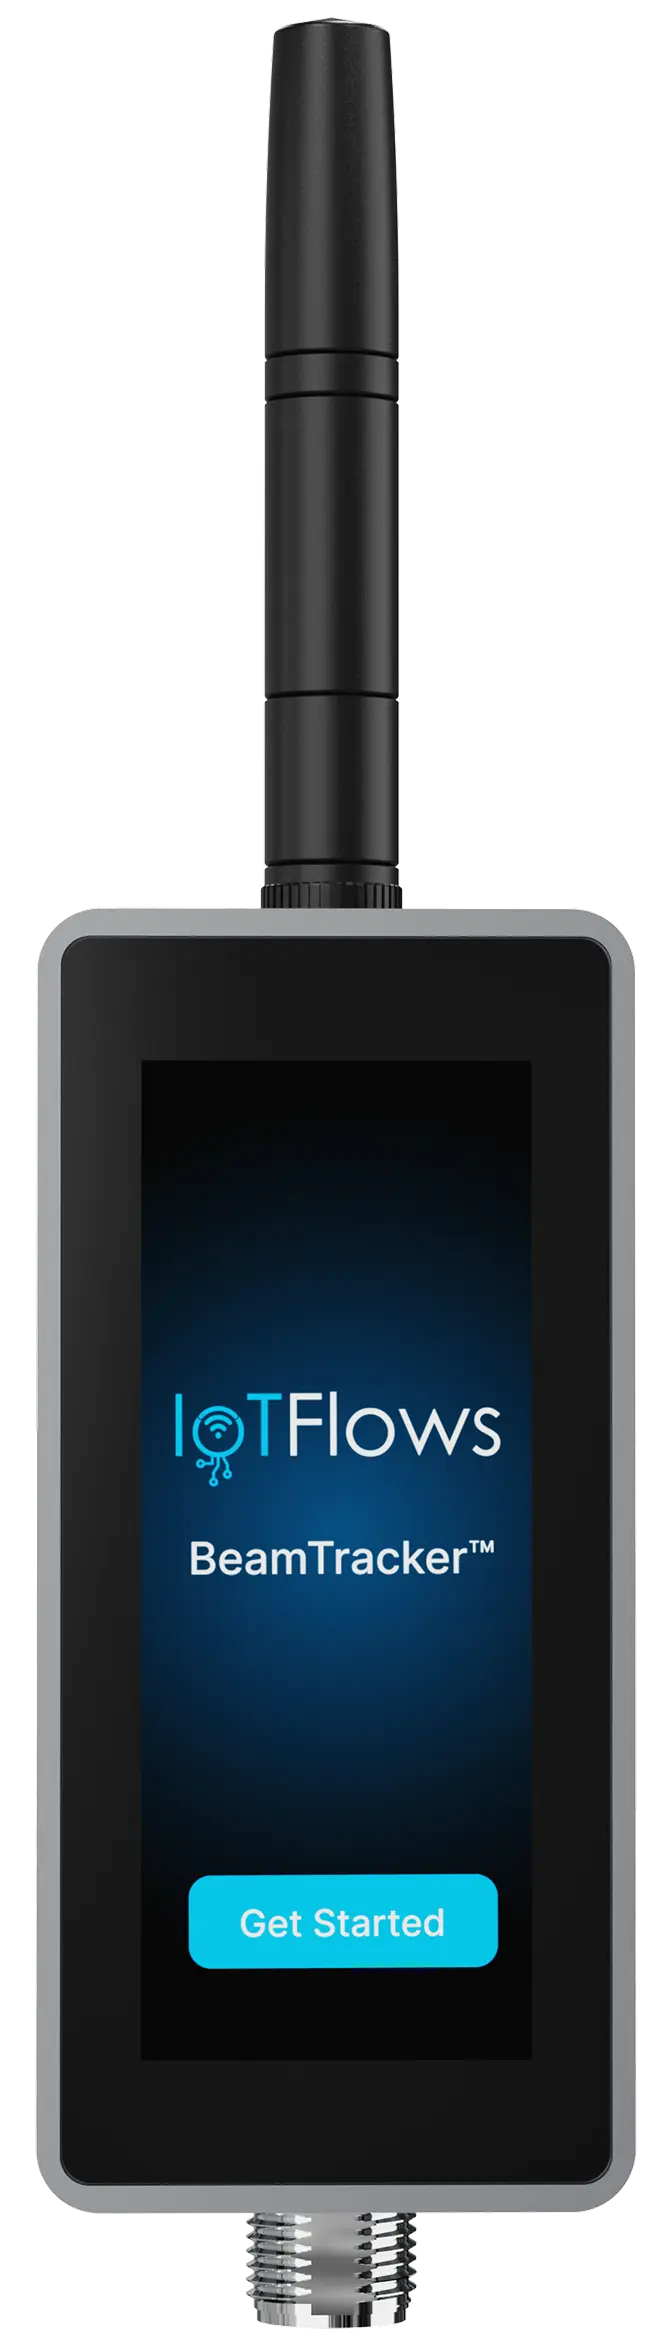
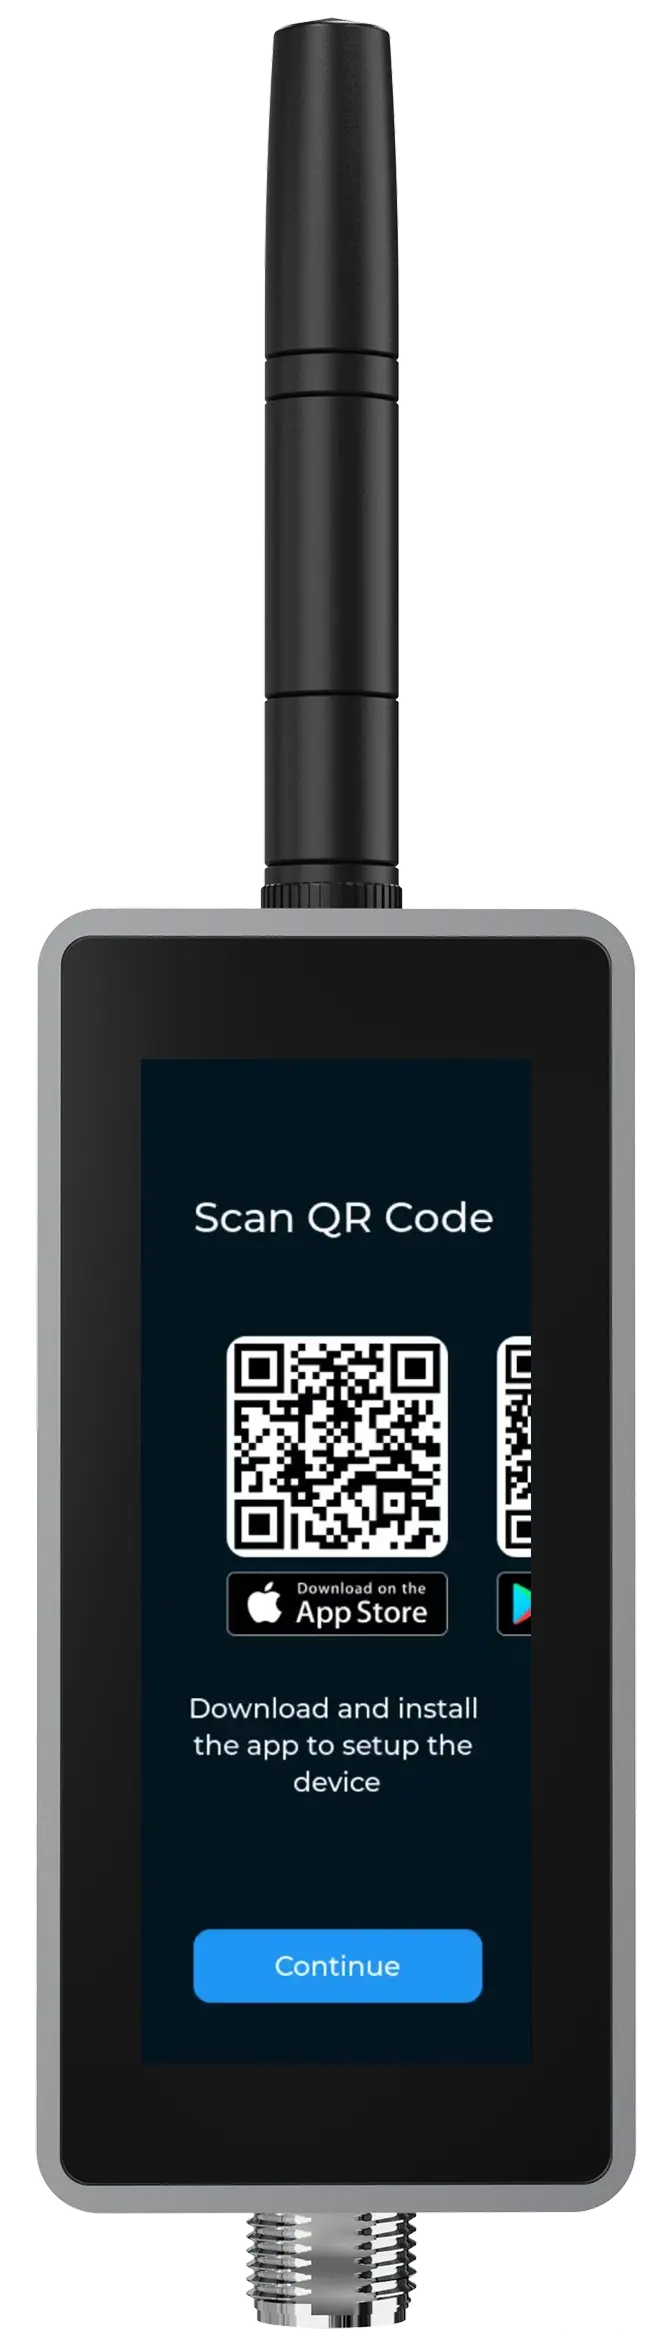
On BeamTracker there is no LED to read. Tap the Settings icon in the top right of the touchscreen, then WiFi Configuration. The screen switches to WiFi Setup and displays a QR code alongside pairing instructions, and it stays there until you leave the screen or provisioning finishes.
 Get Started
 QR code
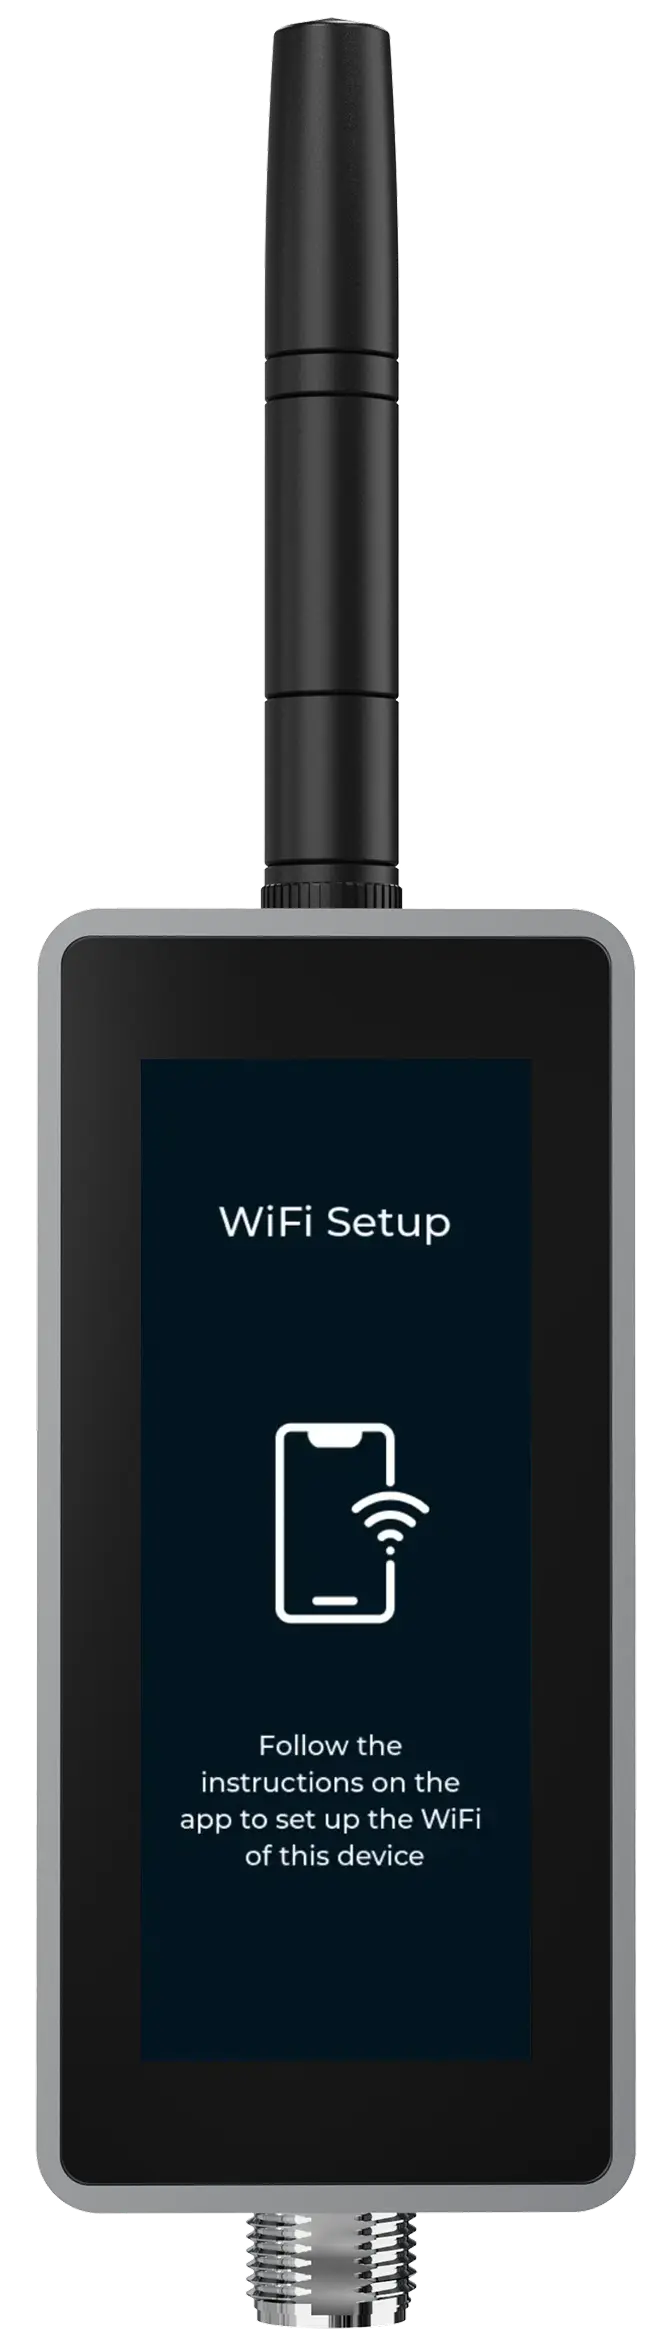 WiFi SetupBeamTracker enters setup mode from its own touchscreen: the Get Started screen it boots to, the pairing QR code, and the WiFi Setup screen that means it is listening over Bluetooth.
Every pattern these devices show is decoded in LED and screen status codes.
Connect from the app
- Open the app and go to Settings, then Devices.
- Tap Connect Device to WiFi.
- On Select the product you'd like to set up, choose SenseAi, SenseAi Embedded or BeamTracker.
- The app scans over Bluetooth and lists what it finds under Select a Device. Pick yours. Devices are named by their identifier, in the form
IoTFlows_F0:9E:9E:0C:36:14.
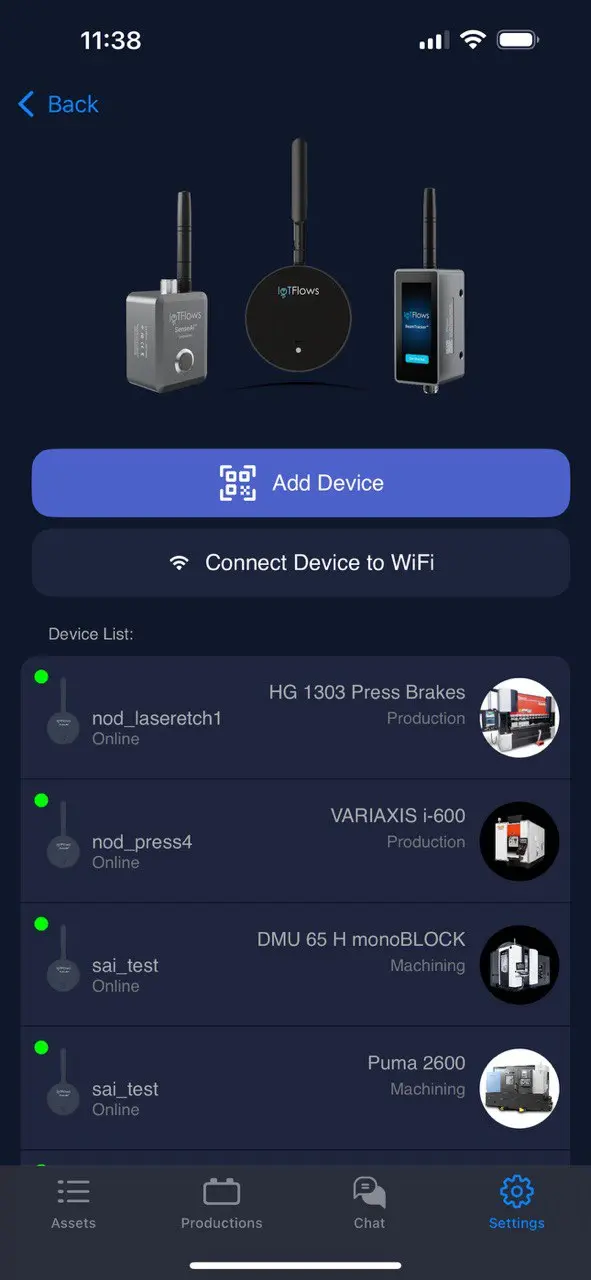 Devices
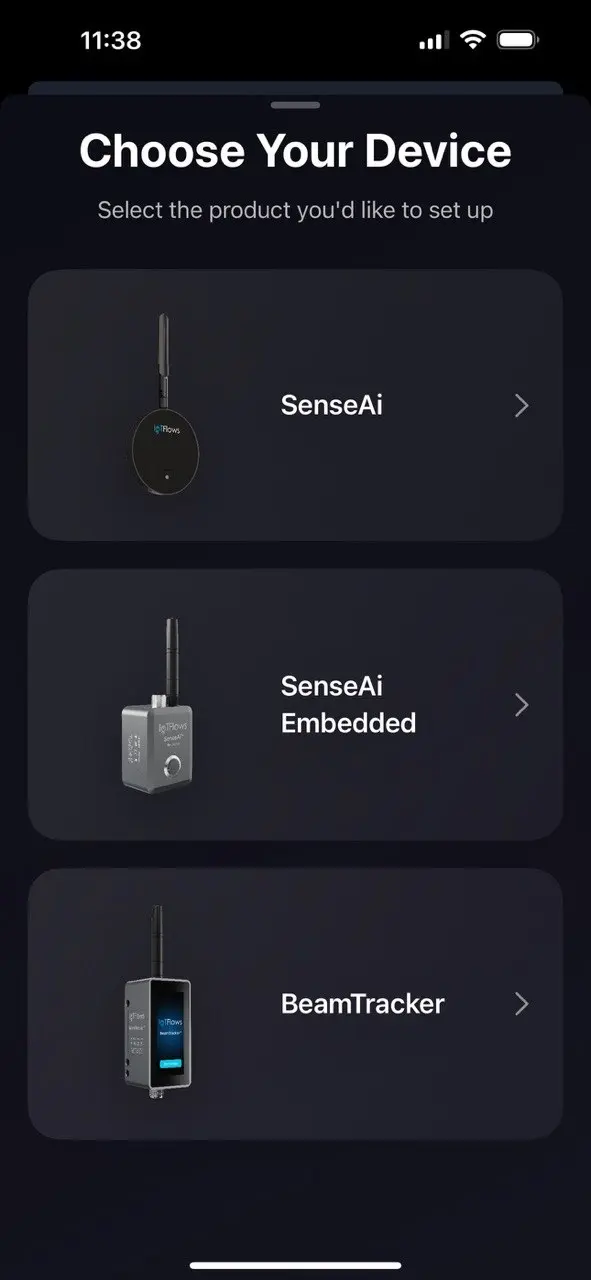 Pick the product
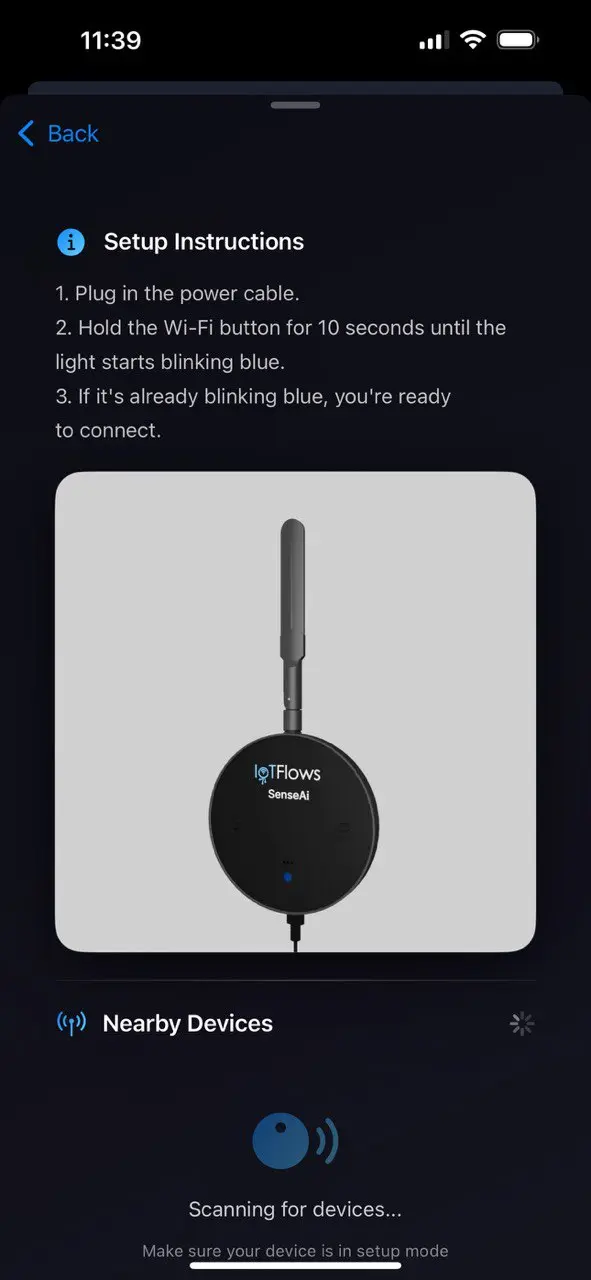 ScanningStarting provisioning in the app: the Devices screen with Connect Device to WiFi, the product picker, and the scan that follows. The scan finds only devices currently in setup mode.
If the app reports No nearby device found, the device is not in setup mode. It either never entered it or has since left it. Repeat Put the device in setup mode and scan again.
Choose a network
The device scans for networks around it and the app lists what it found. Pick the network, type the password, and tap Provision Device.
Two things to check before you type:
- The network must be 2.4 GHz. A 5 GHz-only SSID will not appear in the device's scan, because the device's radio cannot see it. If the network you expect is missing, that is usually why.
- The password is case-sensitive. Type it rather than relying on autocomplete.
- The device has to hold the network from where it is mounted, not from where you are standing. A sensor provisions fine on a bench and then drops all shift if the machine sits at the edge of coverage. Keep it within about 100 ft (30 m) of the access point it joins, and check the signal afterwards in Weak signal.
Save the network to your organization
The app keeps a list of Known Wi-Fi Networks for your organization. Save the network on the first device you provision, using Add New Network and Save Credentials, and every later device on that line can pick it from the list instead of having its passphrase retyped at the machine.
Do this on the first device, not the tenth. Twenty sensors provisioned from a known network is twenty chances not to mistype a passphrase, and it is what lets a password change be pushed to all of them at once from Manage saved Wi-Fi networks.
Credentials are stored against the organization, so anyone on your team provisioning a device sees the same list.
Confirm the device is online
The app shows two checks in order: Sending Wi-Fi credentials, then Confirming Wi-Fi connection. Both end in Successful, followed by Device has been successfully provisioned!
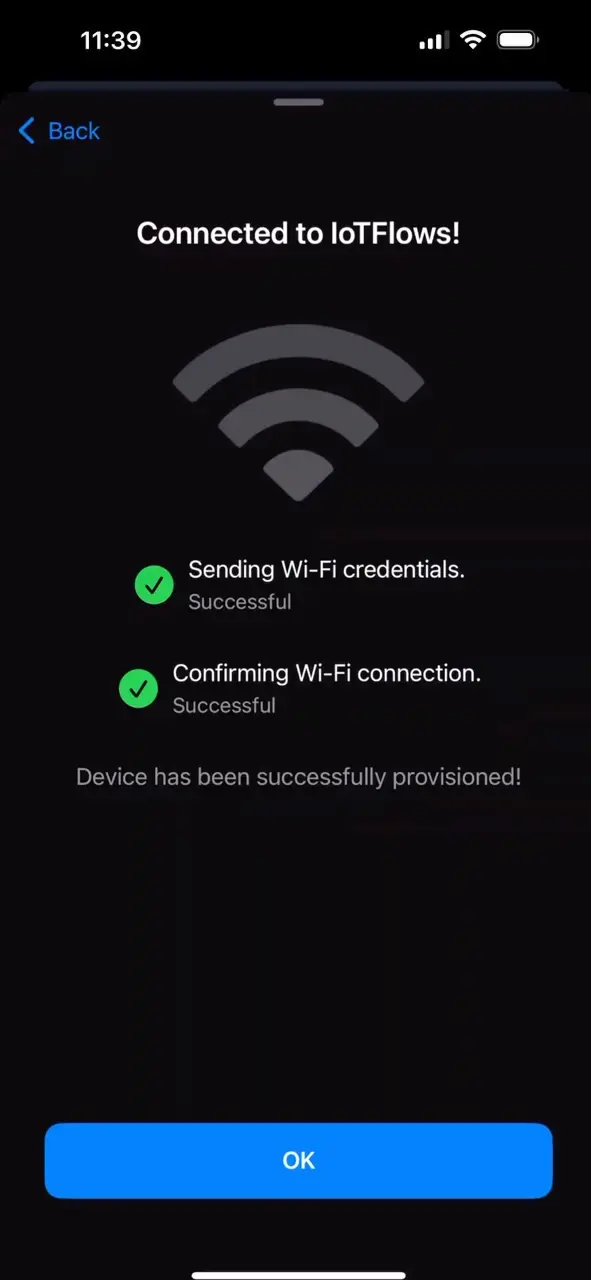 What success looks like. Both checks have to pass; the first alone only means the device heard you.
Then confirm it in the dashboard, at Devices, before you leave the machine. The device reads online within a minute or two of joining.
If provisioning fails, the app shows Wi-Fi Status: network not found and reboots the device to retry. Read that message loosely: the app does not distinguish a missing network from a rejected password, so it reports the same line for both. Check the passphrase first, then confirm the SSID is 2.4 GHz.
A device that provisions and then stays offline in the dashboard has a different problem: it joined the network but cannot reach the cloud, usually a captive portal or blocked outbound traffic. Work Troubleshoot a device that is offline.
Change the network later
If the device is online, do it from the dashboard. Two routes reach the same Networks tab:
- From the machine, which is how most people get there. Open the machine from Assets, click the picture of the device beside it, then open Networks.
- From Devices, which suits working through several sensors in one sitting.
The tab lists the networks your organization already knows, with the device's current one ticked. Press Connect on another to move the device to it, or Add Network to enter a new Wi-Fi SSID and Wi-Fi Password. The dashboard sends the credentials over the device's existing connection, so you need no Bluetooth, no app, and no trip to the machine.
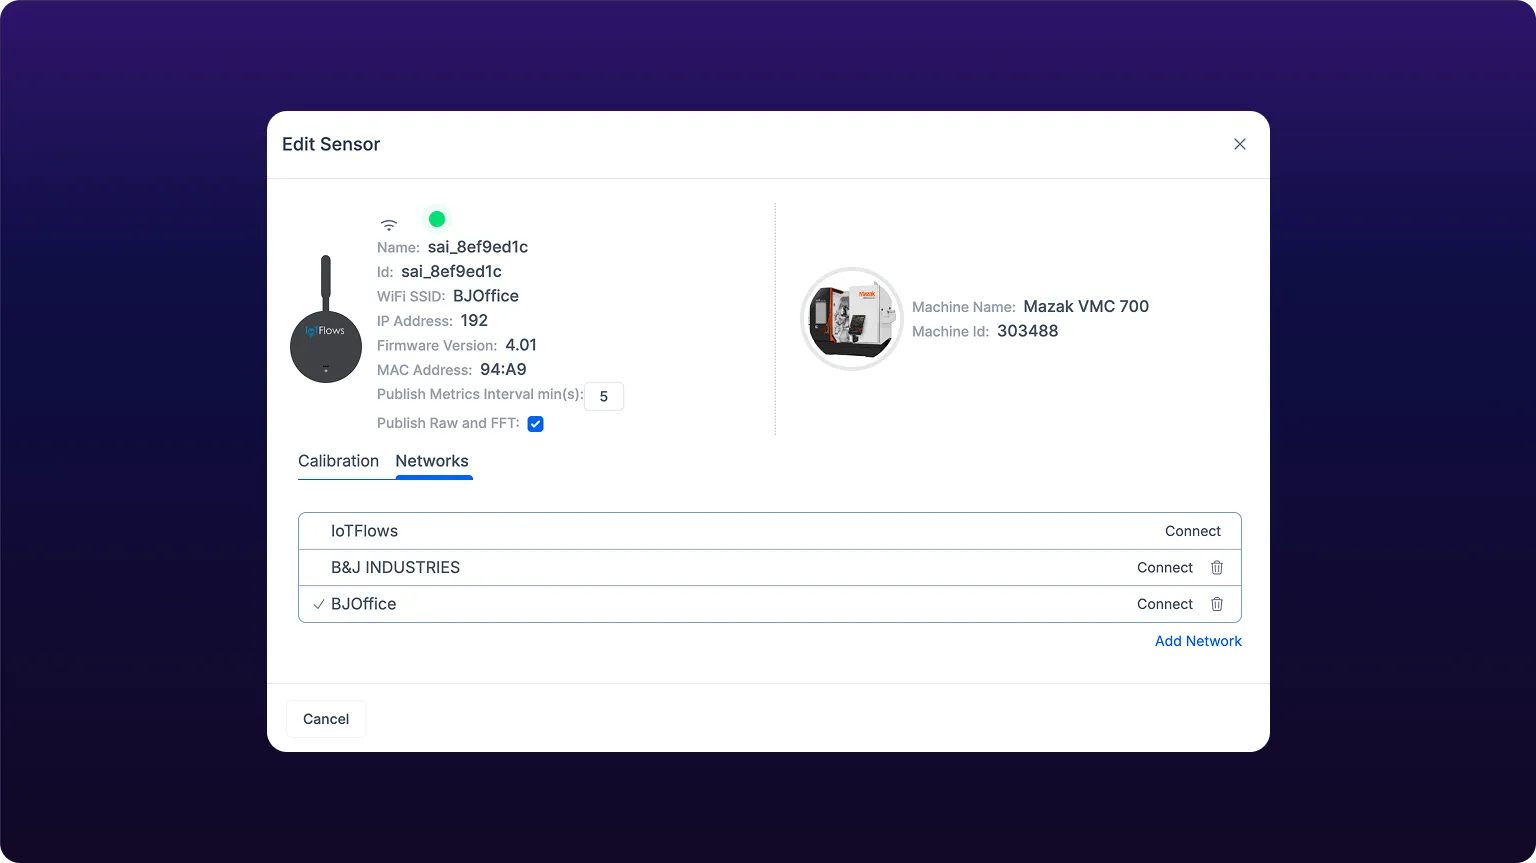 The Networks tab of an online sensor. Each known network carries a Connect action, the one in use is ticked, and Add Network takes a new SSID and password.
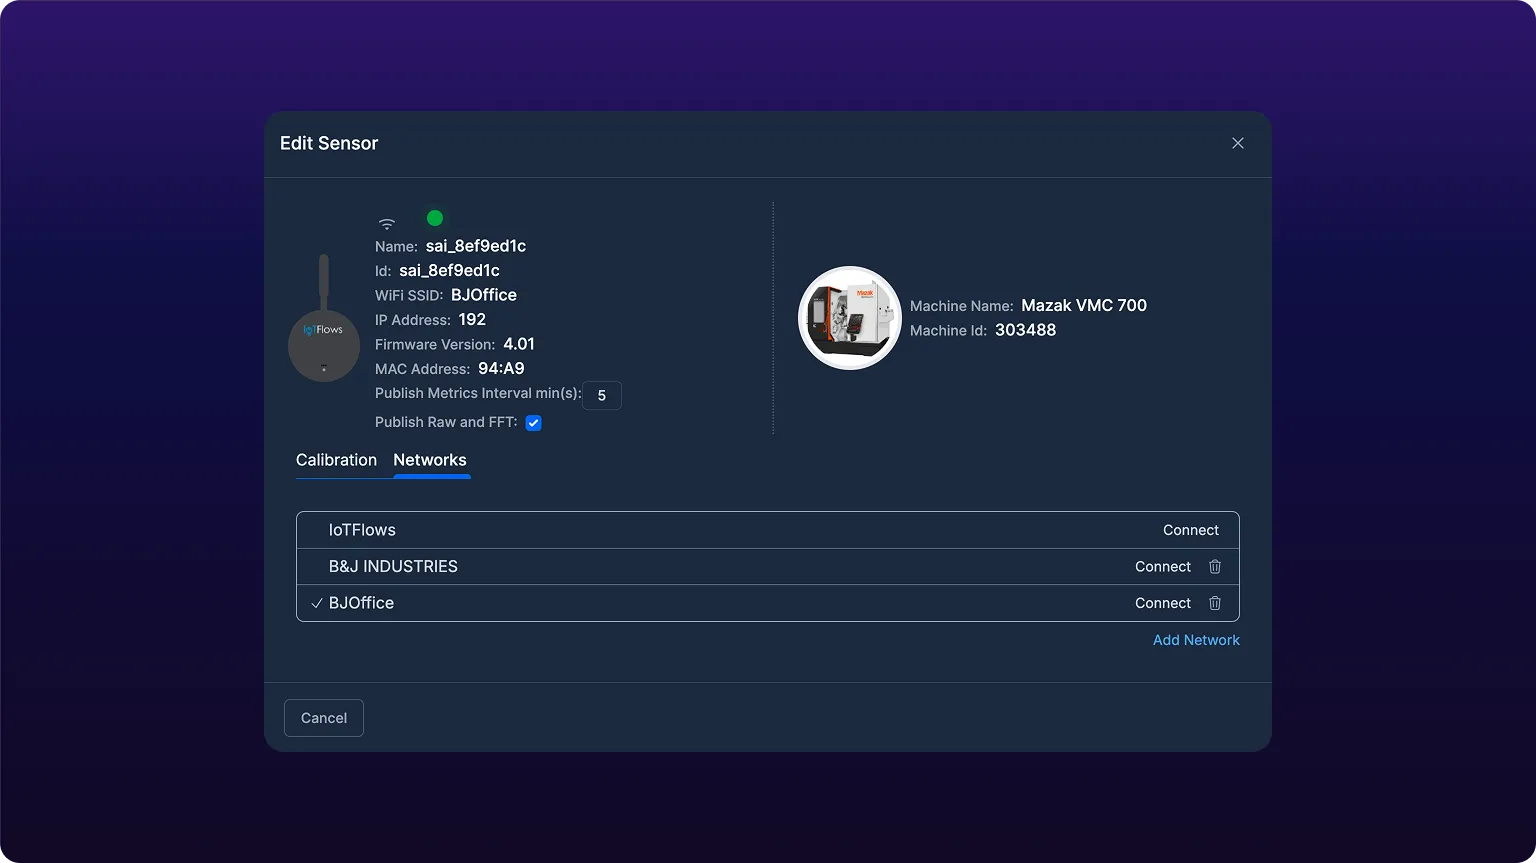
The tab reports Wi-Fi credentials sent to device, then Connecting to Wi-Fi, and the device drops off its old network and rejoins on the new one. If it has not come back in 45 seconds, the dashboard gives up with Wi-Fi connection failed, please try again. That usually means the new network is not reachable from where the device sits, and the device falls back to what it had.
Choose the dashboard when the device is online, which is nearly always. Only use the Bluetooth procedure above when the device is offline, because a device that cannot reach the cloud cannot be told anything over it.
Moving a device to a network it cannot reach. The dashboard will send credentials for any network you type, including one with no coverage at the machine. The device leaves its working network to try, fails, and you lose the connection you were using to reach it. Recovering it means walking out with a phone. Confirm coverage before you switch a device you cannot easily get to.
If the device is offline, provisioning again over Bluetooth overwrites the old network. Put it back into setup mode and run the procedure above.
The ten-second button hold on SenseAi and SenseAi Embedded is one action with two outcomes, depending on where the device is now:
- On facility Wi-Fi, the hold clears the stored credentials and restores the defaults, which sends the device back to looking for an IoTFlows 4G/LTE router.
- On a router, the hold reboots it into setup mode, blinking blue, ready for the procedure above.
So the same gesture moves a device either way, and the LED afterwards tells you which happened. Blinking blue means it is waiting for credentials; anything else means it has gone looking for a router. Both patterns are in LED and screen status codes.
Changing the password on a network many devices already use is not this procedure either. Update it from Manage saved Wi-Fi networks, which saves the new password to your organization so nobody retypes it. There is no bulk push: each device still has to be sent the new credentials from its own Networks tab.
See also
Mount a BeamTracker across the flow of finished parts and aim its beam: the device is a single unit with no reflector, firing an invisible laser that resolves to the millimetre at up to 8 meters (26 ft), mounted on a separately ordered bracket, powered over M12 at 4.5 to 28 V DC, and set up from its own touchscreen rather than from the dashboard.
Bring a SenseAi, SenseAi Embedded or BeamTracker online through the IFCR-150 without touching the facility network: site the router where a phone gets signal, keep every device within 100 ft (30 m) of it, let the devices join its Wi-Fi on their own, and confirm them at Devices in the dashboard. One router serves a cell, not one per machine.