

Invite people to your organization
Add someone by email, or add an existing IoTFlows user.
Prerequisite Organization Owner or Organization Administrator. See Roles and permissions.
An invite is a pending membership: the organization has reserved a place for an email address, and the person takes it up by creating an IoTFlows account against that address. Both paths, a new person and someone who already uses IoTFlows, run through one dialog called Add Member. You do not create accounts for other people, and there is no admin-managed password.
1. Invite by email
Use this path when the person has never used IoTFlows.
- Open Members at
/members. - Select Add Member.
- Type the person's full email address into the search field, which reads
Invite members via email or search by username or email. - Select the Invite row that appears beneath the field, for example Invite maria.lopez@northfield.com. Until the address is complete the row reads Keep typing full email and does nothing.
- Choose a role under Select organization role for member.
- Select Send invite.
The dialog closes and a message reads "Invite has been sent". IoTFlows emails the address with a link to create an account. The person must sign up with the same address the invite went to, see Sign in to IoTFlows.
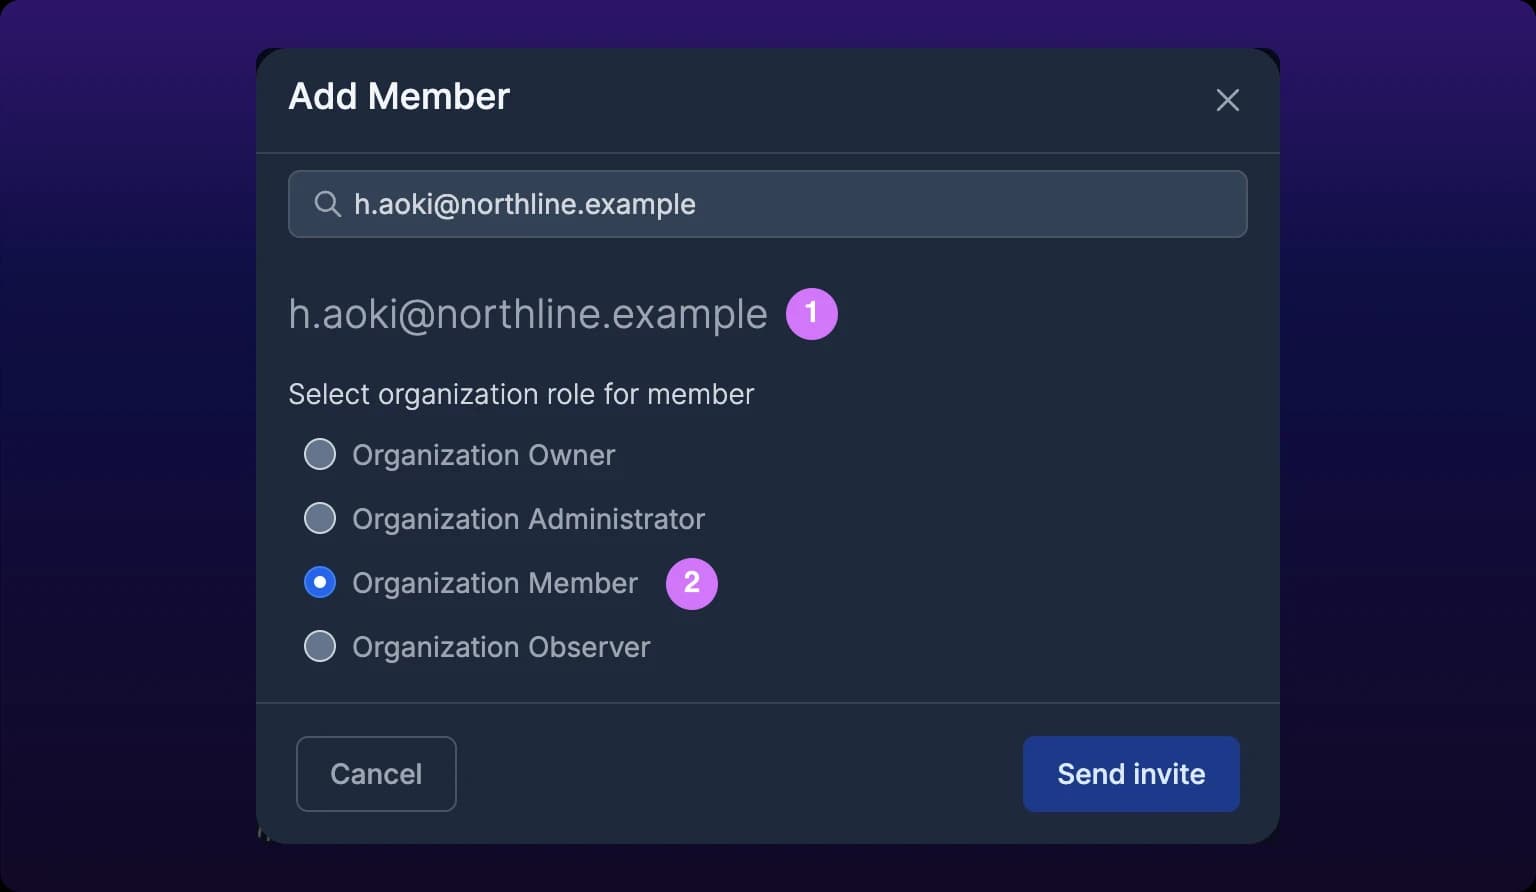
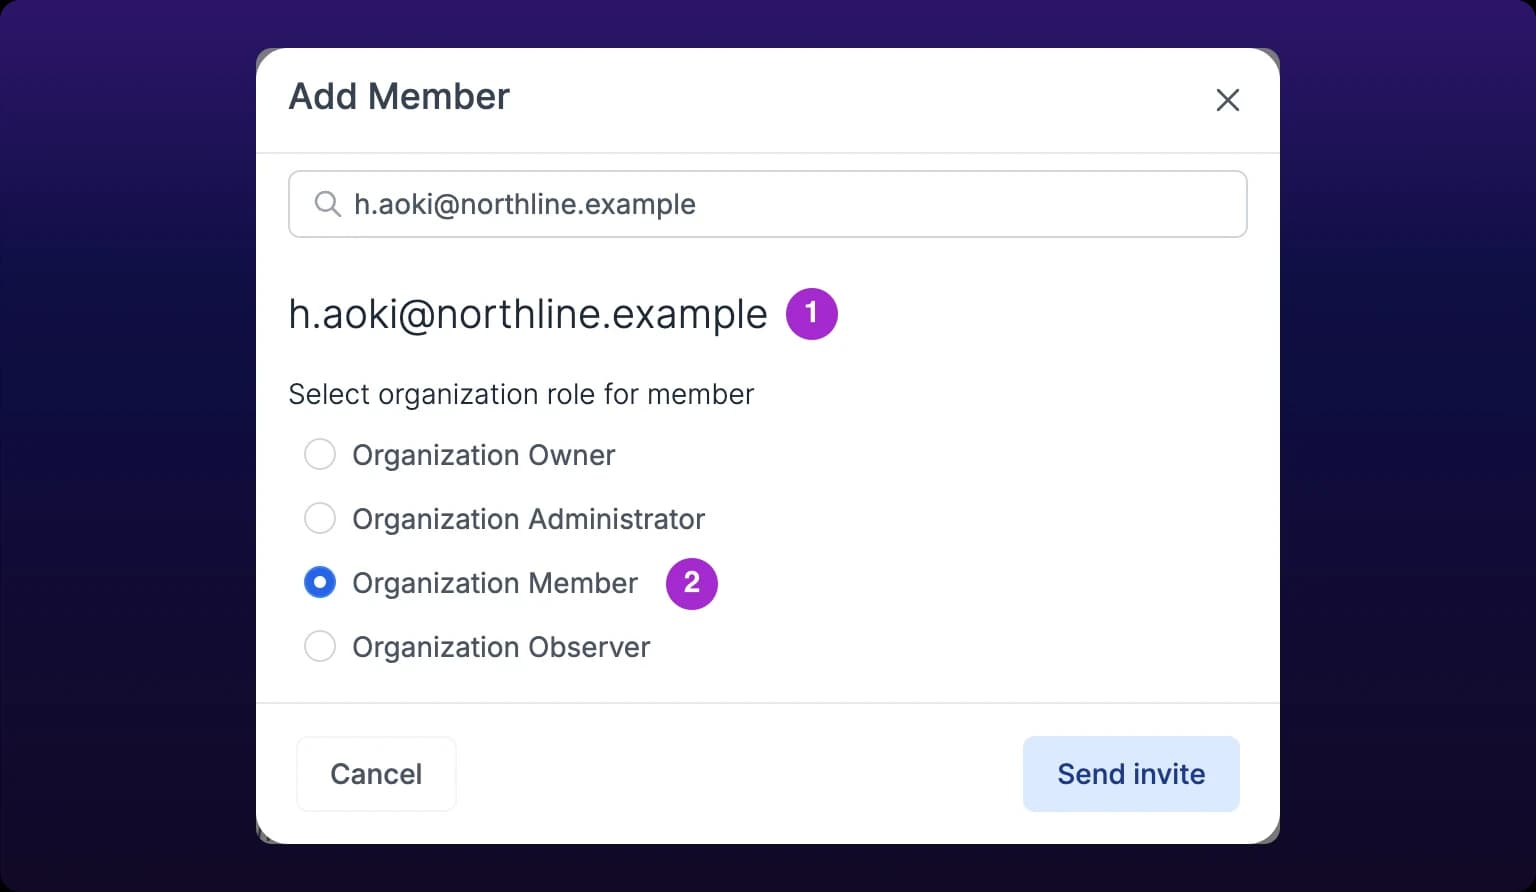 Inviting by email. Invite operators as Members, not Observers.
Already invited? "This email is already a member or has a pending invite in this organization" means the address is already in the directory, either as a member or as an unaccepted invite. Check the directory for that address before sending a second one, see Pending invites.
Invite fields
| Field | Required | Notes |
|---|---|---|
| Email address | Yes | Typed into the search field. Must be a complete, valid address. The invite is bound to this address, so the person cannot accept it with a different one. |
| Organization role | Yes | Chosen from the radio list under Select organization role for member. Send invite stays disabled until one is selected. |
2. Add an existing user
Use this path when the person already has an IoTFlows account, for example someone who works in a second organization on the same site.
- Open Add Member.
- Type their name, username, or email address into the search field.
- Select Add on their row in the results, or hover the row and select Add on the card that opens.
- Choose a role under Select organization role for member.
- Select Confirm Add.
The message reads "Member has been added". No email goes out and nothing is pending: they see the organization the next time they open IoTFlows.
You do not choose between the two paths, the dialog chooses for you. One search field covers both, matching against every IoTFlows account, and it only offers to email an invite when the text you typed is a complete address that matched nobody. People already in this organization appear in the results as rows reading "Already a member of this organization", with no Add control.
3. Choose a role
A role is the set of actions a person can take across the whole organization, and everyone has exactly one. Hover a role name in the dialog to read its description.
The role list is served by IoTFlows, not built into the dashboard. Add Member fetches it each time it opens, so the names in front of you are authoritative. The four roles in use today are described in Roles and permissions.
Invite operators as Organization Member, not Organization Observer. An Observer has read-only access and cannot classify downtime, and downtime classification is the one thing you need operators to do. Observer is for people who read reports and change nothing, such as a plant manager or a customer.
A role is not a machine restriction. To hold someone to a subset of the fleet, give them a role and then set their machine access, see Limit which machines a member can see.
4. Pending invites
An invited person has no IoTFlows account yet, so there is nothing to name their directory row after. IoTFlows gives the pending membership a placeholder handle, the short identifier every account carries, prefixed inv_.
A pending invite shows in the directory as the invited email address in italics, followed in amber by [Invite sent. Pending account creation], where a member would show a name and a username. The row still carries the person's role and the same controls as any other row.
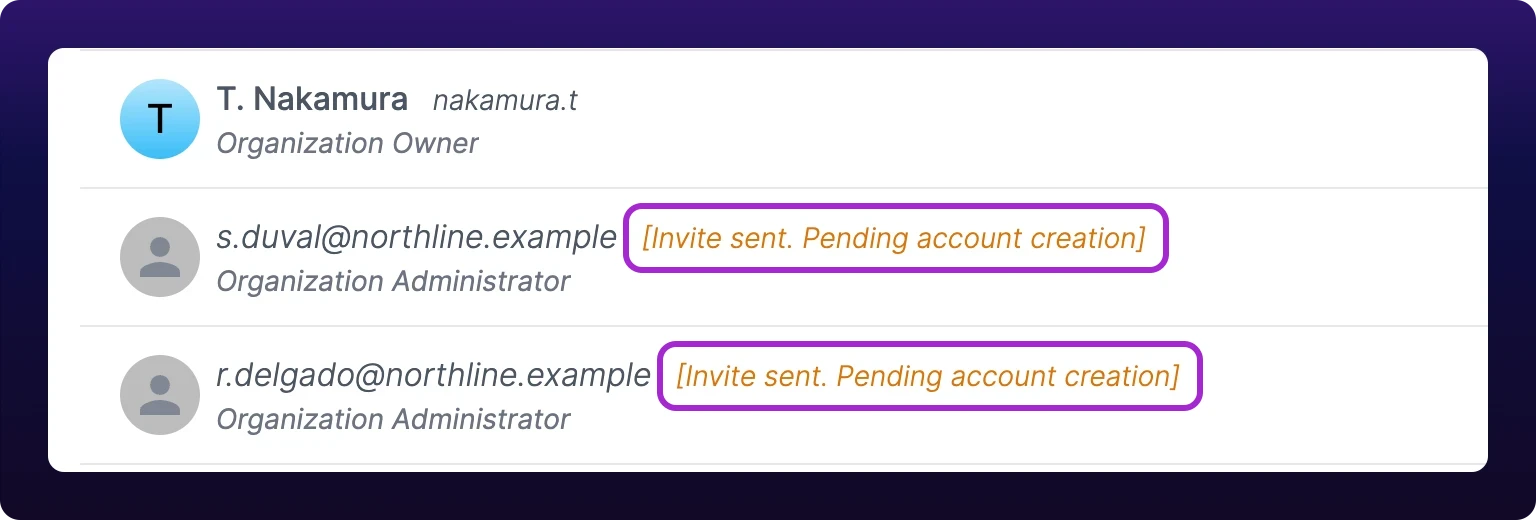 A pending invite shows the invited email address followed by [Invite sent. Pending account creation], where a member shows a name and username.
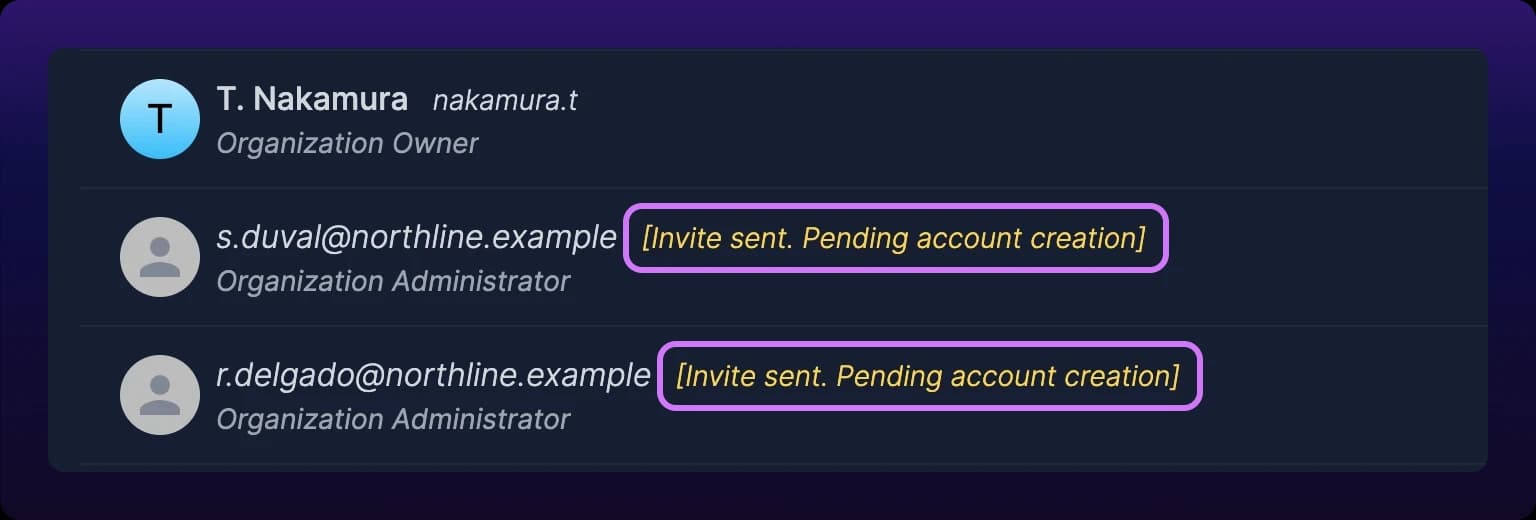
The same row appears inside Add Member when you search for that address, which is the fastest way to tell an unaccepted invite from a typo before you send another one.
5. Resend or cancel an invite
There is no resend action. If an invite has not been accepted, first have the person check their spam folder for mail from IoTFlows and confirm the address on the directory row is the one they read. To reissue, cancel the pending invite and send a fresh one to the same address.
To cancel a pending invite:
- Open Members at
/members. - Find the row for the invited address.
- Select the trash icon at the right of the row.
- Select Confirm remove in the Remove member dialog.
The message reads "Member has been removed", and the address leaves the directory. To reissue after canceling, send a new invite to the same address from step 1 of Invite by email.
6. Invite from the header
You do not have to be on the member directory to invite someone. The members control in the dashboard header holds two buttons: a stack of member avatars that opens /members, and an add-person icon beside it, tooltipped "Add members to this organization", that opens the same Add Member dialog in place.
 The same invite dialog, reachable from the header's add-person button beside the member avatar stack.

Use the header when you are in the middle of something else, for example assigning a work order and finding that the person you want is not in the organization. Use /members when you are inviting several people at once, because the directory shows you who is already there.
See also
The first week of a new IoTFlows organization, in the order the steps have to happen. IoTFlows creates the organization for you; there is no self-serve signup. Set the organization profile and handle at /settings/organization, then the Schedule Timezone and the work shifts, which are saved together and are used to bucket data as it arrives. Then invite your team from /members, give each person a role, and add your machines last. Correcting the timezone or the shifts later does not rewrite reports that were already computed.
How to work the IoTFlows member directory at /members: one search field covering teams and members, the row controls that change a role and remove someone, and what removal leaves behind. Changing a role opens the Edit member role dialog and reports "Member role changed to" the new role. Removing opens the Remove member dialog, and if the person is the last administrator of something inside the organization, a second step asks whether to keep or delete what they administer. A removed member loses access to everything, and their open work orders stay open and become unassigned. The dashboard has no dedicated transfer-ownership control: ownership moves by setting another member's role to Organization Owner.