

Change your phone number
Add or change the number IoTFlows sends SMS alerts and verification codes to.
Your number sits on your IoTFlows account, not on an organization, so one number follows you into every organization you belong to. Changing it takes two steps in one dialog: submit the number, then type back the code that arrives by SMS.
Before you start. Sign in, and have a phone that can receive SMS in your hand.
Do you need a number if you never want texts? Add one anyway. A member with no number shows as No phone number in an alert rule's SMS subscriber list and cannot be selected; whoever tries is told This user has not added their phone number. That error reaches them rather than you, so the failure is invisible from your side.
Enter the new number
- Go to Settings → Profile at
/settings/user. - Select Edit at the top right of the Profile heading. The Phone Number field never takes typing; Edit only reveals the button beside it.
- Select Edit Phone Number. On a narrow screen the button reads Edit.
- In the Update phone number dialog, pick your country from the flag dropdown. It opens on the United States, so the field starts at +1.
- Type the rest of the number, with no country code and no leading zero. A Detroit number on the +1 flag is
313 555 0142. - Select Submit.
IoTFlows texts a code to that number and the dialog moves to its second step.
If it reports Phone number update request failed., the number was rejected and no text was sent. If Submit instead keeps spinning with no message at all, the request failed in a way the dialog cannot report: select Cancel, reopen it, and read the digits back against the country you picked. Cancel backs you out at any point before you verify.
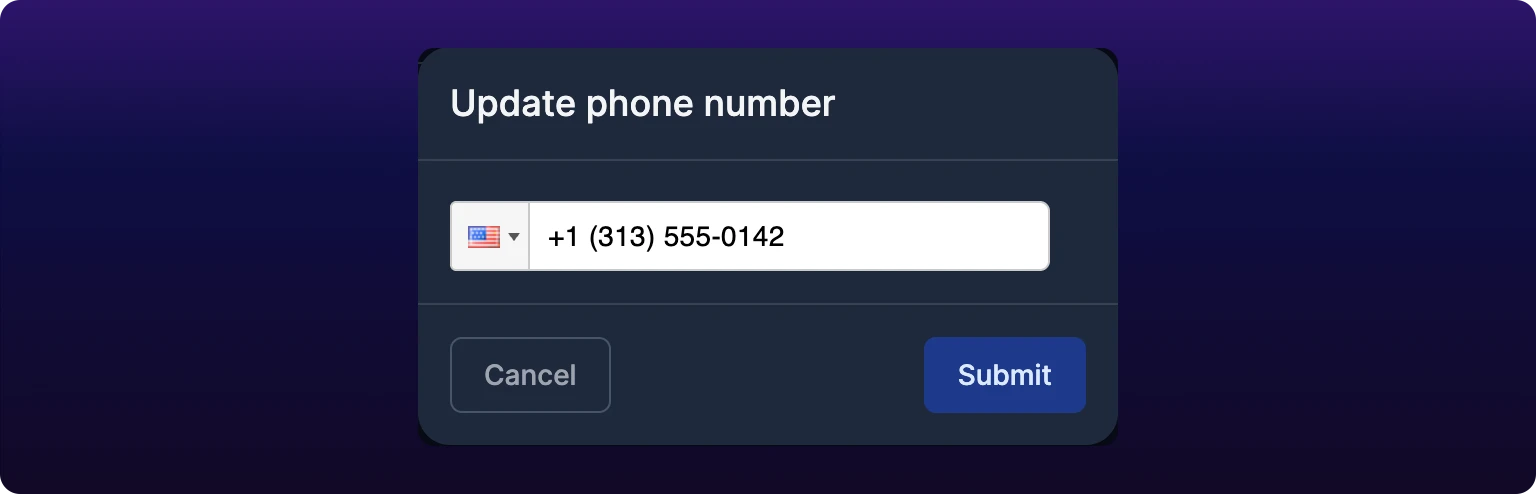
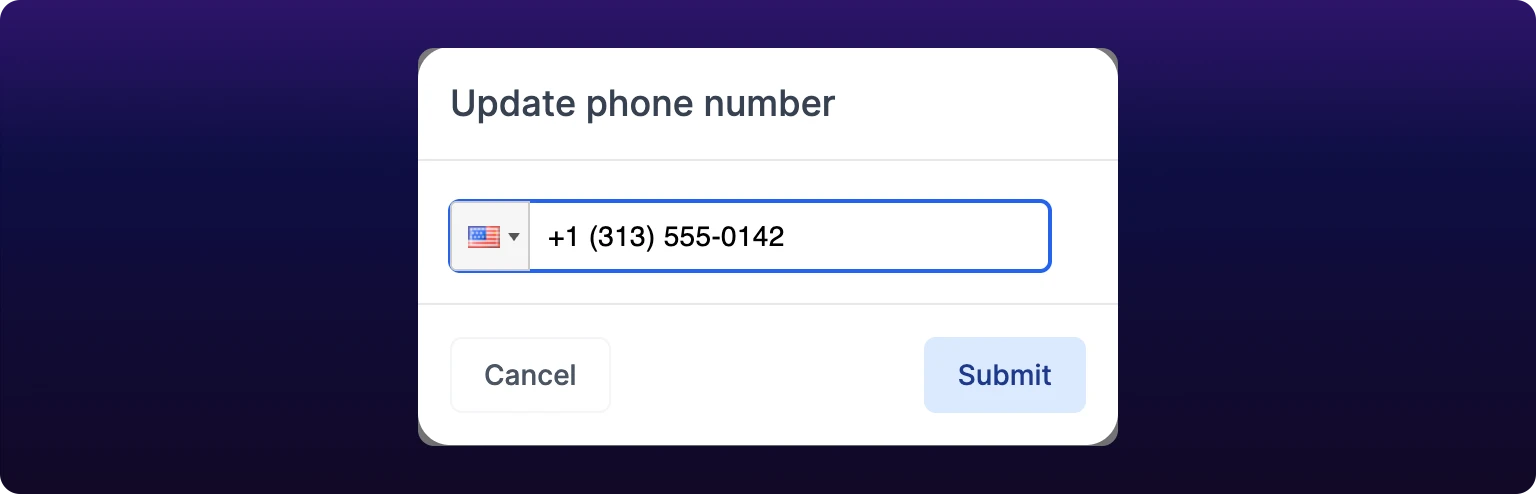 The Update phone number dialog, with the country flag dropdown set to the United States and a new number typed into the field.
Verify the code
- Type the code from the SMS into Verification code.
- Select Verify.
IoTFlows reports Phone number updated successfully, closes the dialog, and the new number appears in the Phone Number field. A wrong or expired code reports Phone number verification failed and leaves the dialog open, so you can retype it.
Nothing is saved until the code is accepted. Closing the dialog at the code step leaves the old number on your profile, and SMS alerts keep reaching the old handset. The Save and Cancel buttons in the Profile heading have no part in this: the dialog writes the number on its own.
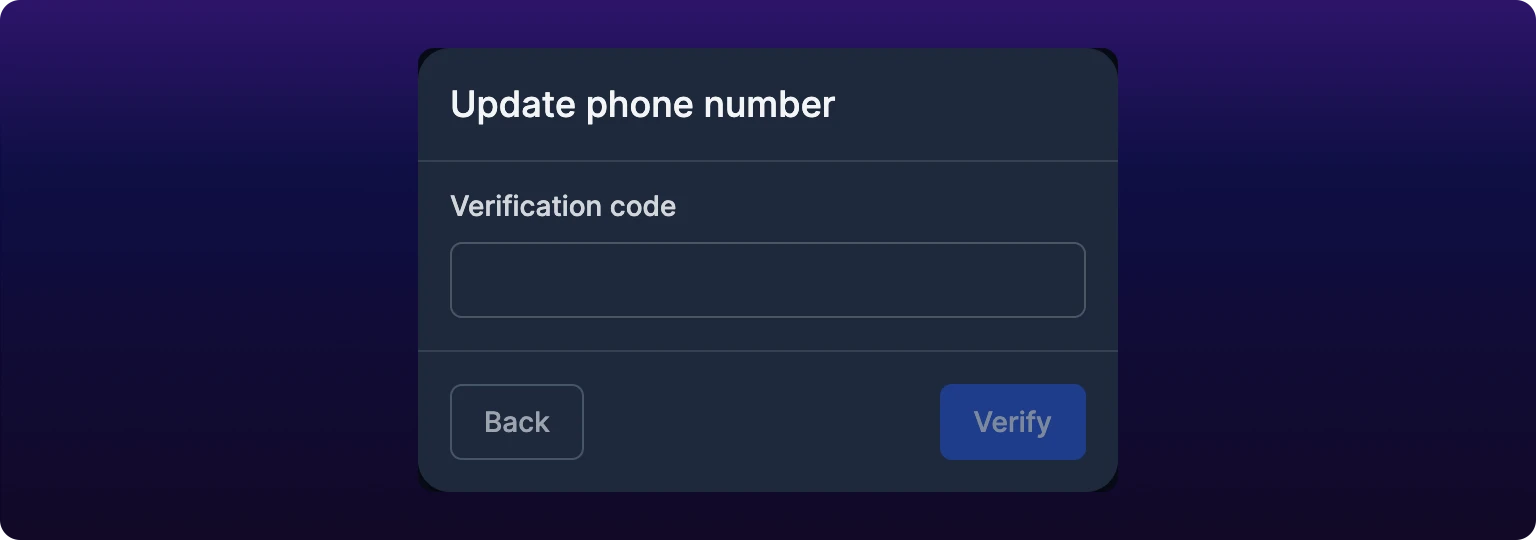
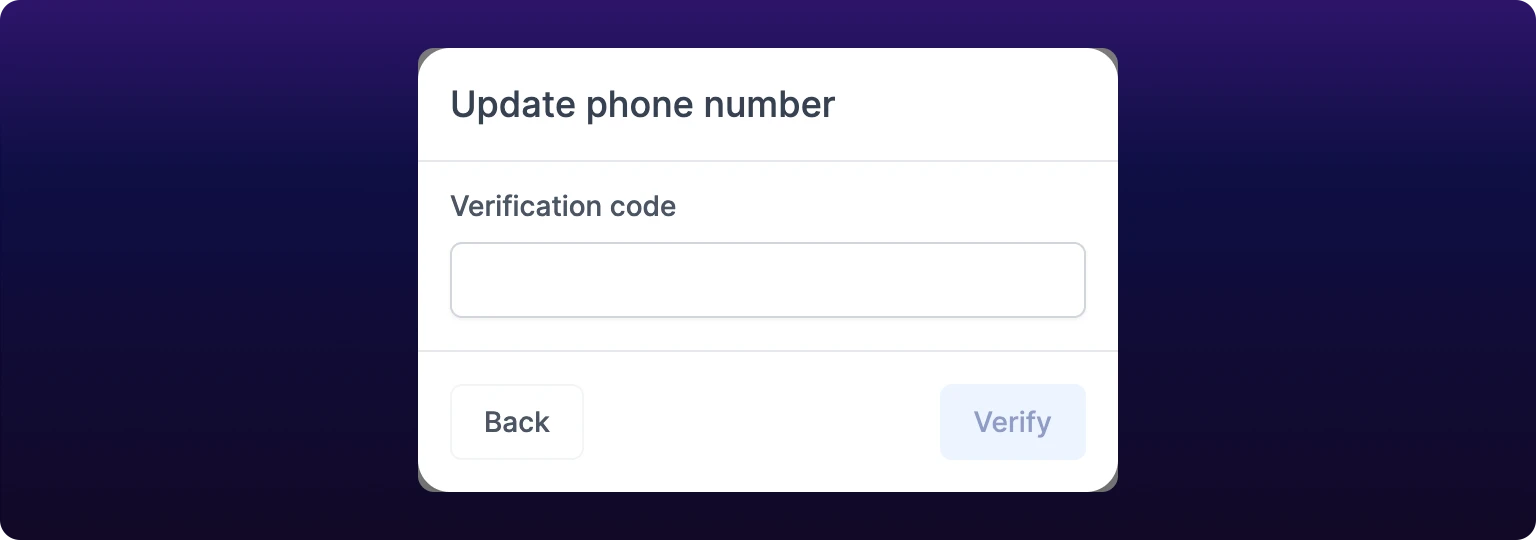 The verification code step of the Update phone number dialog. Until a code is accepted your profile keeps the old number, and without a number on your profile you cannot be added as an SMS alert subscriber.
If the code does not arrive
There is no resend button. Select Back, which clears the field, then type the number again and Submit. That sends a fresh code.
Check these before you retry:
- The country code. The flag dropdown supplies it, so typing it again sends the code to
+1 1 313…, which is nobody. - A leading zero. Trunk prefixes, like the
0in a UK mobile number, belong to domestic dialing and not to the number you submit here. - The line type. A desk extension, a landline, or a VoIP number that does not carry SMS never receives the code. Use a mobile.
- Carrier filtering. Automated codes are a common target. Check the phone's blocked or spam folder, and try a different handset if your carrier is silently dropping them.
The code is sent by the sign-in service IoTFlows authenticates against, not by IoTFlows, and the dialog reports none of that service's failures. If several attempts in a row produce no text and no message, leave it a few minutes before the next one.
Once a number is on your account there is no way to remove it. Replace it by running these same two steps with a different number.
See also
- Set alert rules for a machine, where the SMS subscriber list reads this number
- Troubleshoot alerts you did not receive, what to check when an SMS alert does not arrive
- Update your profile and handles, the rest of the settings on this screen
- Turn on two-step authentication, the other account security setting
How to change your avatar, username, name and per-organization handles at /settings/user. Everything in the Profile section belongs to your account and follows you into every organization, so a new photo or a corrected last name reaches all of them at once. Select Edit before anything on the screen accepts a change, then Save, which reports User information updated. The avatar opens an Edit Profile Picture dialog with a square crop box, Zoom and Rotation sliders, a Preview step and a Submit that reports Profile picture updated. Handles are the exception to the account rule: you carry a separate one in each organization, written you:organization, each with its own availability check, and colleagues search by handle to add you to a chat or assign you work. Email cannot be changed here and the phone number has its own dialog.
How to add an authenticator app to your IoTFlows account, and what changes at sign-in. Two-step authentication sits on your account rather than on an organization, so one enrollment covers every organization you belong to. Enroll from a desktop browser: the Two-step authentication section at the bottom of /settings/user renders inside the mobile app, but its toggle is inert there, so enrollment and turning the setting off are both web-only. Turning the Authentication App toggle on opens Set up authentication app, which shows a QR code to scan into an authenticator app such as 1Password or Google Authenticator; Next then asks for the 6-digit code, and IoTFlows submits it the moment the sixth digit lands. The sign-in challenge itself works on web, iOS and Android. Turning the toggle off takes effect immediately with no code and no confirmation, and there is no self-serve recovery if you lose the authenticator.