

Turn on two-step authentication
Add an authenticator app to your account, and see what changes at sign-in.
Two-step authentication puts a six-digit code between your password and your account, so a password on its own stops being enough to sign in. The code comes from an authenticator app, an app on your phone that generates a fresh code every 30 seconds from a secret it shares with IoTFlows. The setting sits on your IoTFlows account rather than on an organization, so enrolling once covers every organization you belong to.
Enrollment takes three steps in one dialog: open it, scan a QR code, then type back a code the app generates.
Before you start. Sign in on a desktop browser, and have a phone with an authenticator app on it.
Working from your phone today? Enroll from a desktop browser anyway. The Two-step authentication section renders inside the mobile app, but its toggle does not respond to a tap, so there is no way to finish enrollment there.
Start enrollment
- Go to Settings → Profile at
/settings/user. - Scroll to Two-step authentication, the last section on the page. The Authentication App row reads Disabled in red.
- Turn the toggle at the right of that row on.
The Set up authentication app dialog opens on a QR code. Cancel backs you out at any point before you confirm a code, and returns the row to Disabled.
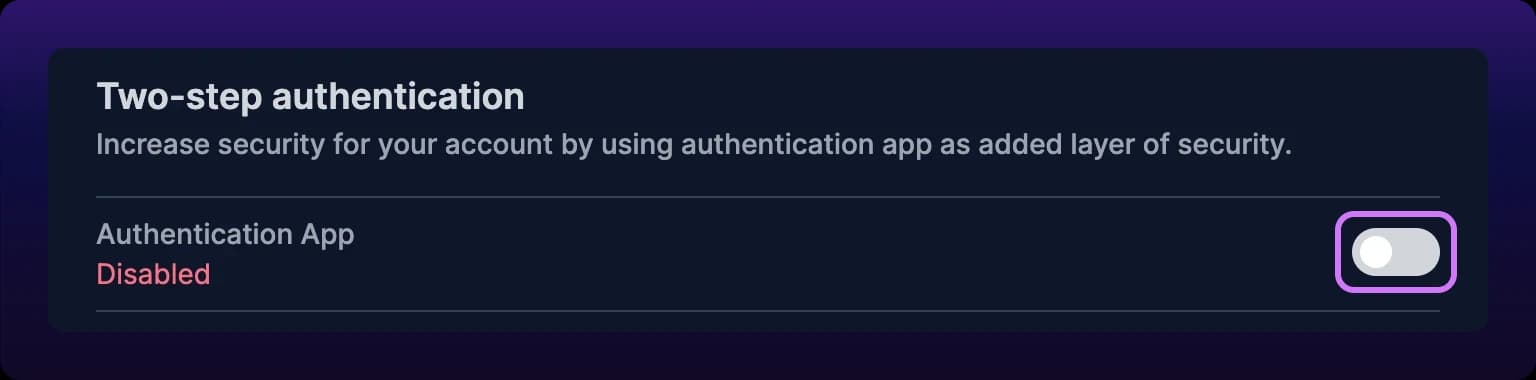
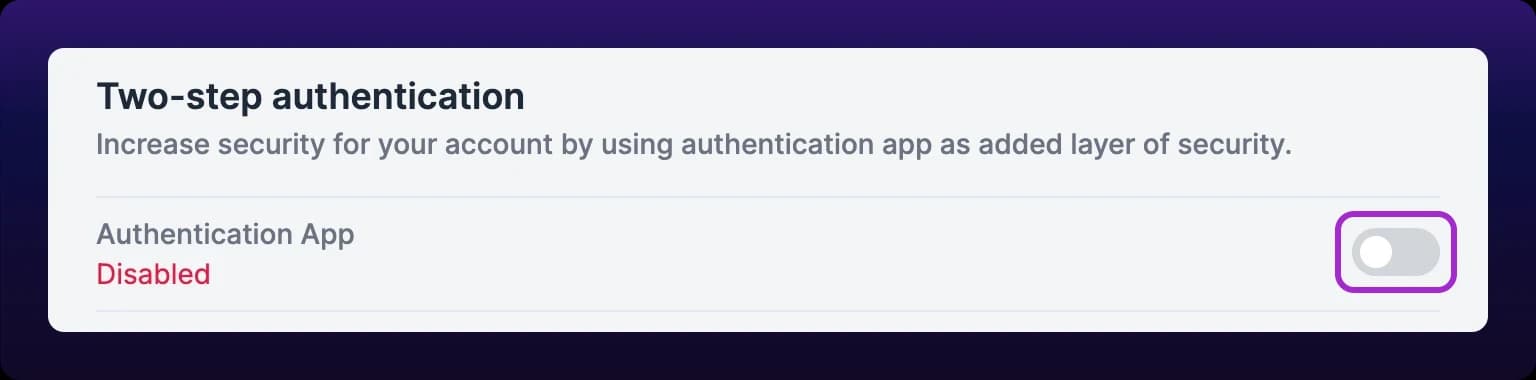 The Two-step authentication section at the bottom of Settings → Profile, with the Authentication App row reading Disabled and the toggle beside it off.
Scan the QR code
IoTFlows uses TOTP, the time-based one-time password standard every authenticator implements, so the app is yours to choose: 1Password, Authy, Google Authenticator and Microsoft Authenticator all work.
- Open the authenticator app and start adding an account.
- Point it at the QR code in the dialog.
- Select Next.
The entry your app creates is labeled IoTFlows, with no email address on it. Rename it to include yours if you hold more than one IoTFlows account, because two entries otherwise look identical and only one of the codes works.
Do not photograph or share this screen. The QR code carries the secret itself, and anyone who scans it can generate your codes. It is shown once and cannot be retrieved later.
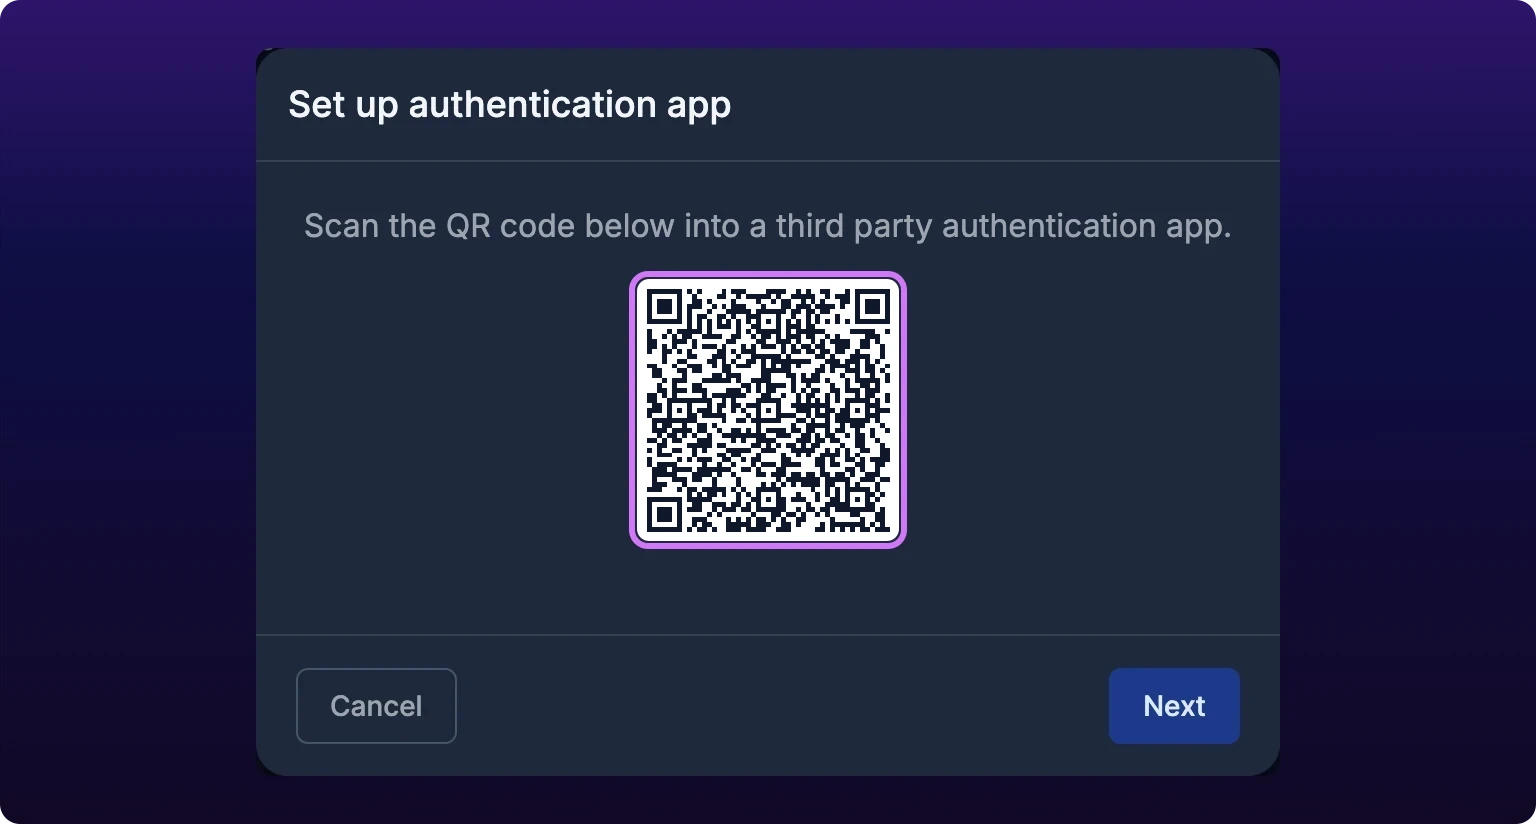
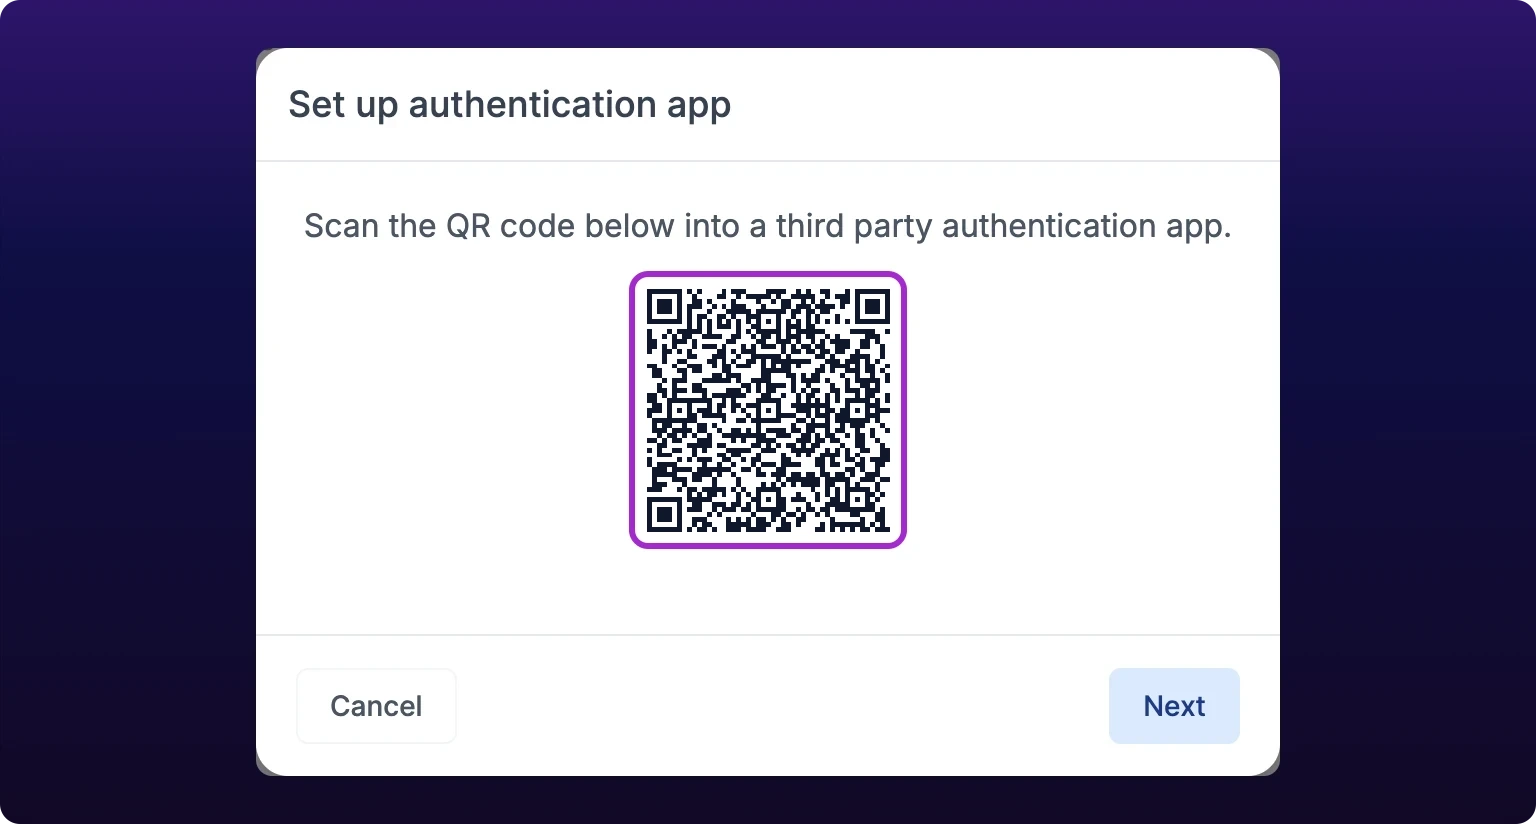 The Set up authentication app dialog, showing the QR code to scan into an authenticator app. The code pictured here is a stand-in, because a real one carries the account secret.
Confirm a code
The dialog becomes Confirm Authentication App and shows six single-digit boxes. Type the current code from your app. IoTFlows submits it the moment the sixth digit lands, so you rarely select Submit.
A rejected code clears the boxes and prints the reason in red beneath them. Codes expire every 30 seconds, so the usual cause is a code that rolled over between reading it and typing it: wait for the next one and type that. If every code is rejected, the phone's clock is the cause, and setting its date and time to update automatically fixes it.
Select Back to return to the QR code. It is the same code as before, so scanning it again does not strand the entry you already made.
When a code is accepted the dialog closes and the Authentication App row reads Enabled in green.
 The Confirm Authentication App step, cropped to the six code boxes where you type the code your authenticator app shows.

Signing in afterwards
From the next sign-in on, your password is followed by a Two-step authentication prompt with the same six boxes. The prompt appears on the web, on iOS and on Android. Sign in to IoTFlows covers what you see there.
Enrollment is the web-only part, not the use.
Where two-step authentication applies
| Action | Web | iOS | Android |
|---|---|---|---|
| Enter a code at sign-in | Yes | Yes | Yes |
| See whether the setting is on | Yes | Yes | Yes |
| Start enrollment | Yes | No | No |
| Turn the setting off | Yes | No | No |
| Recover a lost authenticator | Support only | Support only | Support only |
To turn two-step authentication off, turn the same toggle off. It takes effect immediately, with no code and no confirmation step, and the row returns to Disabled. Moving to a new phone is the same pair of actions: turn it off, then enroll again from the new handset.
If you lose your authenticator
There is no self-serve recovery. IoTFlows issues no backup codes, and the sign-in prompt offers no way past it, so an account whose authenticator is gone cannot be signed into at all.
Contact support from an address your organization can confirm and ask to have two-step authentication cleared. You then enroll again from the start.
Two things make that call unnecessary. Use an authenticator that backs its entries up to an encrypted cloud account, so a lost phone is a restore rather than a recovery. Or scan the QR code into two devices during enrollment, which leaves both generating the same codes.
See also
- Sign in to IoTFlows, the code prompt on each client
- Update your profile and handles, the rest of the settings on this screen
- Change your phone number, the other account security setting
- Get support, for a lost authenticator
How to add or change the phone number on your IoTFlows account, and why an account without one cannot receive SMS alerts. The number lives on your account rather than on an organization, so one number follows you into every organization you belong to. Select Edit in the Profile section at /settings/user, then Edit Phone Number, pick the country from the flag dropdown, type the rest of the number and Submit. IoTFlows texts a code; type it into Verification code and select Verify. Your profile is only written when the code is accepted, so abandoning the dialog at the code step leaves the old number in place. There is no resend button: select Back and submit the number again. The SMS subscriber list on an alert rule reads this field, so a member without a number is listed as No phone number and cannot be added.
How an Organization Owner runs IoTFlows billing at /{organization}/settings/billing, the one settings page no other role can open. The page holds a Customer Billing email that every invoice and payment failure is sent to, a list of payment cards added through Stripe, and two tabs: Current Invoice, which previews the period in progress, and Invoices, which lists issued invoices with Paid, Open, Draft, Void, and Uncollectible status chips and a downloadable PDF for each. Set the billing email to a shared finance address, because an unpaid invoice suspends the organization, suspension stops machine data collection, and the gap in the record is permanent.