

Classify a downtime event
Every way to put a reason on a stop, and how to correct one you got wrong.
A downtime event is one stretch of a machine's timeline in the down state, as defined in Metrics. Classifying it means picking a category, adding a note if the category asks for one, and saving. Until you do, the stop counts as Unclassified on every report.
Prerequisites. A category list to pick from, see Manage downtime categories. You do not need to classify every stop by hand: rules in Classify downtime automatically handle short stops, shift edges and scheduled breaks.
Where you can classify
Each surface opens the same Classify Downtime modal, so the category list, the note field and the errors are identical everywhere. What differs is how many stops you can select and where the surface sits.
| Surface | Client | Single | Bulk | Split |
|---|---|---|---|---|
| Status bar segment on a machine page or in Operator View | Web | Yes | No | Yes |
| Activity list on a machine page | Web | Yes | No | Yes |
| All Downtime tab in Operator View | Web | Yes | Yes | Yes |
| Work-order detail | iOS app | Yes | Yes | Yes |
| Downtimes report | Web | Read only | No | No |
Choose the status bar for a stop you can see happening. Choose the Activity list or the All Downtime tab when you are clearing a backlog at the end of a shift. The Downtimes report ranks stops but does not edit them, see Analyze downtime with Pareto and trend charts.
Classify from the status bar
The status bar at the top of a machine page, /assets/selected-asset/:id, draws one segment per activity across the shift. An activity is one interval in a single state, running or down. Red segments are stops.
- Click the red segment. A card opens showing the start time, the duration and the current category, if any.
- Click the pencil icon. The Classify Downtime modal opens.
- Pick a category. Categories are grouped by severity, None to High, and a calendar icon marks the ones that stand for planned downtime.
- Narrow the list if it is long. Switch the grouping to Category Type, filter to Planned or Unplanned, or turn off Show Default to hide the built-in IoTFlows categories. See Open the category list.
- Type a note in Additional notes if the category marks it with an asterisk.
- Click Classify.
Gray on the bar is not downtime. It is a stretch where the sensor sent nothing, and it carries no segment to classify. See Troubleshoot an offline device.
 Classifying from the shift bar: click the stop you can see.

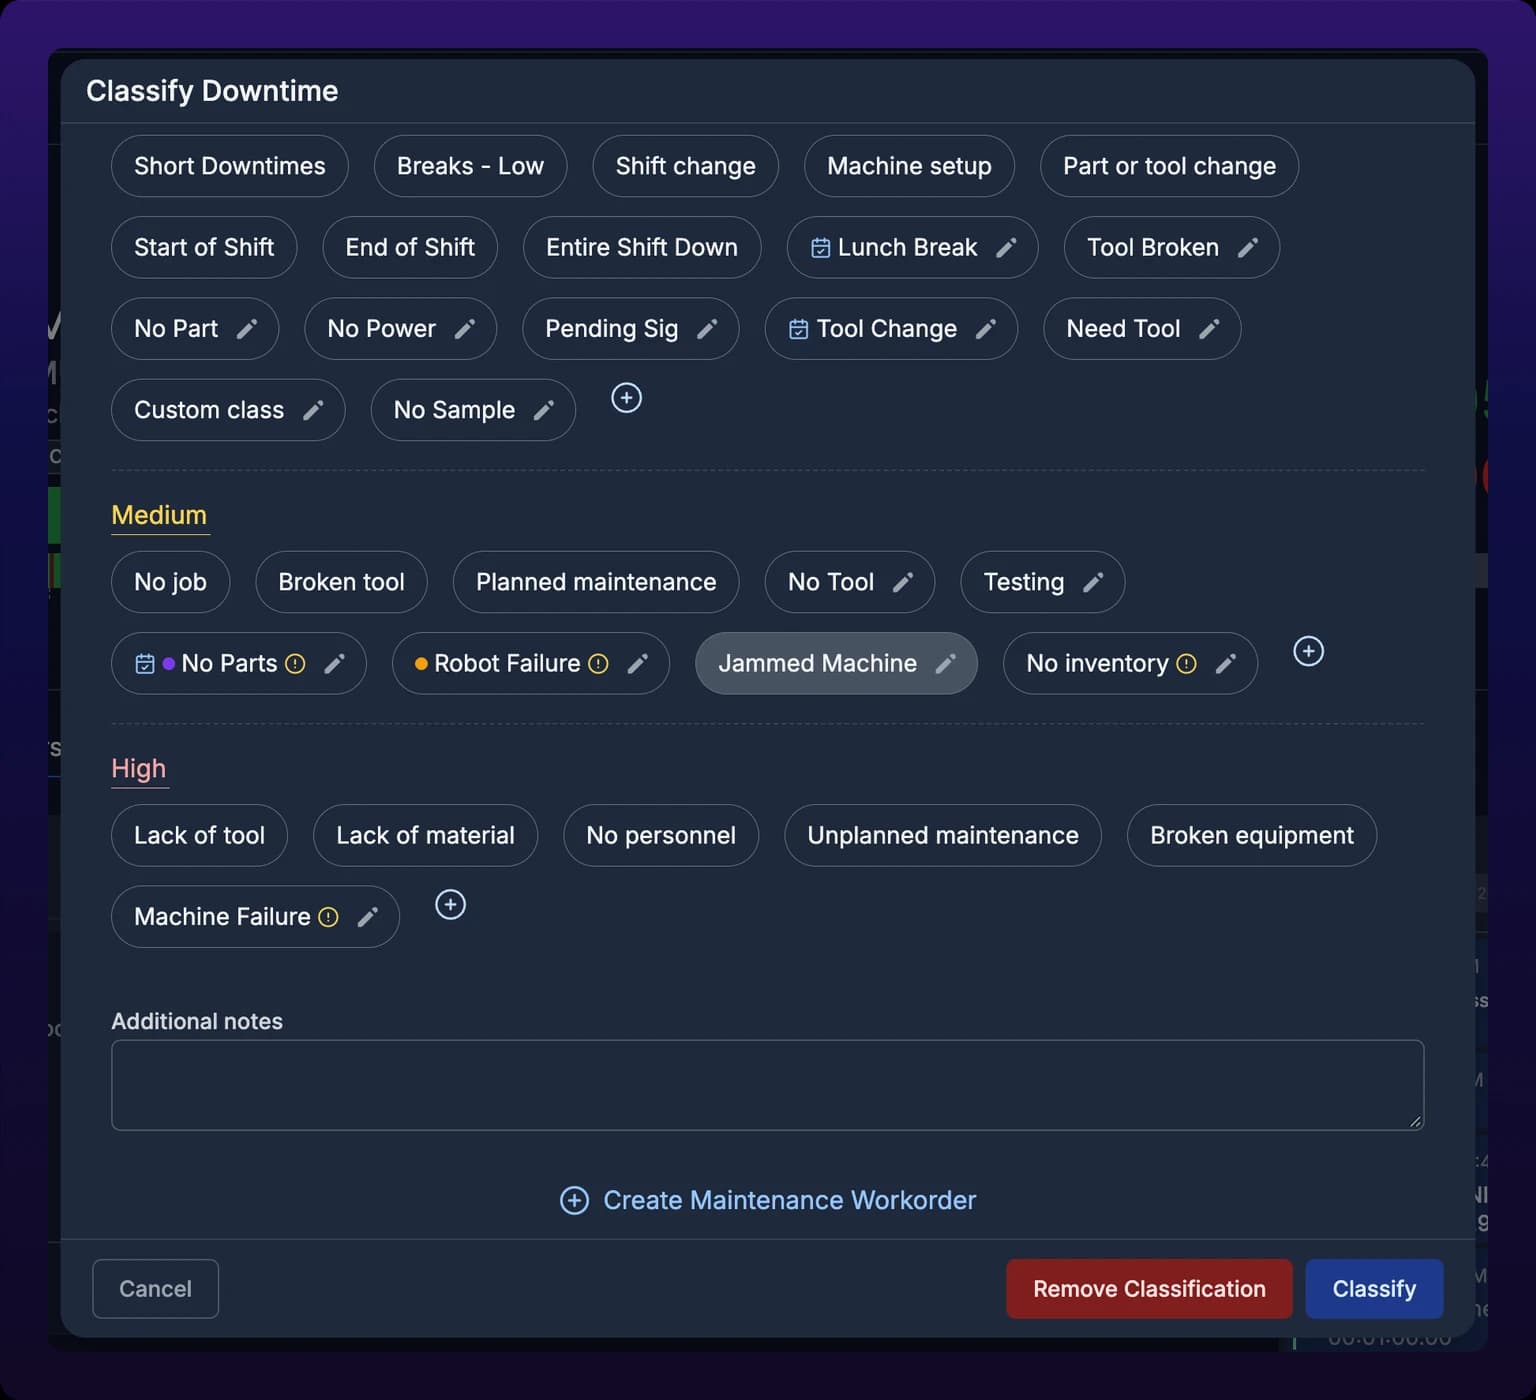
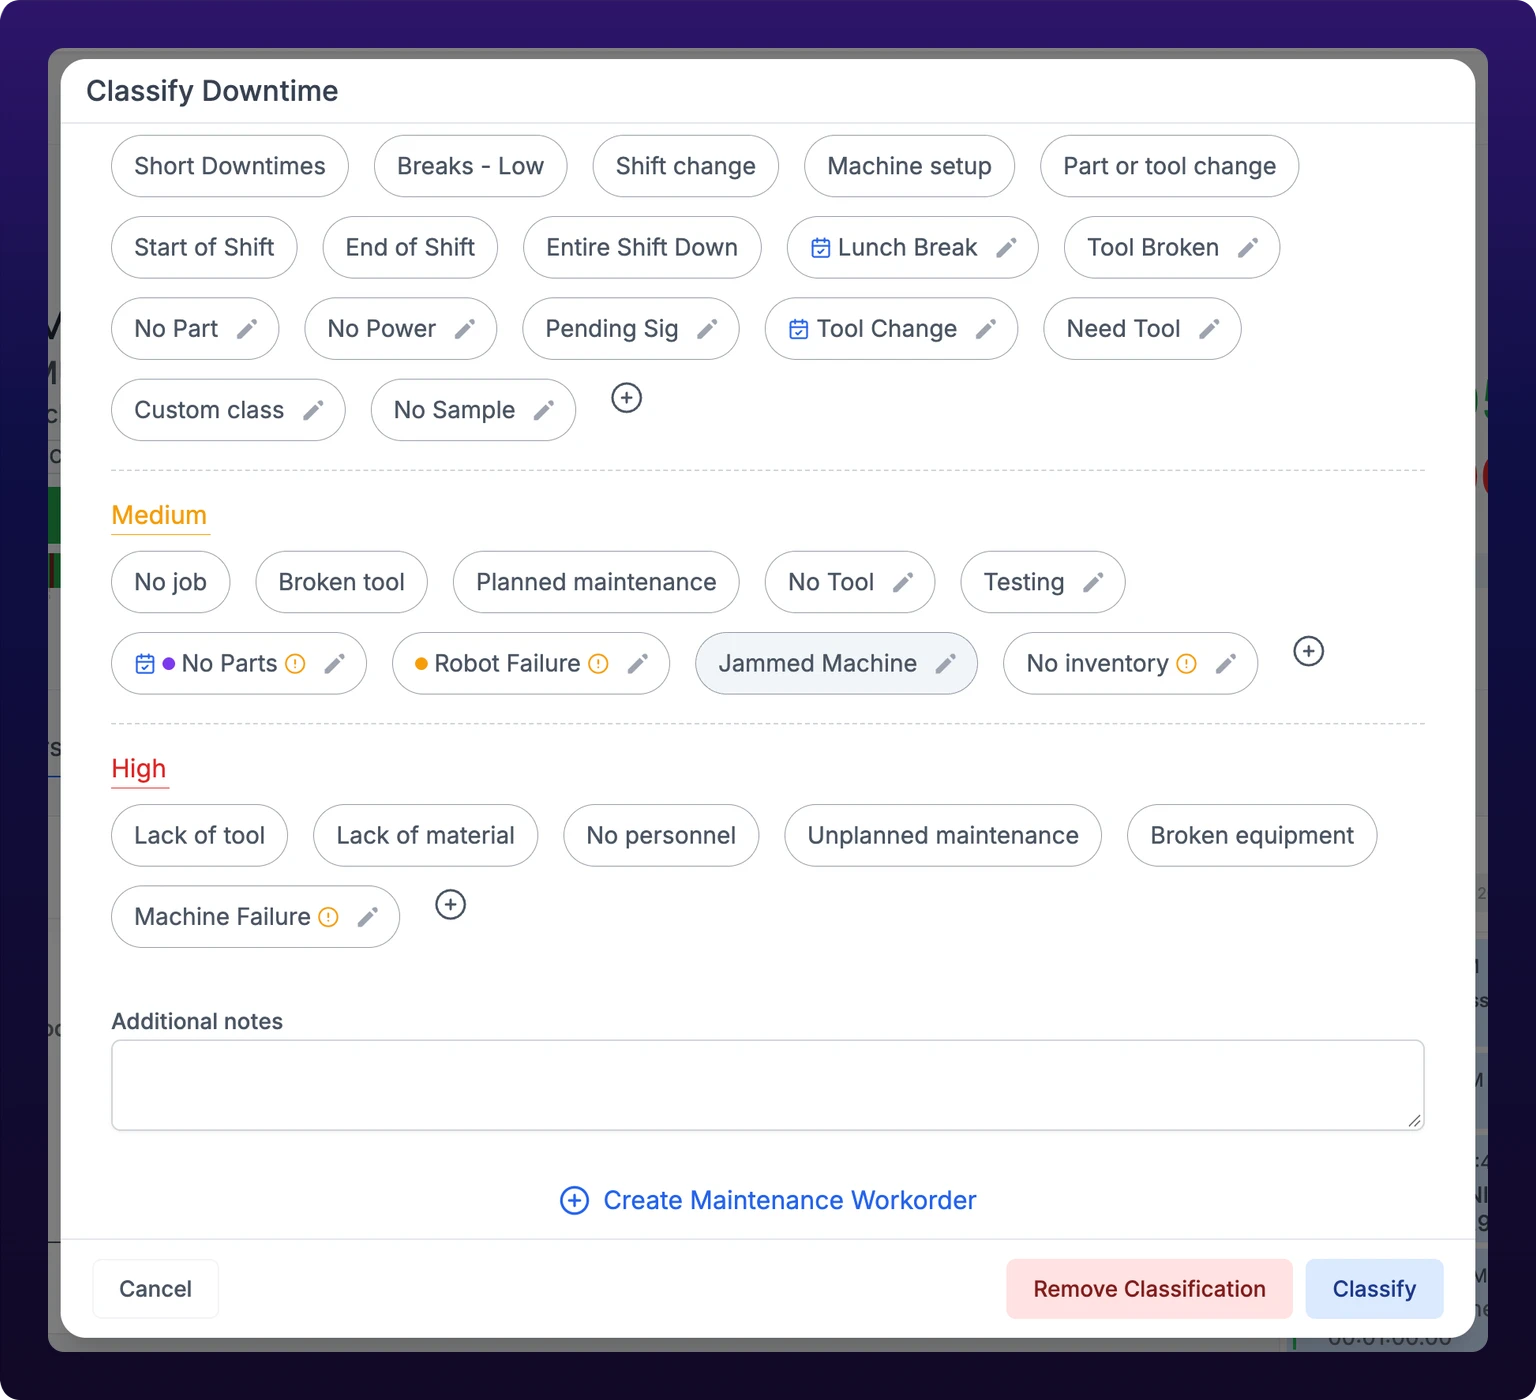 The classification modal. The note field is required for some categories.
Classify from a machine's activity list
The Downtimes report table is read only. The list for working through a backlog is Activity on the machine page, under the Analytics tab.
- Open the machine page and scroll to Activity.
- Click the Unclassified filter. The count beside it is the size of the backlog.
- On a stop, click the pencil icon and classify as in the status bar.
The Downtime Classifications section on the same page also carries a Classify button. It lists every stop in the section's date range, and you pick one from the list before the modal opens.
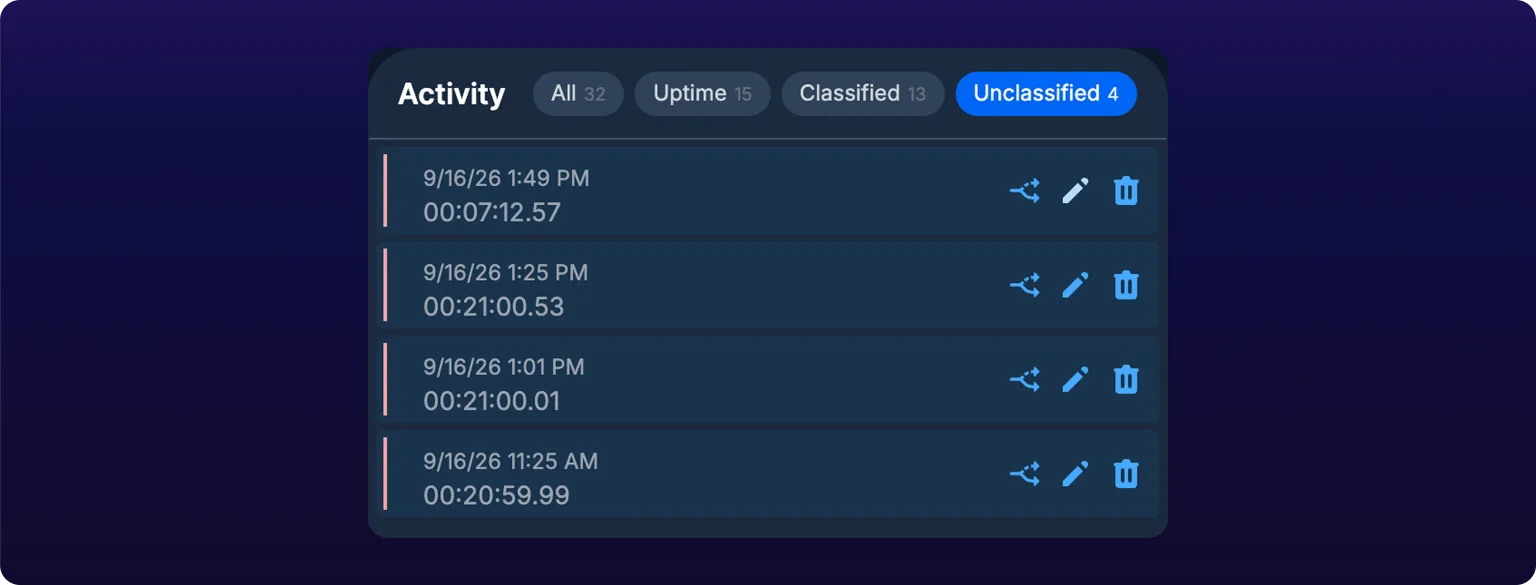
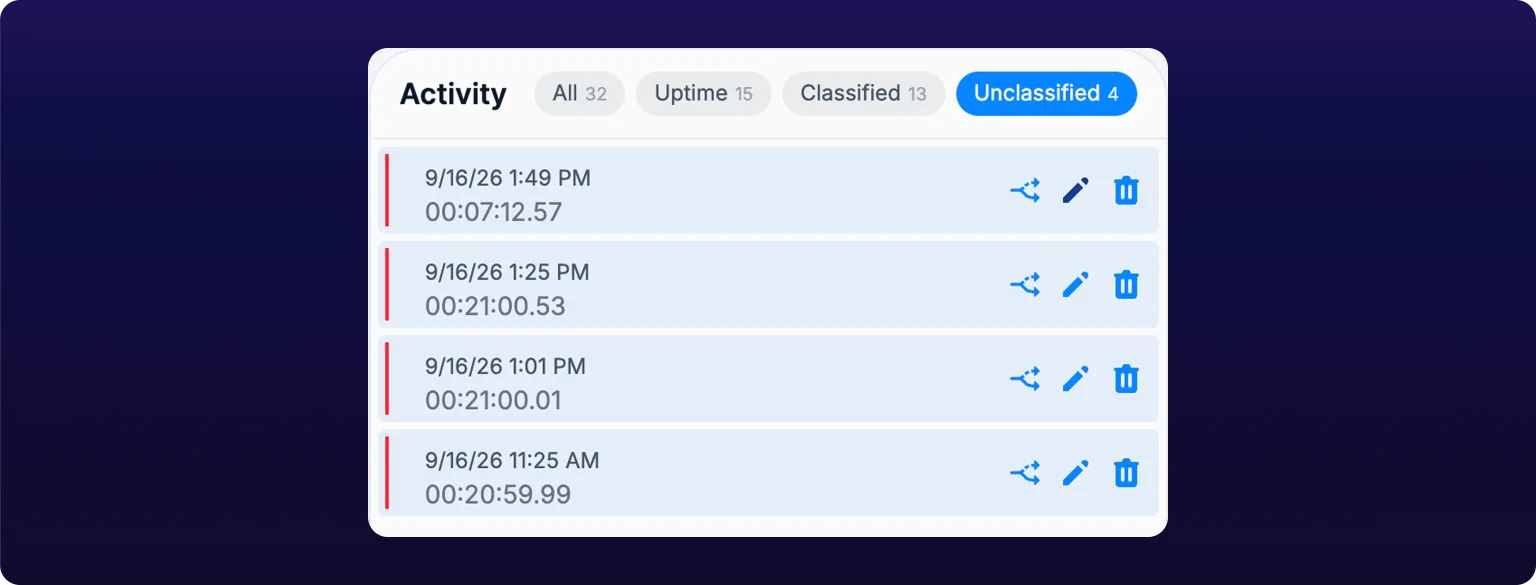 Classifying from the Activity list, filtered to Unclassified, when you are working through a backlog.
Bulk classify
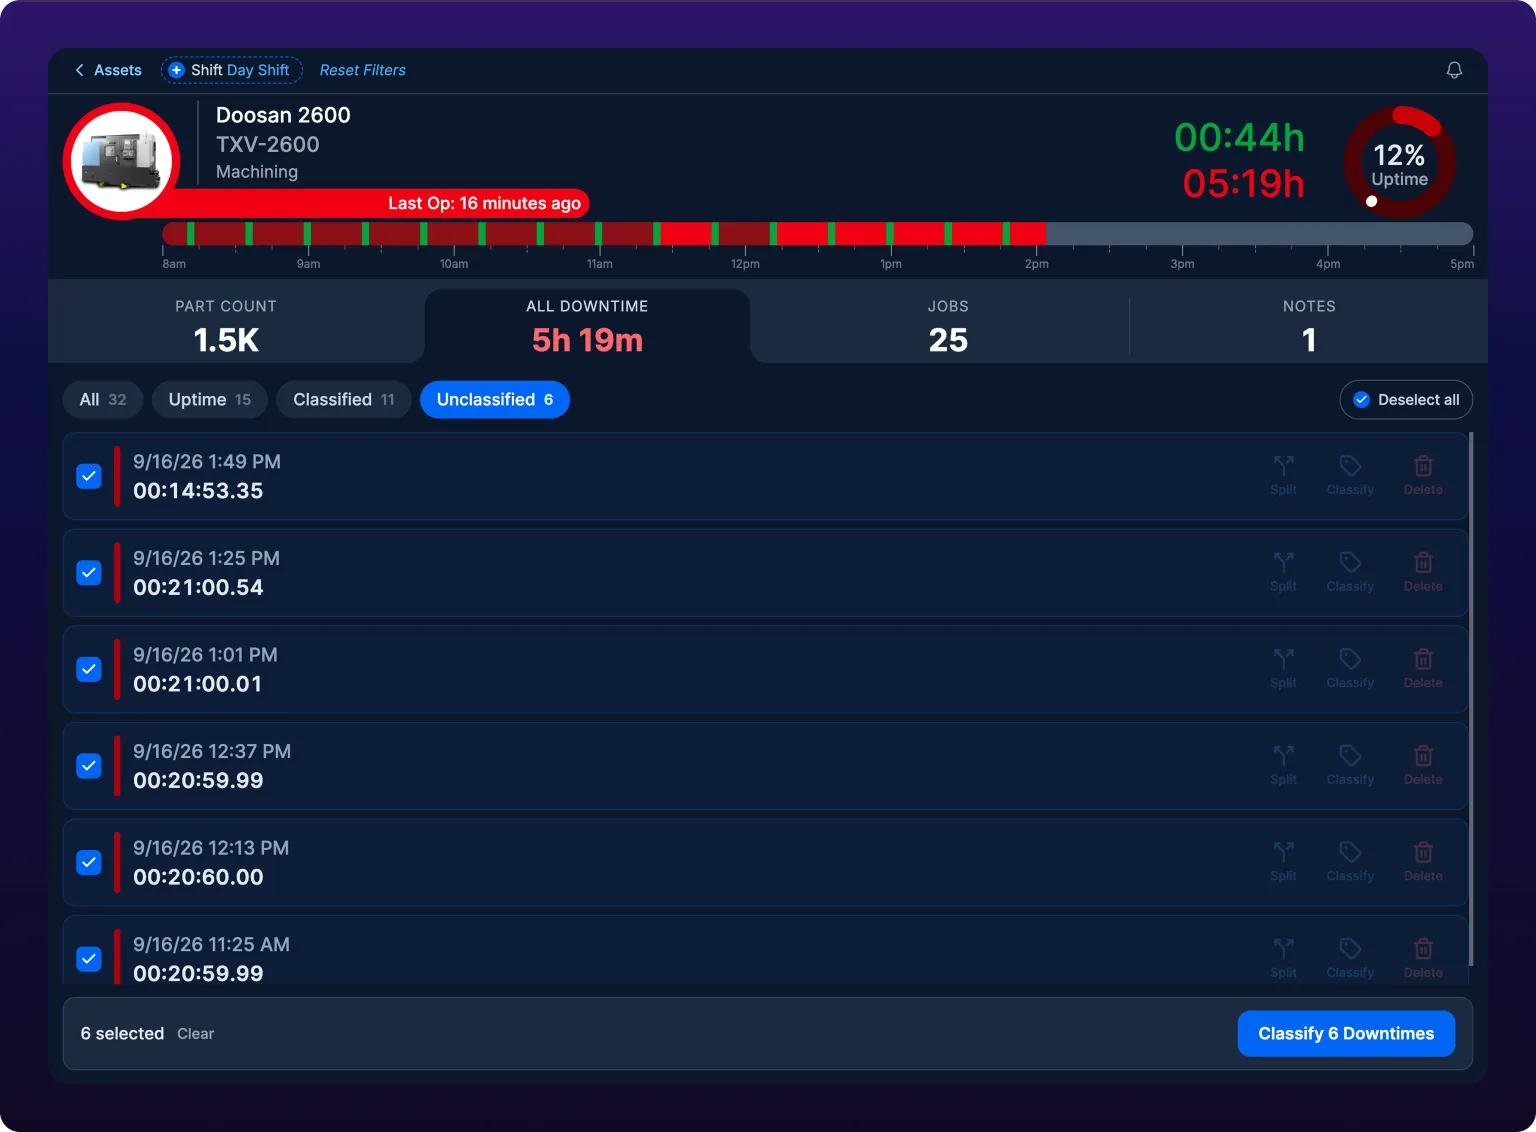
Bulk classification applies one category and one note to several stops in one save. On the web it lives in Operator View, see Use Operator View on the shop floor.
- Open the machine in Operator View and click the All Downtime tab.
- Click each stop to select it, or click Select all N unclassified.
- Click Classify N Downtimes in the bar that appears at the bottom.
- Pick a category, add a note, and click Classify N Downtimes.
Only unclassified stops are selectable. Use bulk for a run of stops that genuinely share one cause, for example five short stops during one mold wash. Do not use it to empty the backlog with a guess: six stops labeled Other teach the Pareto nothing.
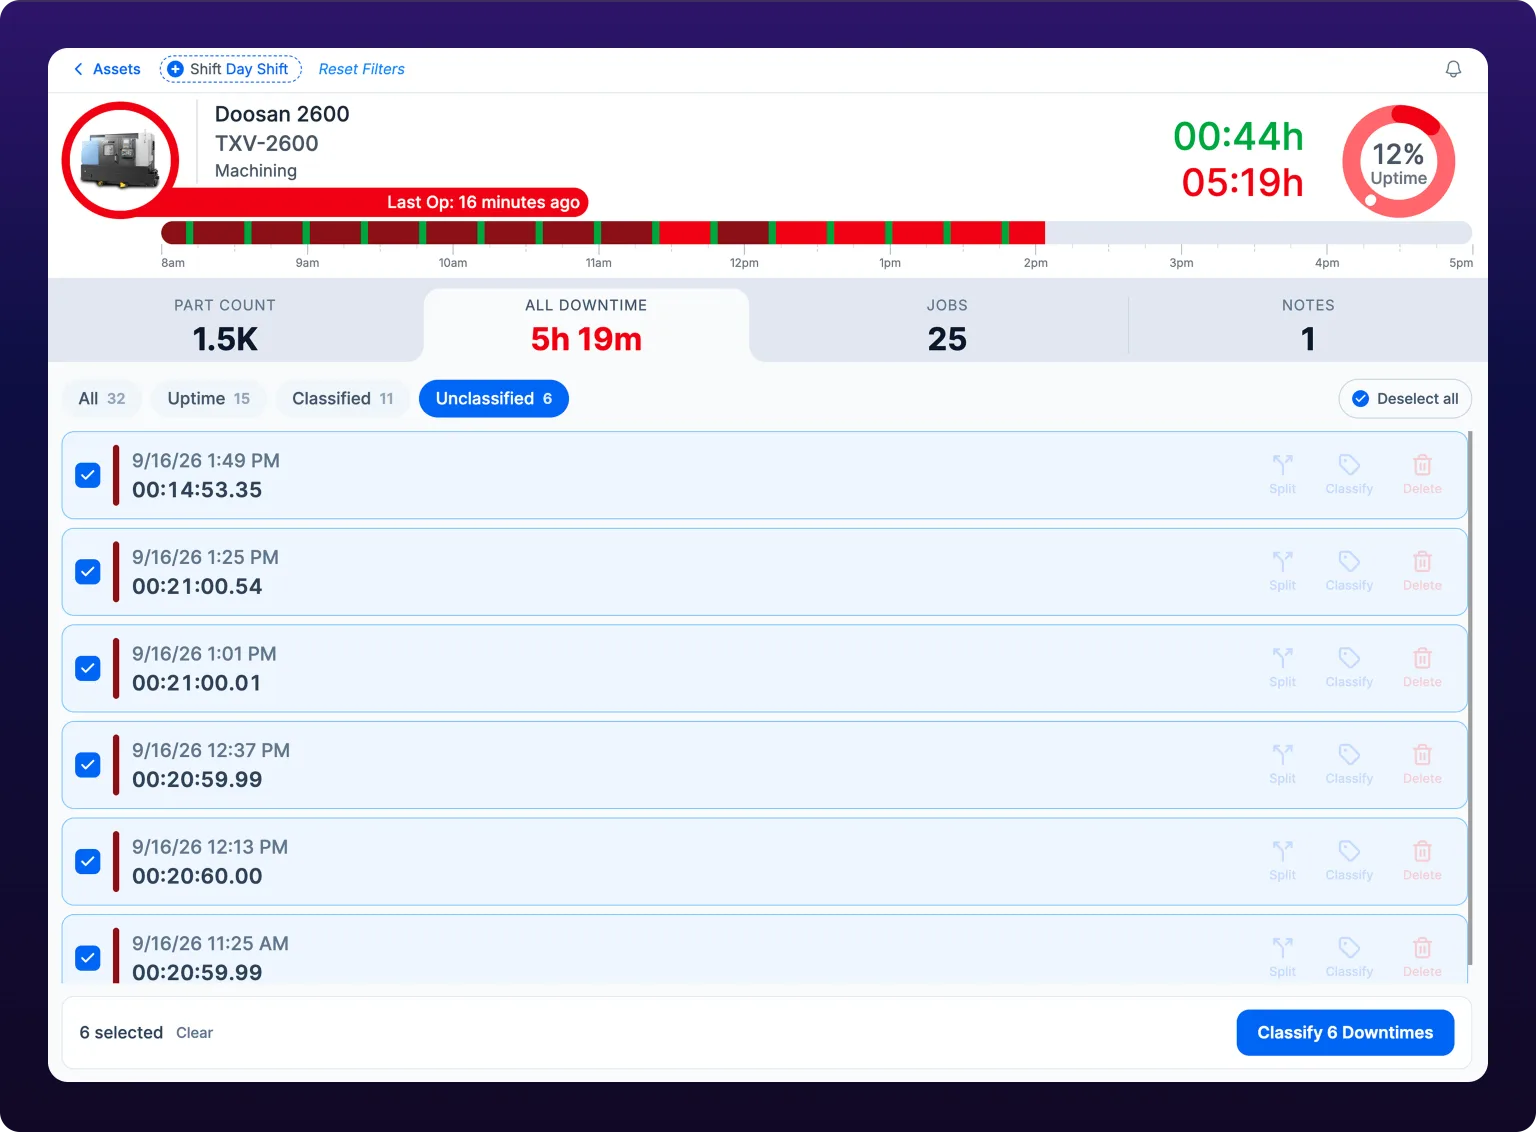 Bulk classification. Use it for a run of stops that genuinely share one cause.
Split a downtime
A split cuts one stop into two at a time you choose, so each half can carry its own category.
- Open the stop from the status bar or a list and click the split icon. The Split Downtime modal opens.
- Drag the Split time slider between the stop's start and end.
- Click Split. The toast says the split can take up to about 20 seconds.
- Classify each half.
Split a stop when one interval contains two genuinely different reasons, for example a 90-minute stop where a changeover ran into a breakdown at the 30-minute mark. Do not split to make a number look better; the Pareto is only useful if the categories are honest.
 Splitting a stop that contains two different reasons.

Change an activity's operation
Running activities carry the operation the machine was making. If the machine was running a different job than the one recorded, the counts land on the wrong part.
- In the Activity list, click the Uptime filter.
- Click the pencil icon on the activity. The Edit Activity modal opens.
- Pick the correct Operation and save.
This edits the activity, not the job. For the job itself see Run a job.
Unclassify
Removing a classification puts the stop back in the unclassified queue and keeps the interval itself.
- Open a classified stop.
- Click Remove Classification, in the modal or on the card.
- Confirm Remove.
Unclassify when the category was wrong and the right one is not yet known. If you already know the right category, classify again instead: the new category replaces the old one in one step.
 Removing a classification puts the stop back in the queue.

Delete an activity
Deleting removes the activity record itself, not only its category. Use it for an activity that did not happen, for example a stop recorded while a sensor was being remounted.
- Open the activity from the status bar or a list.
- Click the trash icon.
- Confirm Delete.
You do not need delete to fix a wrong reason. That is unclassify or a new classification, and both keep the history.
Create a work order from a stop
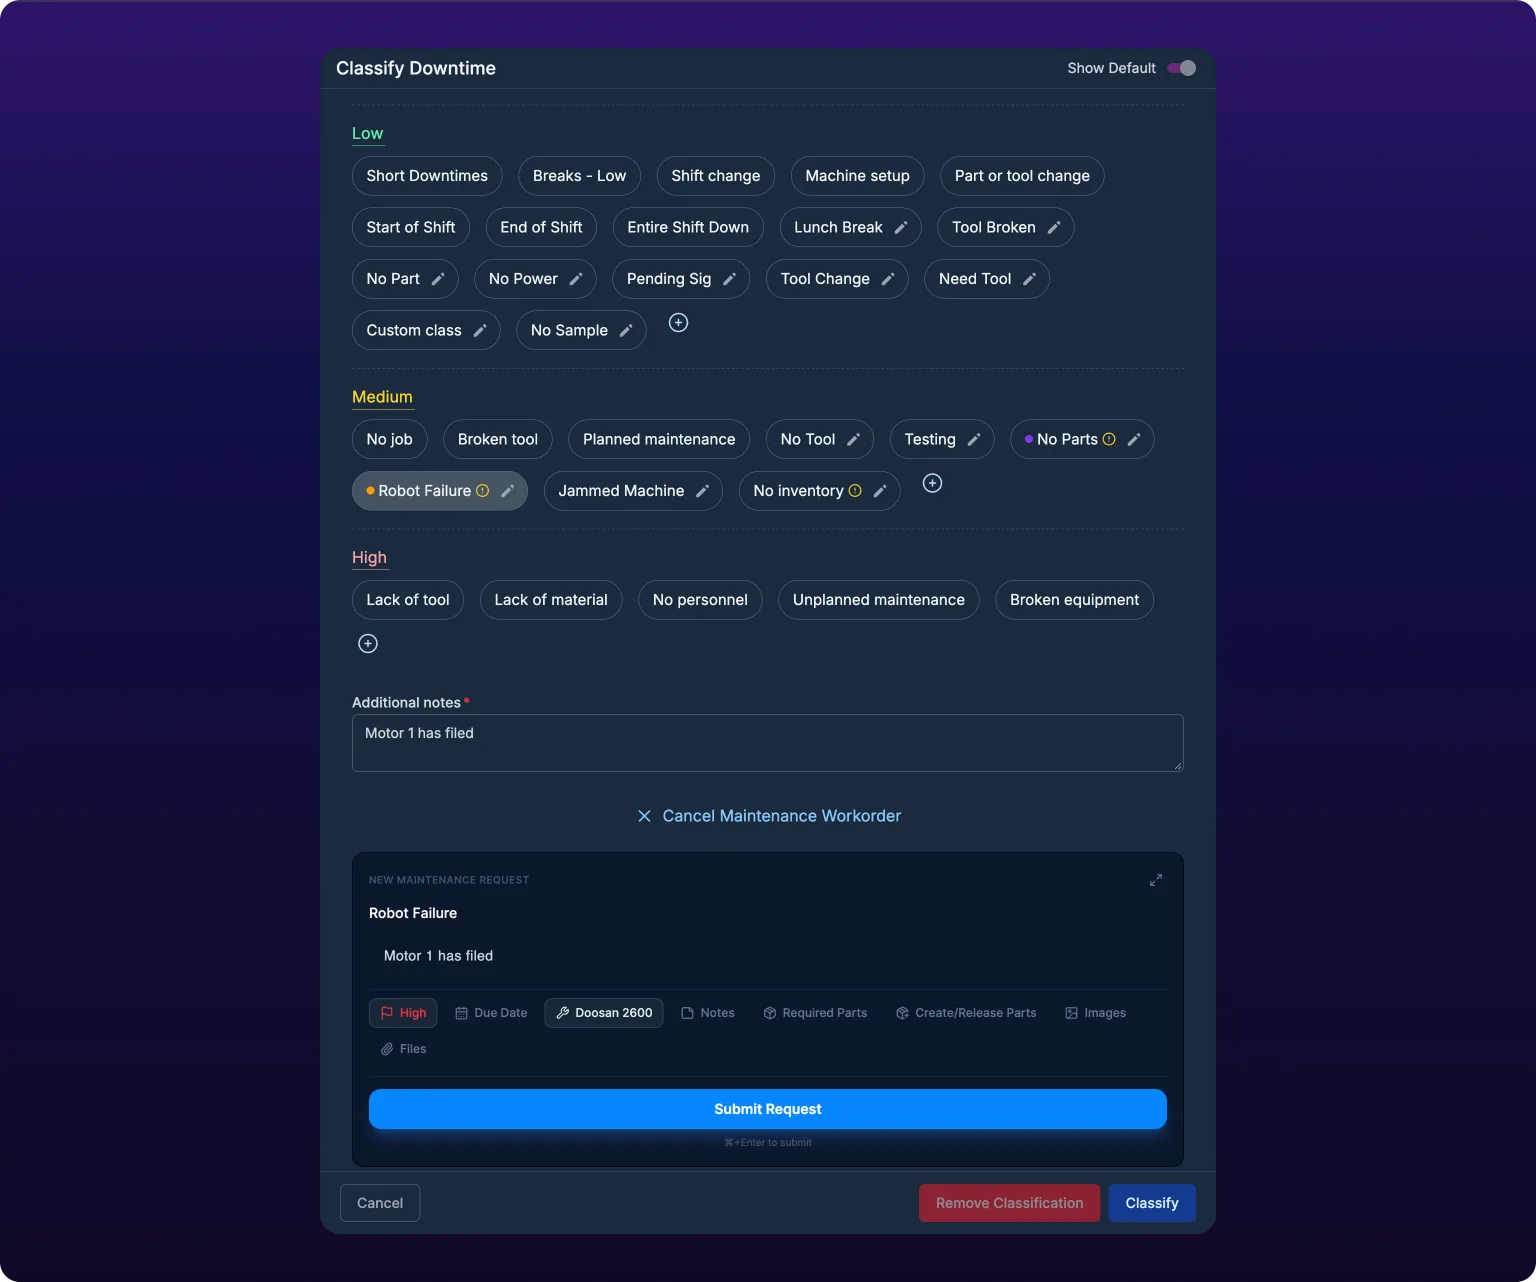
A stop that needs maintenance can become a work order without leaving the modal.
- In Classify Downtime, click Create Maintenance Workorder.
- Fill in the panel that expands. The title is prefilled with the category and the description with your note, and the machine is set to the one whose page you are on.
- Click Submit Request, then click Classify.
Fields and follow-up are on Create a work order.
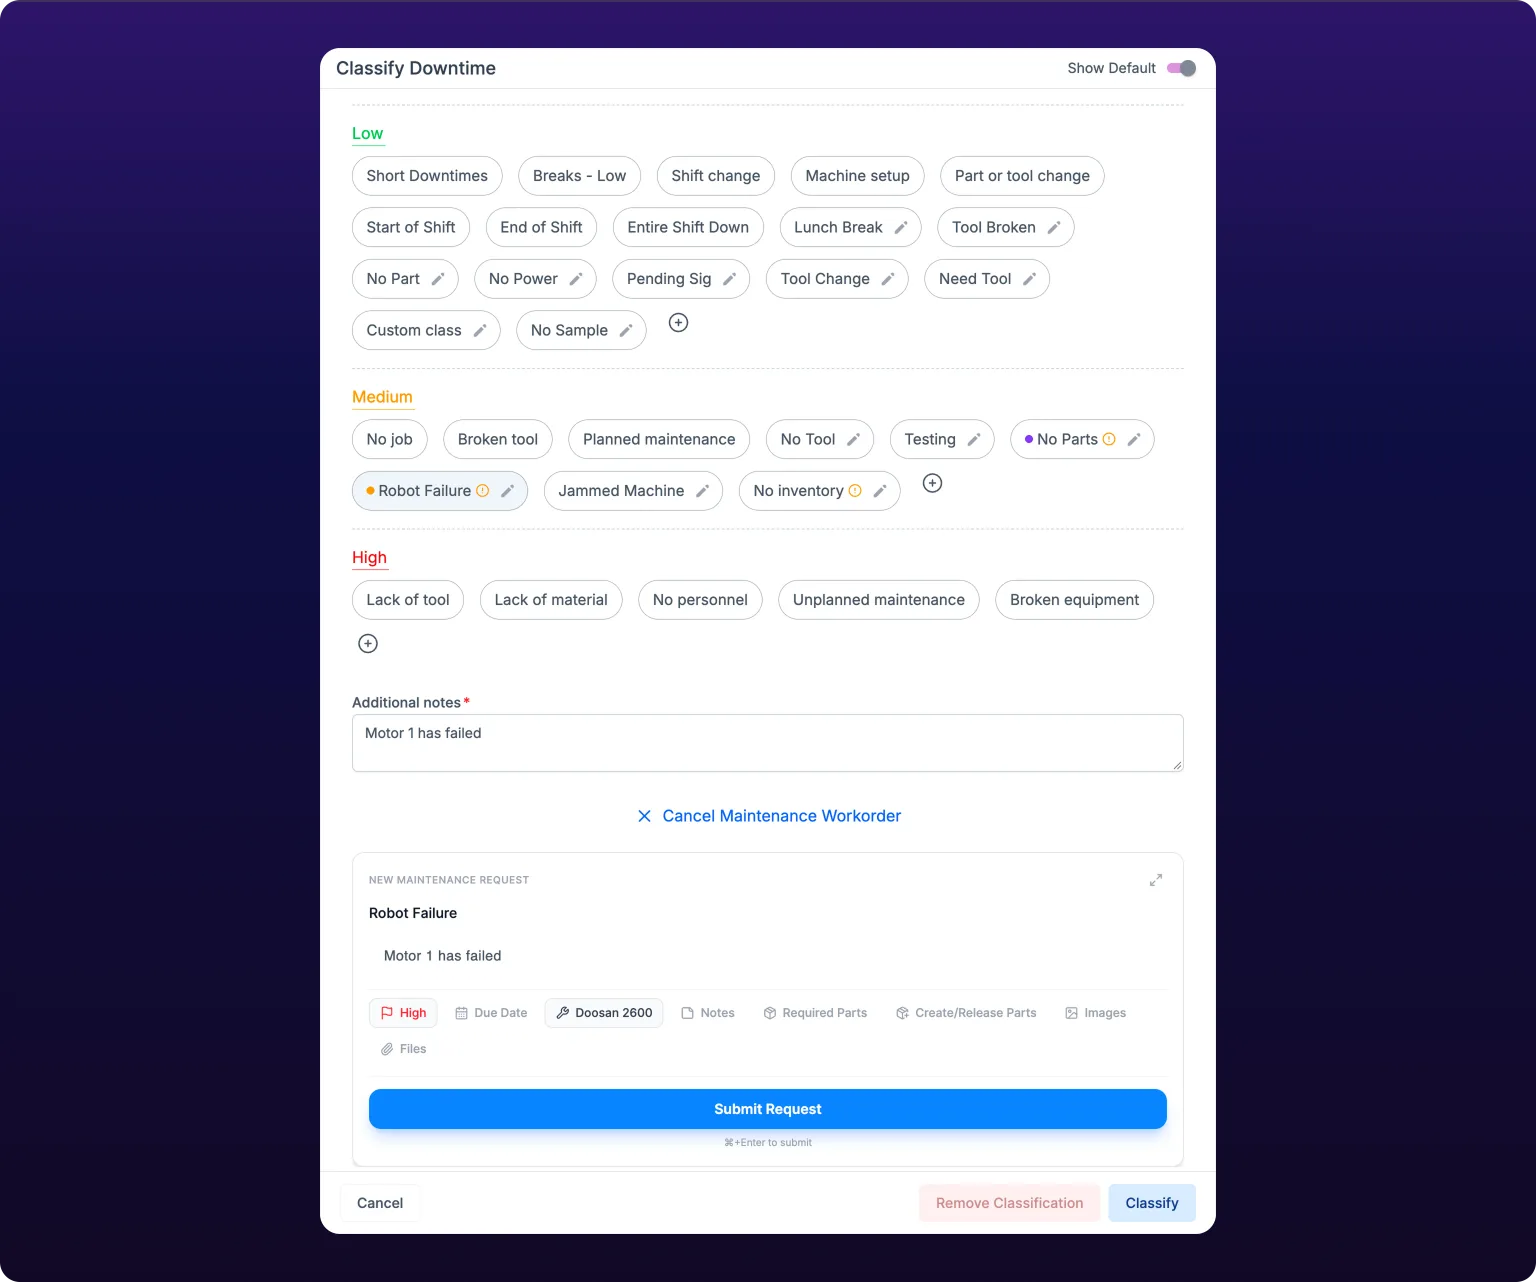 Turning a stop into a maintenance work order without leaving the classification.
On mobile
In the IoTFlows iOS app, open a work order and tap Classify Downtime under the shift timeline. The badge on the button is the unclassified count. Tap one segment to classify it, or tap several to classify them together.
Each segment carries Split and Unclassify, but the app cannot delete an activity. The Android app shows downtime but cannot classify it. See Install the mobile app.
Errors
| Message | Means |
|---|---|
| This category requires an additional note | The category was configured with a mandatory note. Type one in Additional notes and classify again |
| Failed to classify | The save did not reach the server. Nothing changed; retry |
| Failed to remove classification | The category is still on the stop; retry |
| Failed to delete activity | The activity is still there; retry |
See also
From the blog
- How to run a weekly downtime review that fixes causesPut five blocks on one page, take the top reason down to a cause someone can change, and check each fix against a target set in advance. Worked example inside.
- How to track machine downtime and its causesLet a machine signal record every stop and ask operators only for the reason. A worked shift, rules that name routine stops, and a first-week checklist.
- Measure changeover time before you try to cut itTime changeovers from last good part to first good part, log internal and external work, and compare by type and median. A worked mold change shows how.
The Downtimes report ranks your downtime reasons by the time they cost, using a Pareto chart, a by-interval trend and a by-machine breakdown over a paginated table of individual stops. Filter by department or machine, shift, category, severity, and only-with-notes, sort by date or duration, pick a rolling date preset, and export the result as CSV or PDF. Shift islands, in the Shifts popover, reports a shift that crosses midnight entirely on the day it began.
Downtime categories are the reason codes operators pick from when they classify a machine stop. Create one under a severity heading, require a note on the reasons that need one, mark it as planned downtime, tag it with a category type, give it a color that carries through to the Downtimes report, rename it, and understand why deleting one unclassifies every stop that ever used it.