

Quickstart: count your first parts
One part, one operation, and a count on the screen you can trust.
IoTFlows counts parts from the signal the machine's sensor already reports, so this setup adds no hardware. You create a part, the thing the machine makes, then an operation, one step in making it. The operation carries the two settings that turn signal into counts, and the machine has to be told which operation it is running.
Allow about 20 minutes at the keyboard, plus the time the machine needs to make ten parts.
Before you start
- A machine already reporting to IoTFlows, with its running threshold set. See Quickstart: see your first machine's data.
- A stopwatch or a phone, for step 4.
This page takes one part through the whole path with no branches. You do not need to load every part you make before you count anything. One part on one machine tells you whether the numbers are right, and a wrong setup repeated across 40 parts is 40 things to unpick.
Create a part
- Open Production, then the Parts List tab, at
/production?select=parts_list. - Click Add Part. A part called
New Partappears at the top of the list, and the dashboard confirms with Part has been added. - Click the part's name, type the number your plant already uses, for example
BH-4021, and press Enter.
Name the part what the traveler and the purchase order call it. Everyone who later reads a count or a job is matching it against paperwork, and a part called Bracket v2 matches nothing.
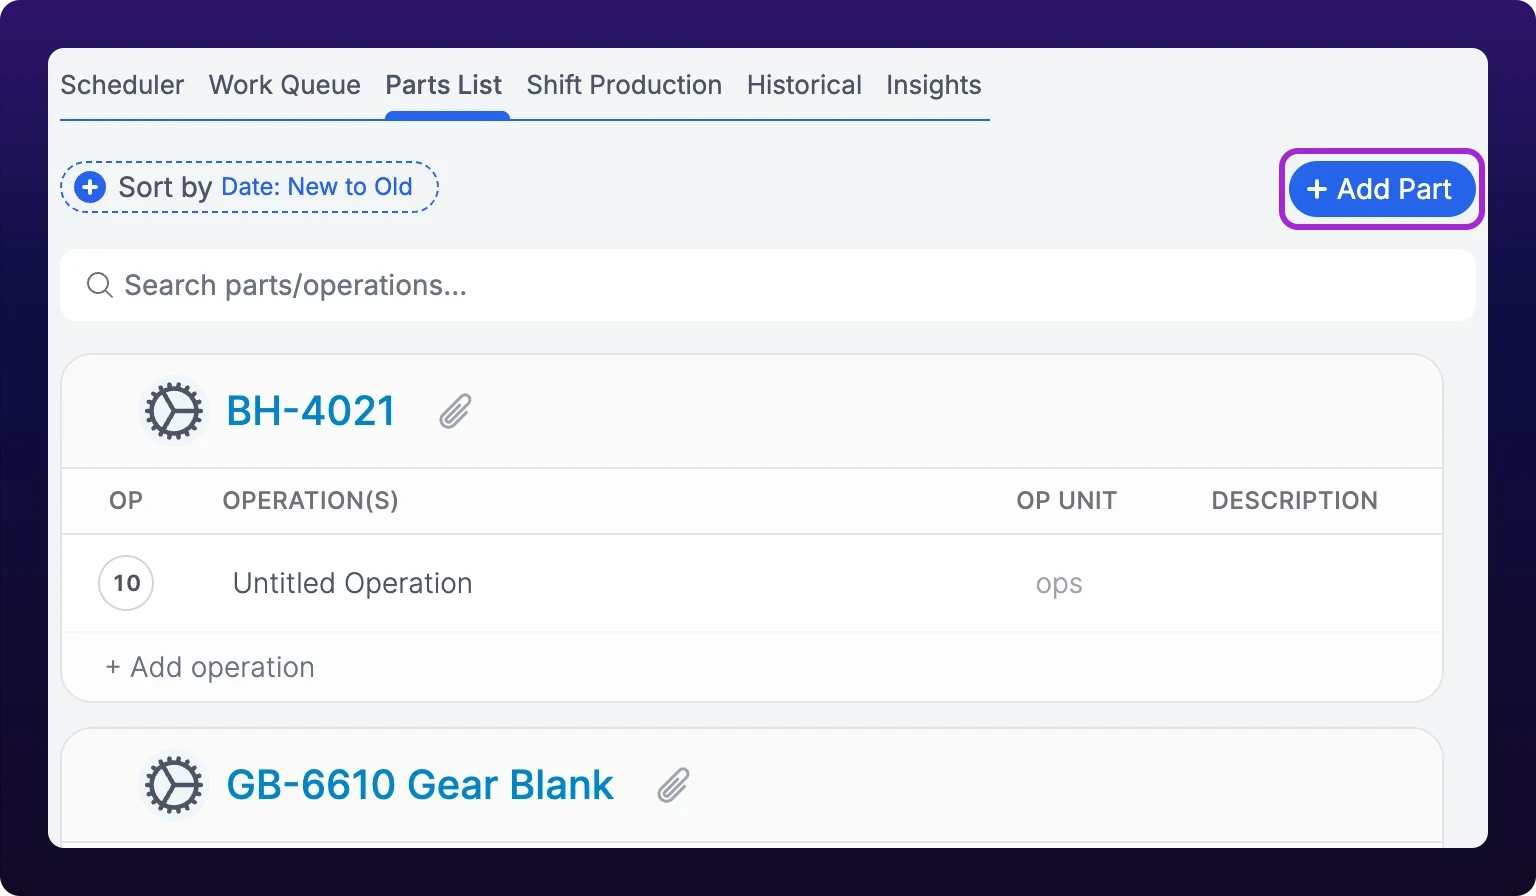 Creating a part. Use the number your plant already uses.
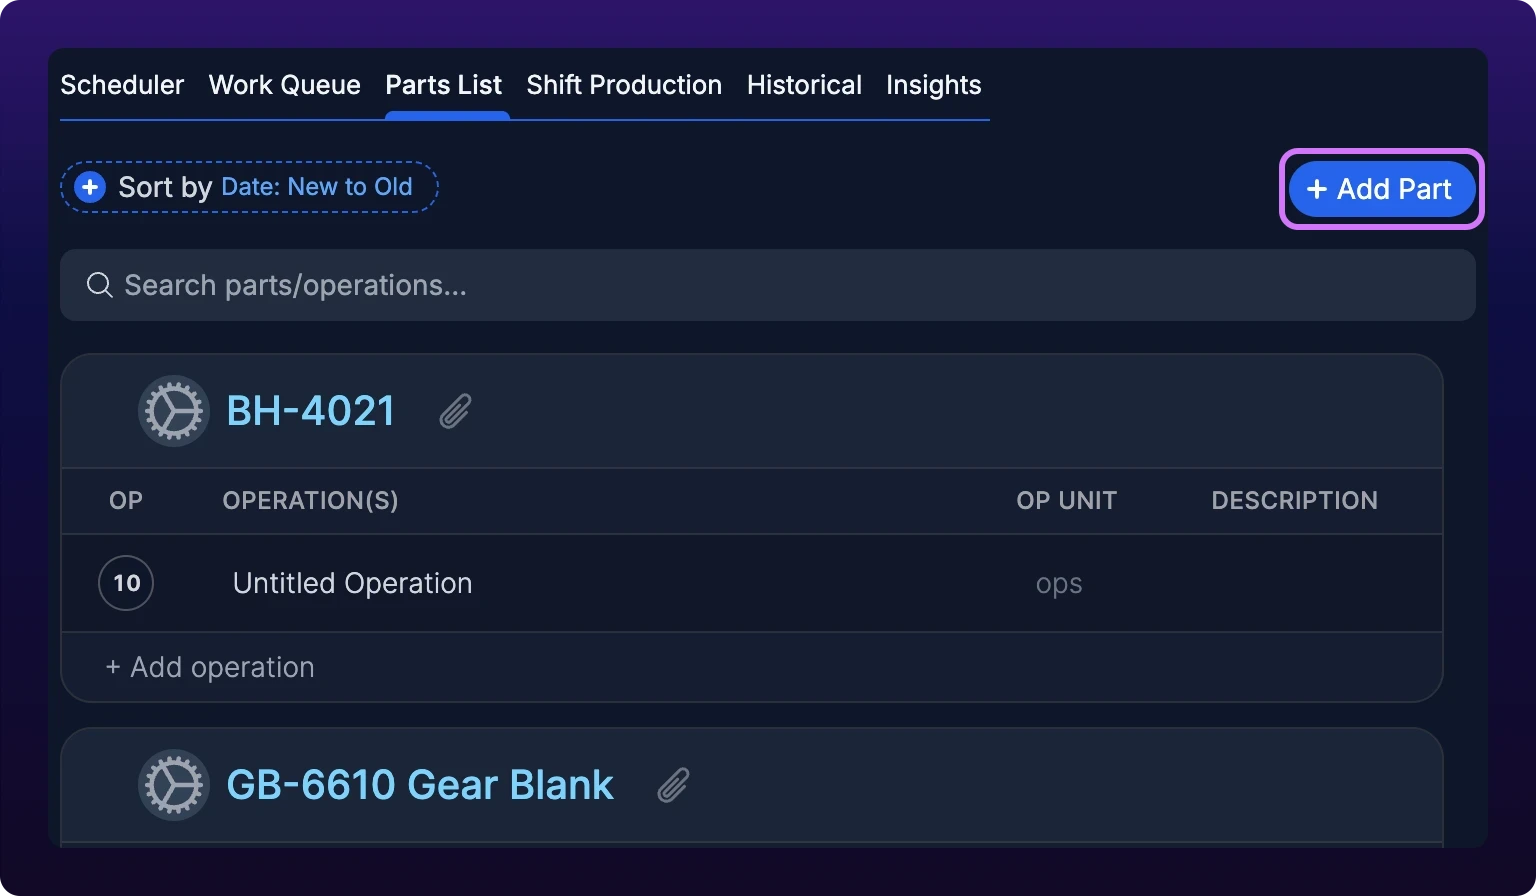
Nothing appeared when you clicked Add Part? The button creates the part straight away, with no dialog. If a red toast came back instead, the request failed and nothing was saved. Try again, and see Contact support and report bugs if it keeps failing.
Add an operation
An operation is one thing the machine does to the part, for example a roughing pass or a press stroke. Counts, cycle times and goals all hang off the operation, not the part.
- Click + Add operation at the bottom of the part's table.
- Type the operation name, for example
OP10, and press Enter. The dashboard confirms with Operation has been added. - Click the Description cell and describe the step, for example
Rough mill. - Click the circle in the OP column and set the step number, for example
10. The rows reorder themselves to match.
Leave QTY/OP at 1 unless one cycle of this operation finishes more than one part. A four-cavity mold is 4; a milling pass is 1.
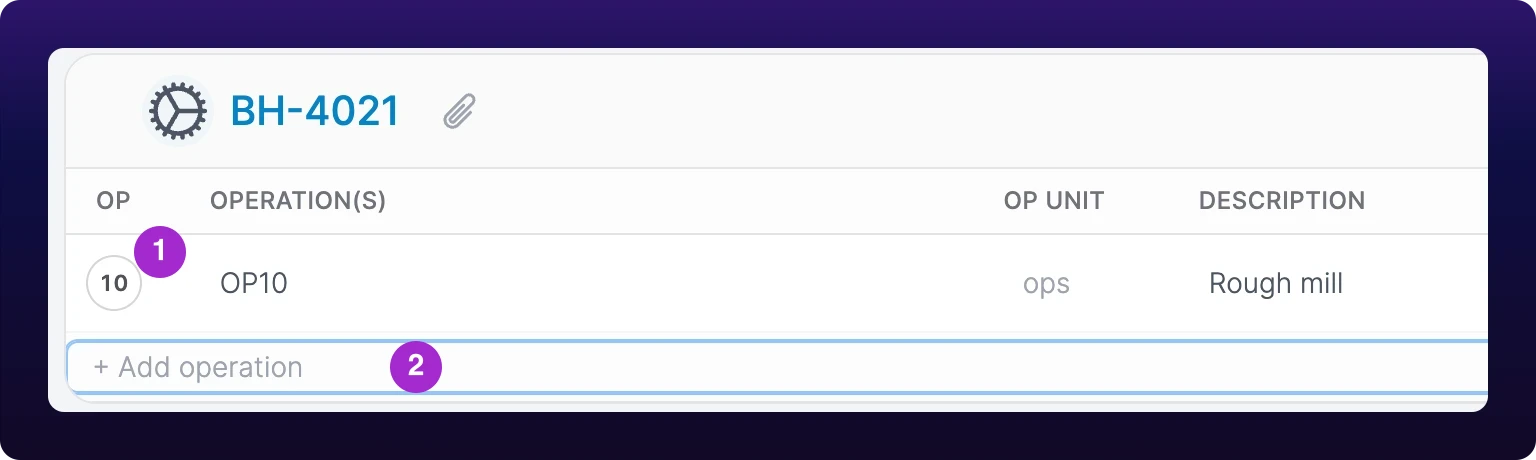 Adding OP10 to a part.
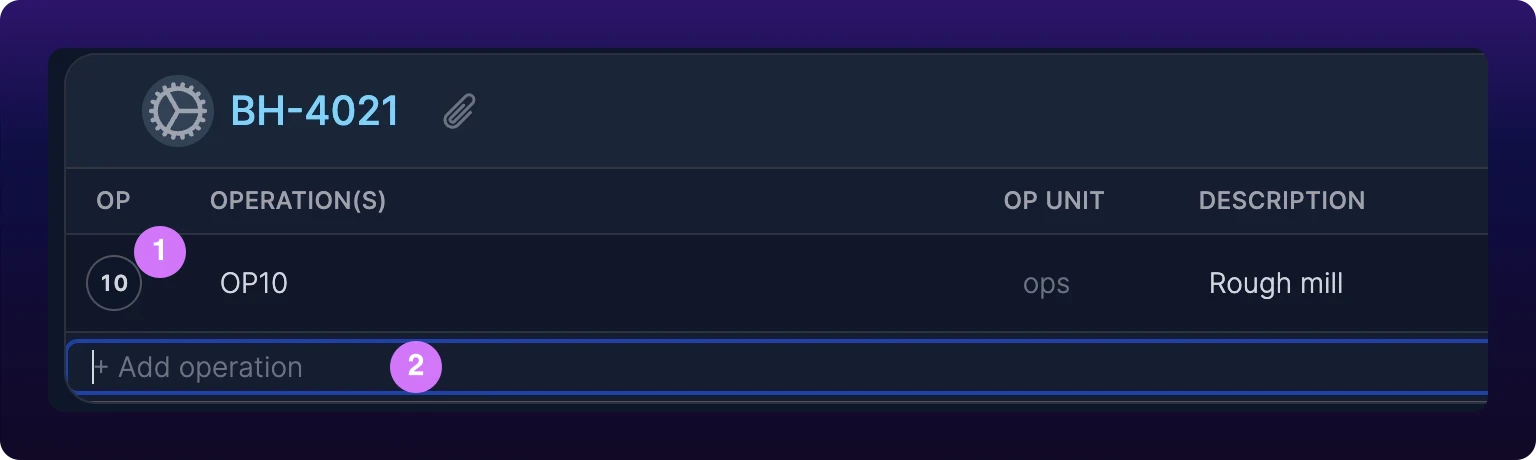
Create one operation per thing the machine does differently, not one per line on the router. Two router steps that run at the same rate on the same machine count correctly as one operation, and halve your setup.
Pick a detection algorithm
A detection algorithm is the rule IoTFlows applies to the sensor's signal to decide that one cycle has finished. It is the single biggest influence on whether the count matches the floor.
- Click Select Algorithm in the operation's Algorithm column.
- Hover an option to read what it detects.
- Click the one that fits. It saves as you pick it.
The device narrows the choice before you do. A BeamTracker takes Counter and nothing else, and a SenseAi or SenseAi Embedded takes one of the three analysis algorithms.
On a SenseAi machine nobody has measured yet, start with Discrete Analysis. It adapts to cycle-time variation instead of assuming a fixed cycle. Which to pick, and how to tell when you have picked wrong, is on Choose a production tracking algorithm.
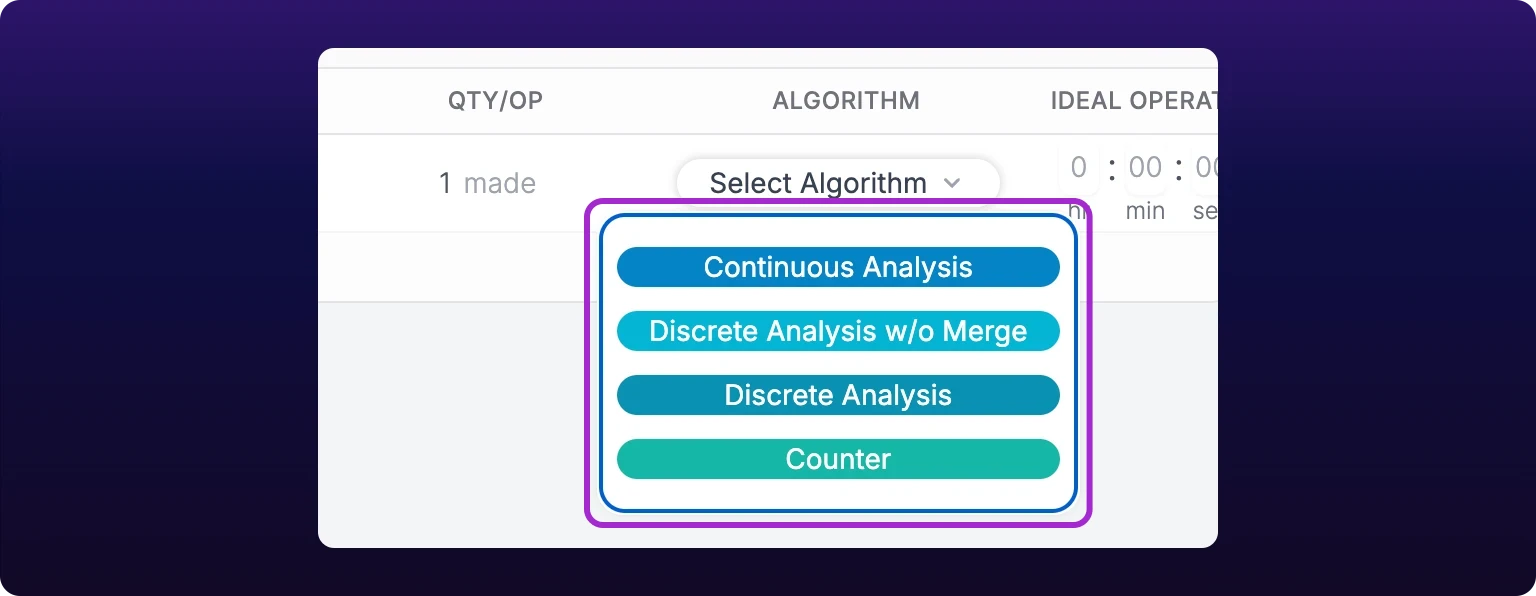 The detection algorithm. Which one to pick is on its own page.
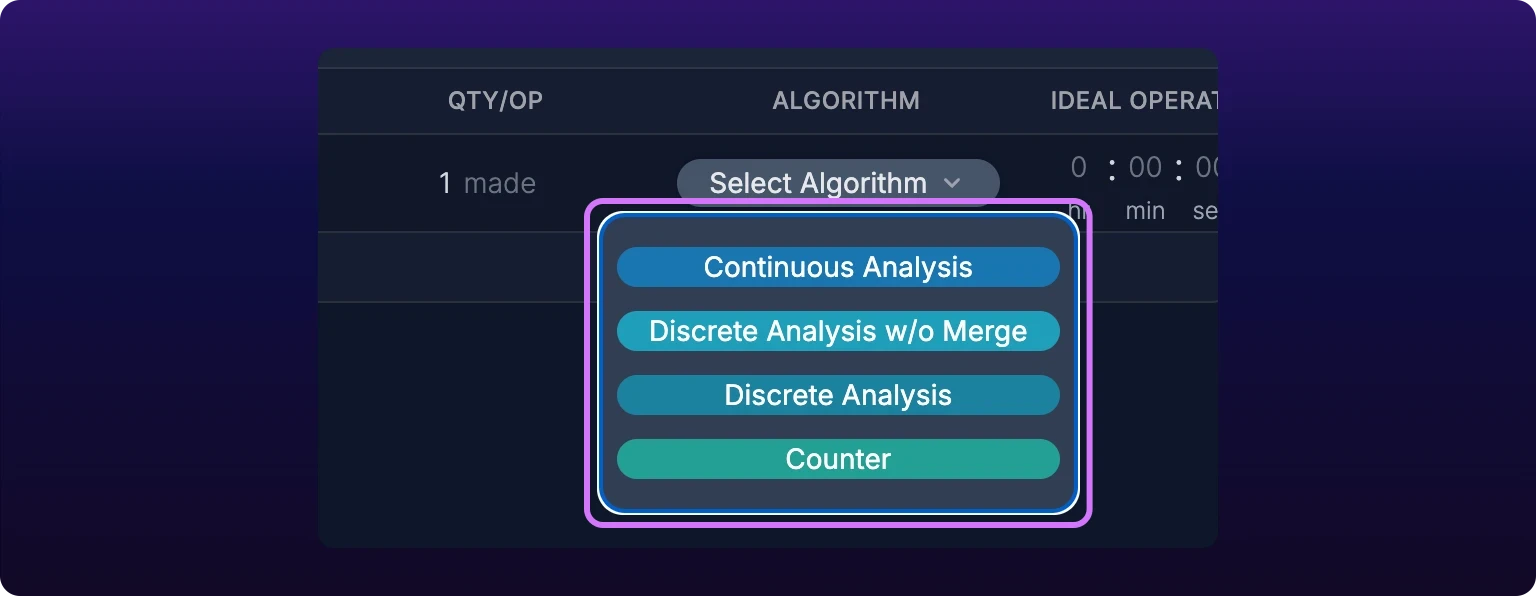
Set the algorithm before you go on. An operation with no algorithm never appears in the assignment list in step 5, and the modal says so.
Set the ideal cycle time
The ideal cycle time is how long one good cycle of this operation takes when the machine runs well. Continuous Analysis divides running time by it to produce the count. The other three algorithms count the signal directly and read this number for goals and pace.
- Time 10 to 20 complete cycles with a stopwatch, from the start of one to the start of the next.
- Average them. Five cycles at 4:15, 4:30, 4:10, 4:25 and 4:20 average to 4:20.
- Click the Ideal Operation Cycle Time cell and type the average across the
hr,minandsecboxes. The box after the decimal point takes hundredths of a second, so a 1.33 second press stroke is1then33. - On the two Discrete algorithms, leave the
%box at its default of10. It is how far a cycle may vary and still be read as this operation, and the cell shows the resulting range on hover.
On a Counter operation the cell opens on a rate in ops per minute instead of the clock boxes. The arrow beside it flips between the two, and both write the same number.
Enter the best sustainable cycle, not the fastest one ever recorded. Pace and the shift goal are both measured against this number, so a heroic figure makes every normal shift read as a failure. The full set of numbers this feeds, and the downtime filter that goes with it, are on Set cycle times and downtime filters.
 Ideal cycle time. Use the best sustainable cycle, not the fastest ever recorded.

Assign the operation to the machine
The operation now knows how to count. The machine does not yet know it is running this operation, and until it does, nothing is counted.
- Open Assets, click the machine, for example
HAAS VF-2, at/assets/selected-asset/:id. - Click Auto-Detect in the toolbar. Select Auto-Detect Operations opens.
- Pick the tab that matches your algorithm. A SenseAi machine shows Discrete and Continuous; a BeamTracker shows Count.
- Select your operation. The Discrete tab takes checkboxes, so you can assign every discrete operation the machine runs in one pass. Continuous and Count take one operation at a time.
- Click Auto-Detect. The dashboard confirms with Discrete Auto-classification Set.
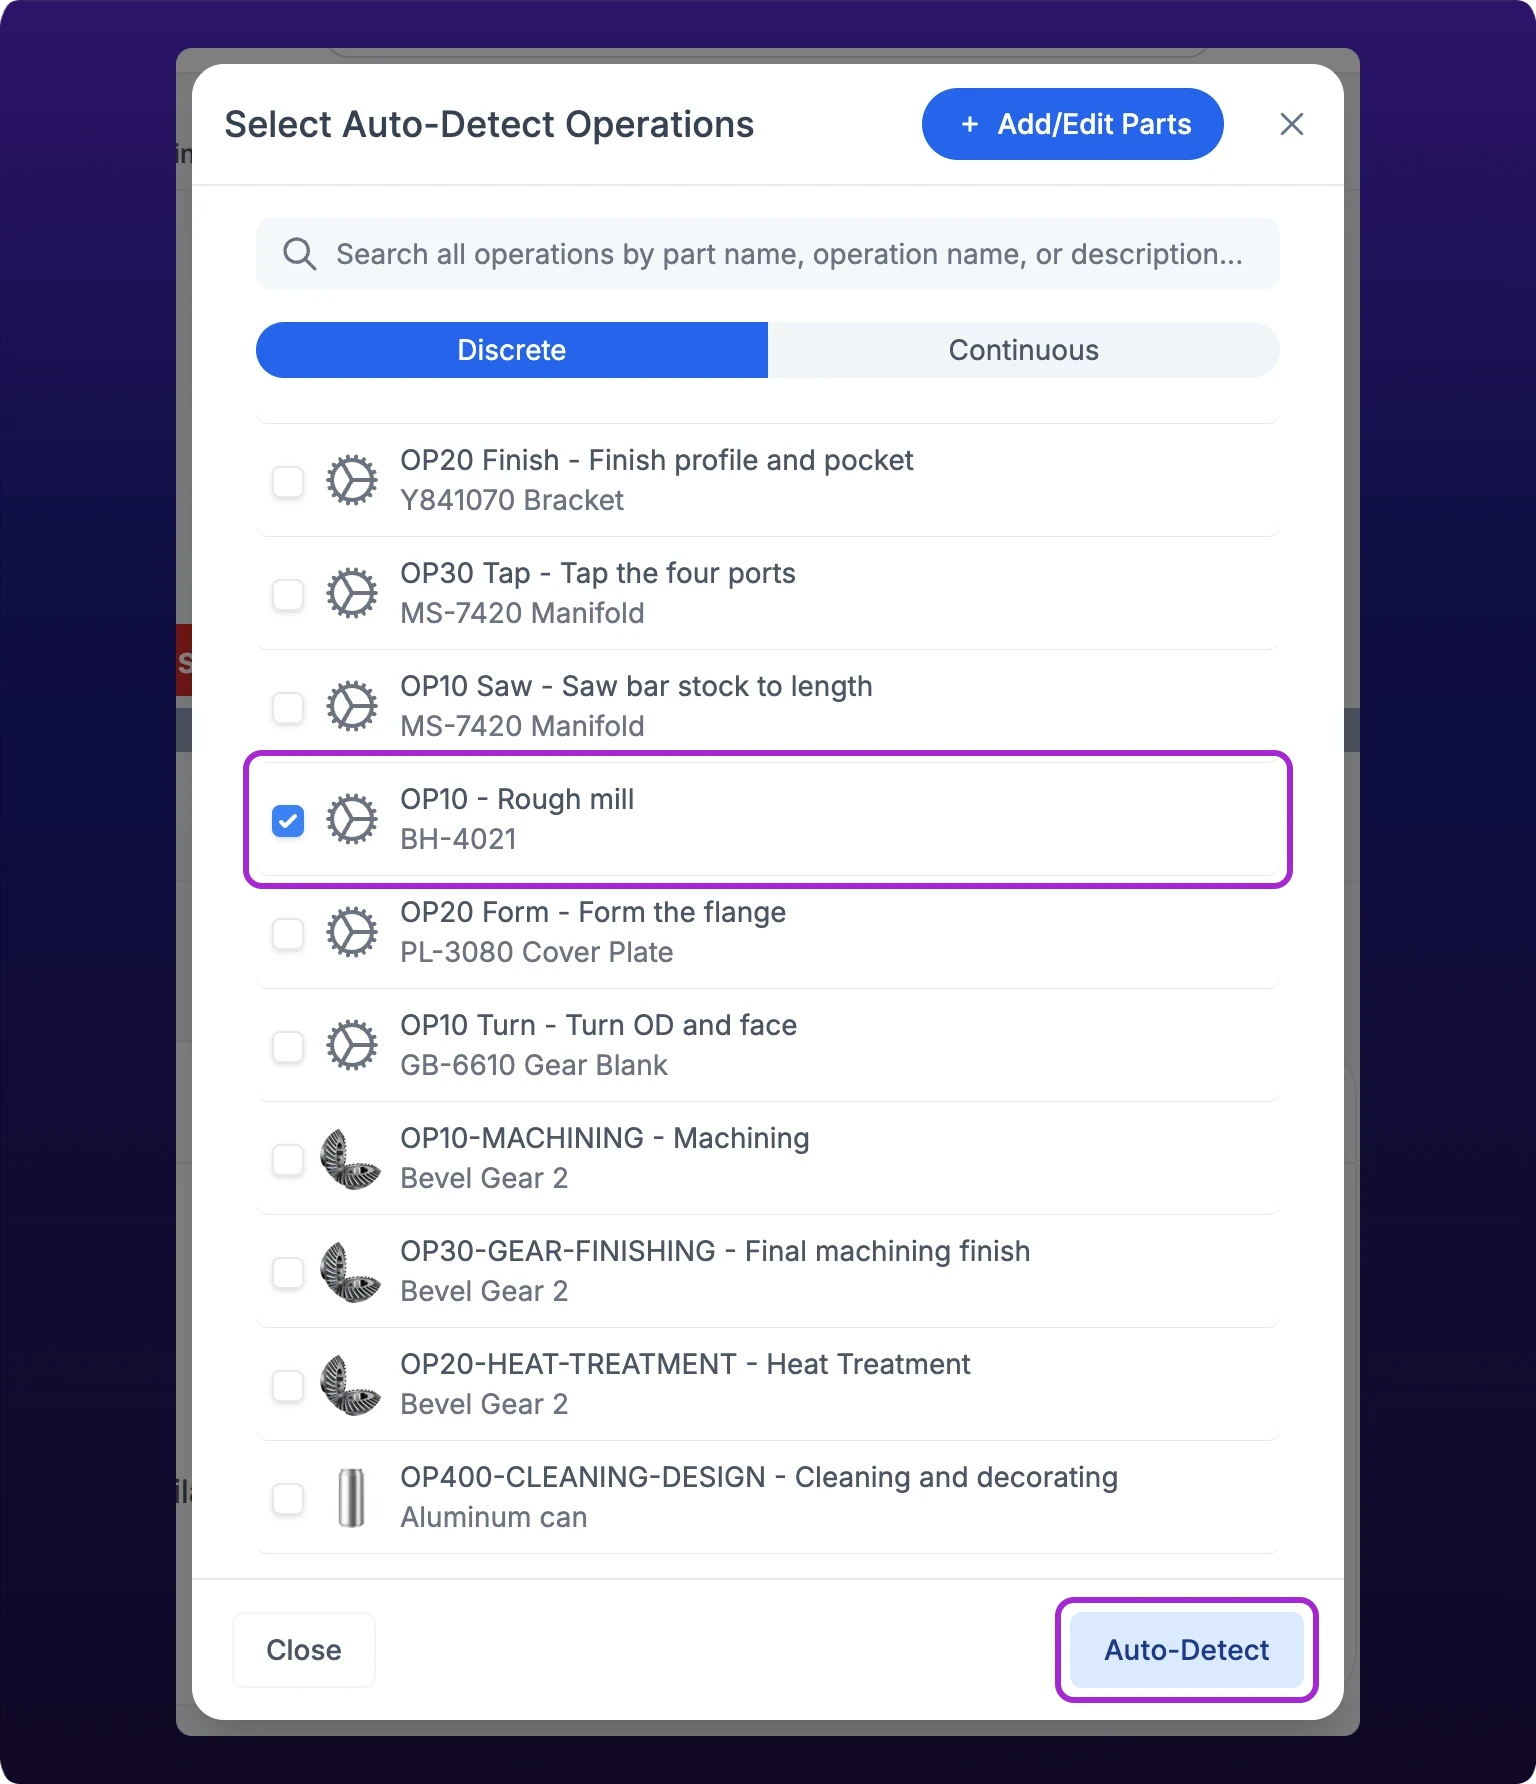 Assigning the operation to the machine that runs it.
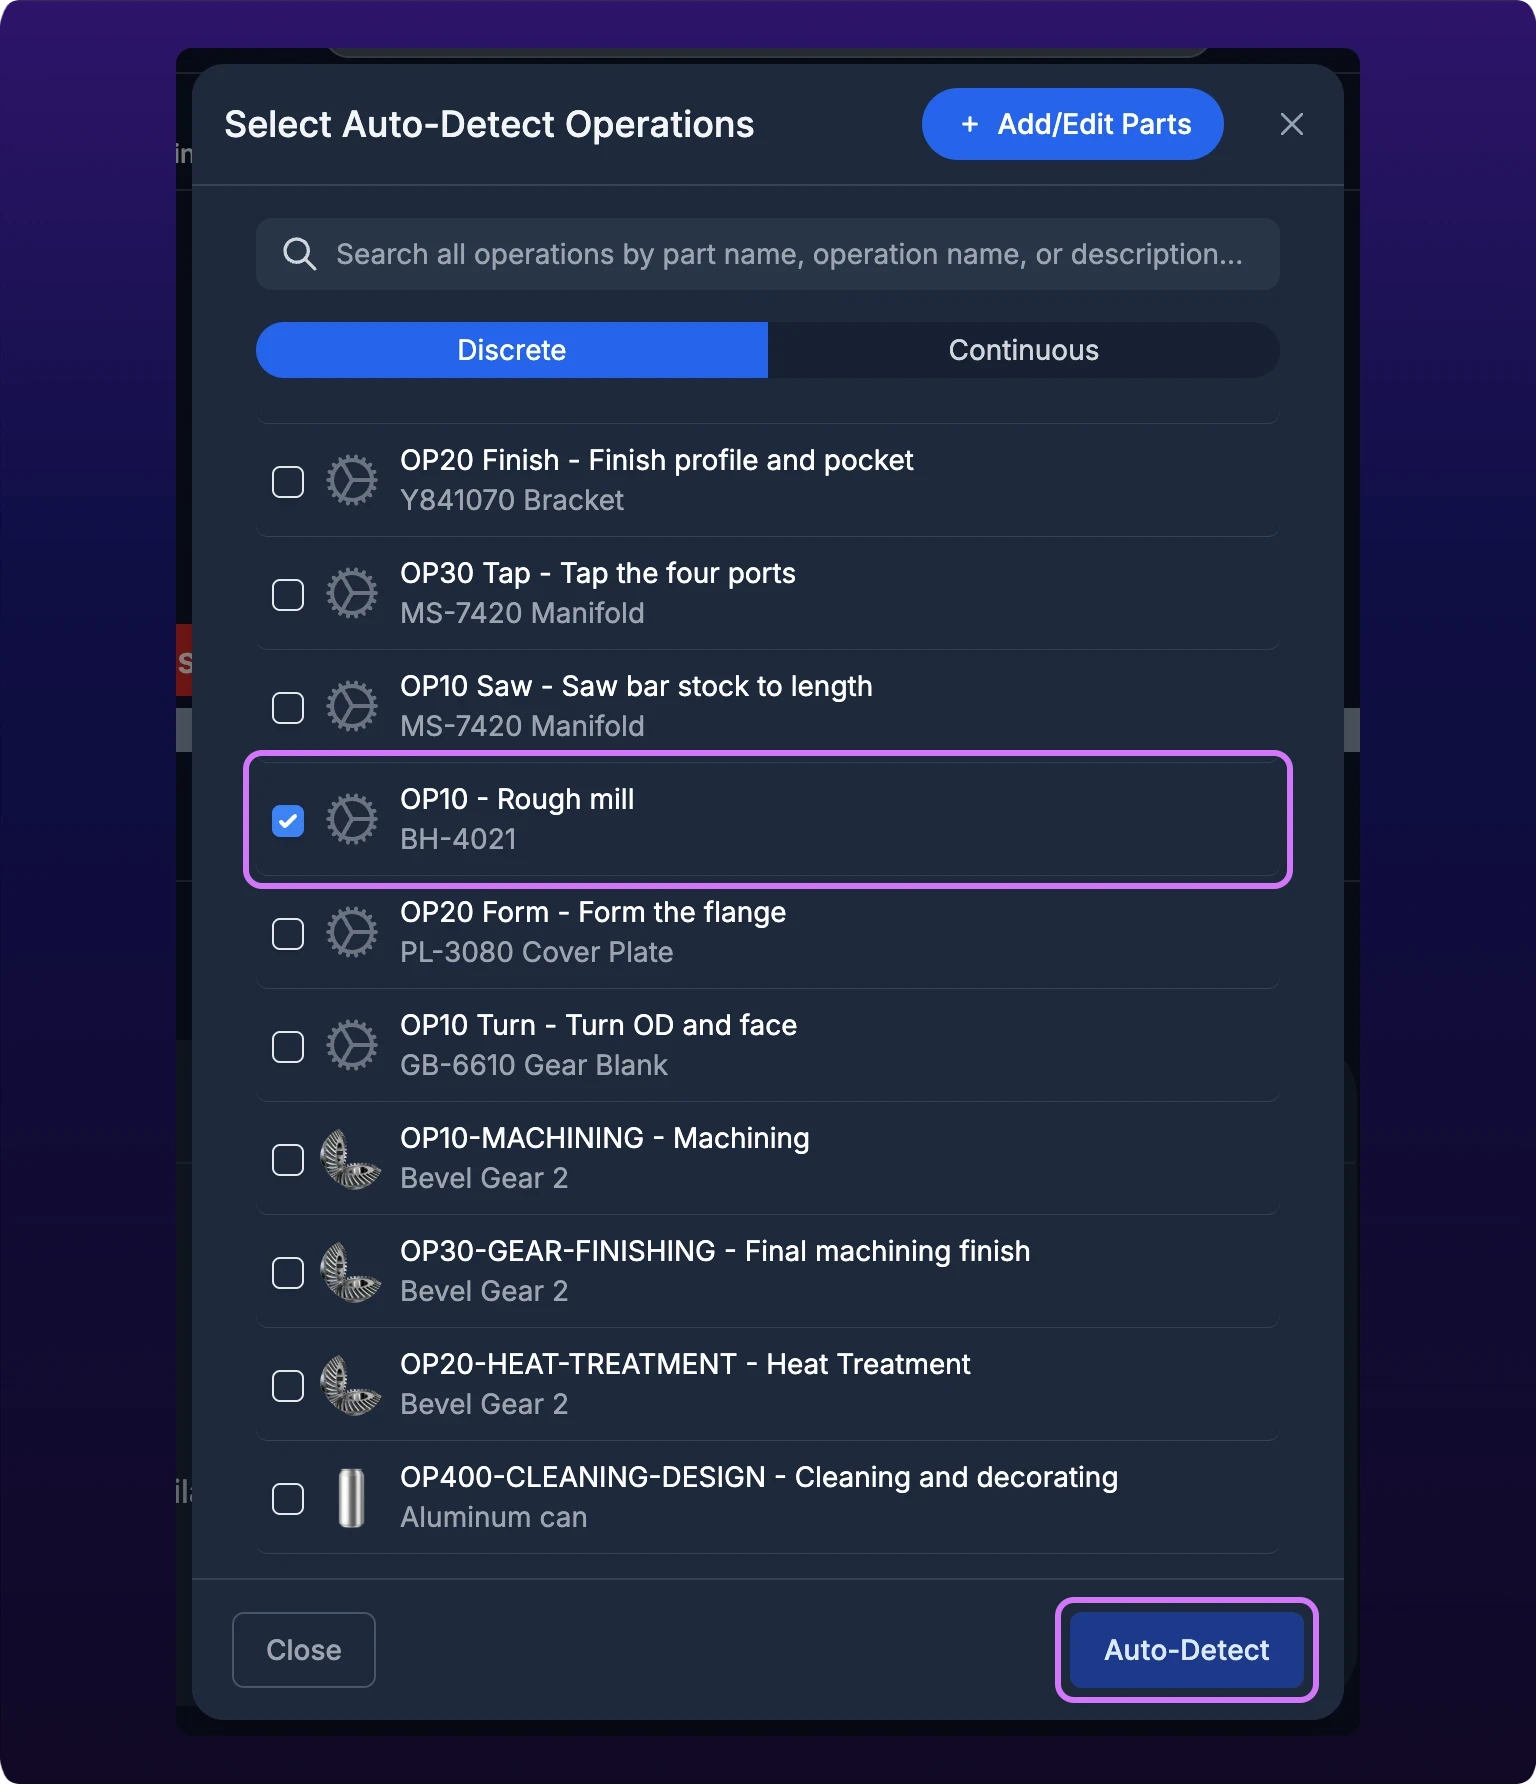
The tabs are exclusive. Selecting discrete operations clears any continuous operation the machine was set to, and the reverse, which the modal warns about above the list. Both entry points into this modal, and what to do when you have no measured cycle time at all, are on Detect operations automatically.
Run ten parts and check the count
- Run the machine normally and count ten parts by hand as they come off.
- Open Production, then Shift Production, at
/production?select=part. - Find the row for your operation. The Progress gauge holds the good parts counted so far.
- Compare the two numbers.
Validate with ten parts, not one shift. A count that is right ten times in a row is right. A shift total that happens to land near the truth hides an error that only surfaces when someone quotes a job from it.
Ten out of ten means you are done. Nine or eleven is close enough to accept and watch. Anything further out is a setup problem, not noise, and the accuracy bands that say which is which are on Validate your choice.
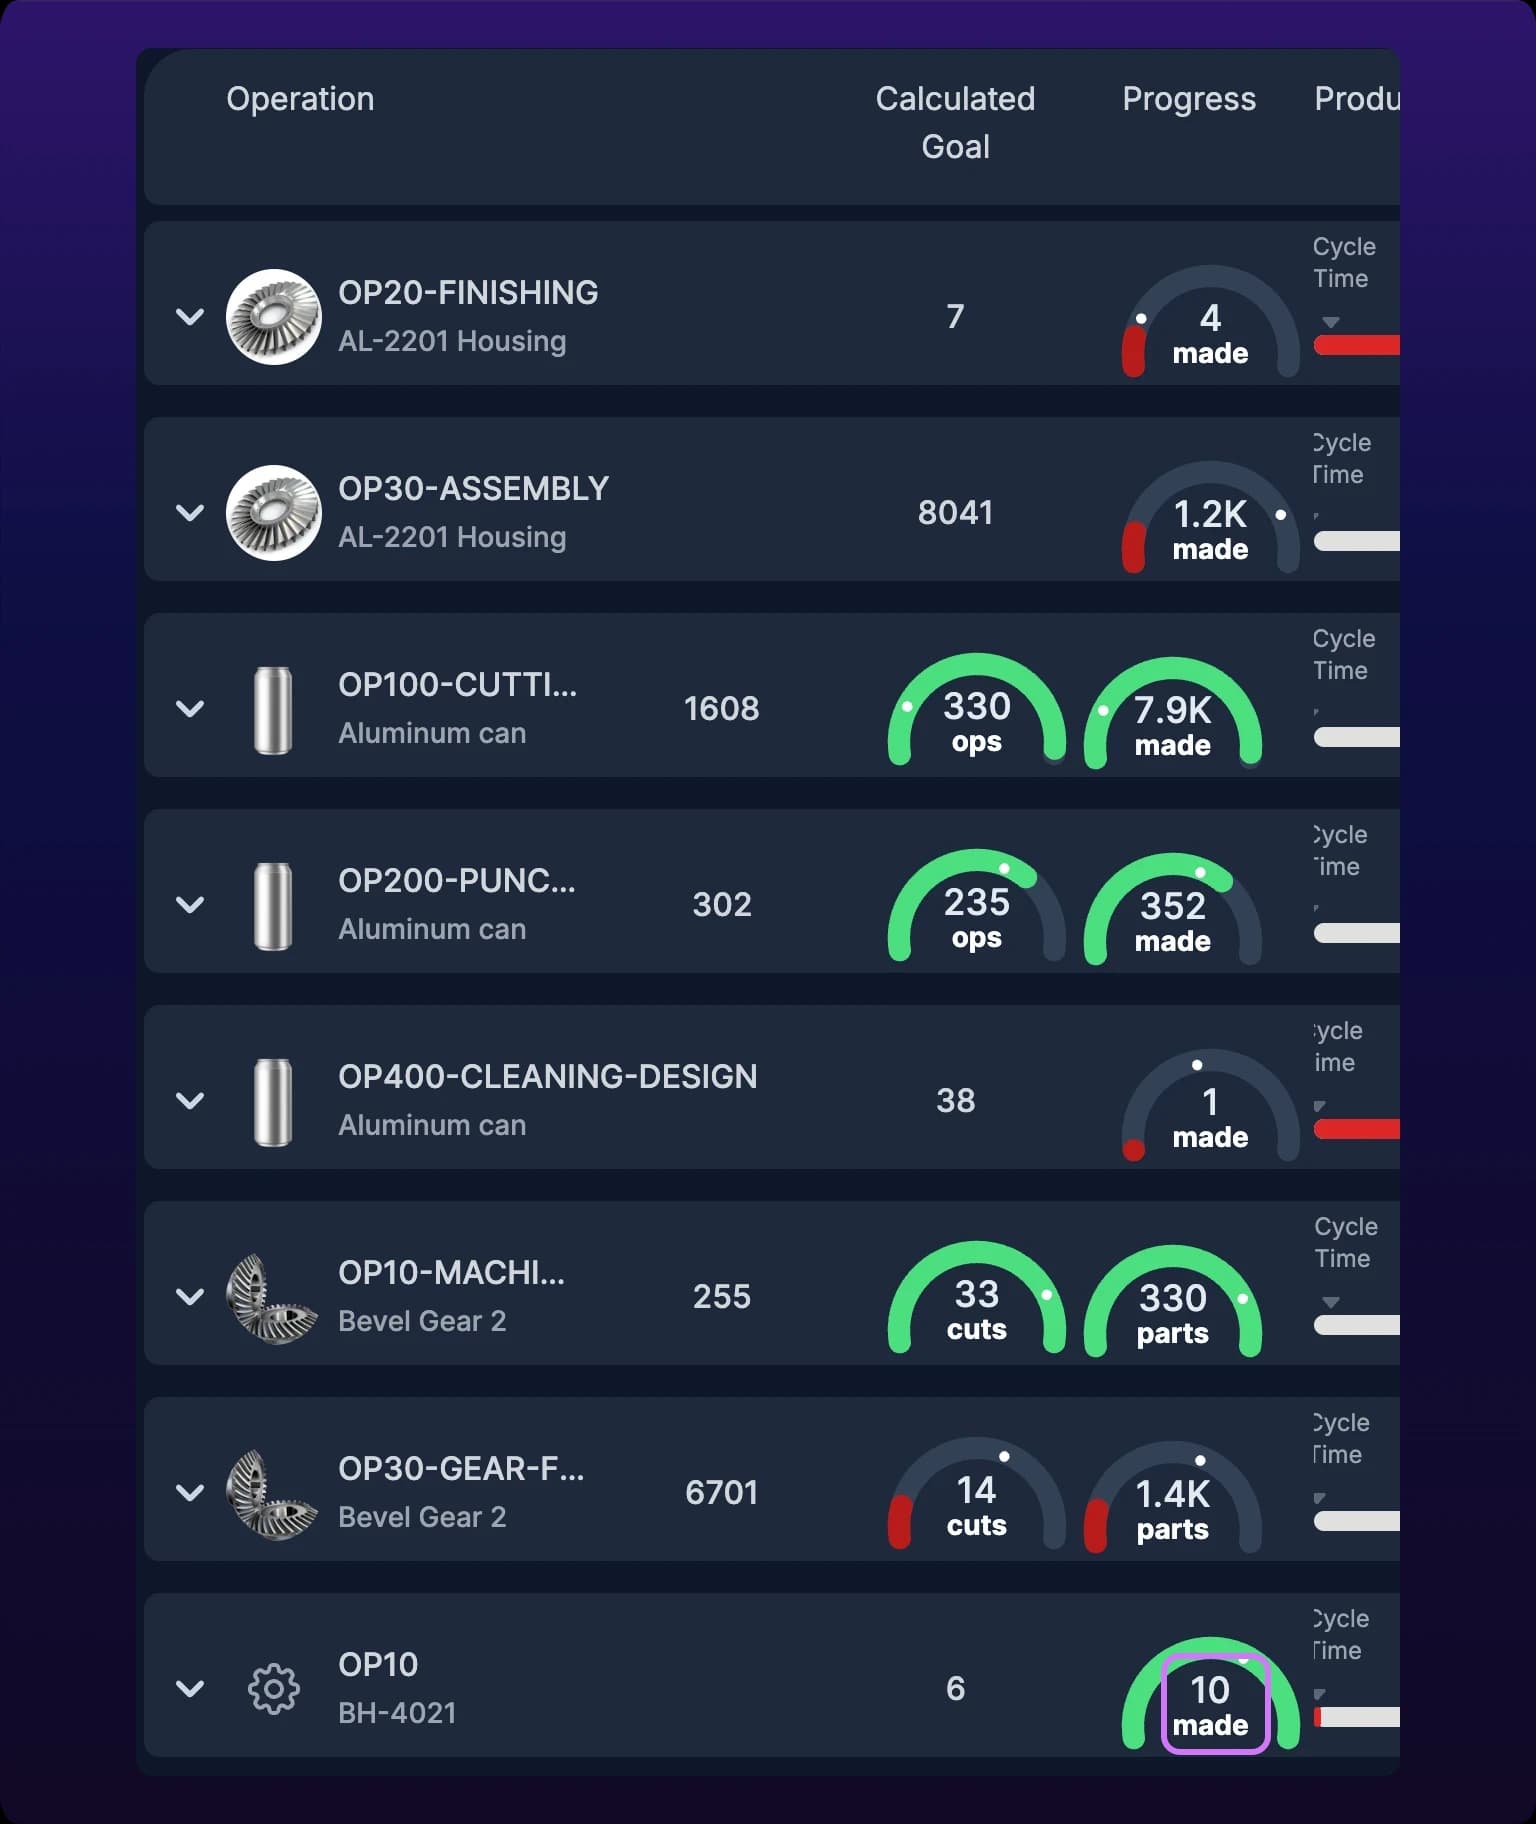
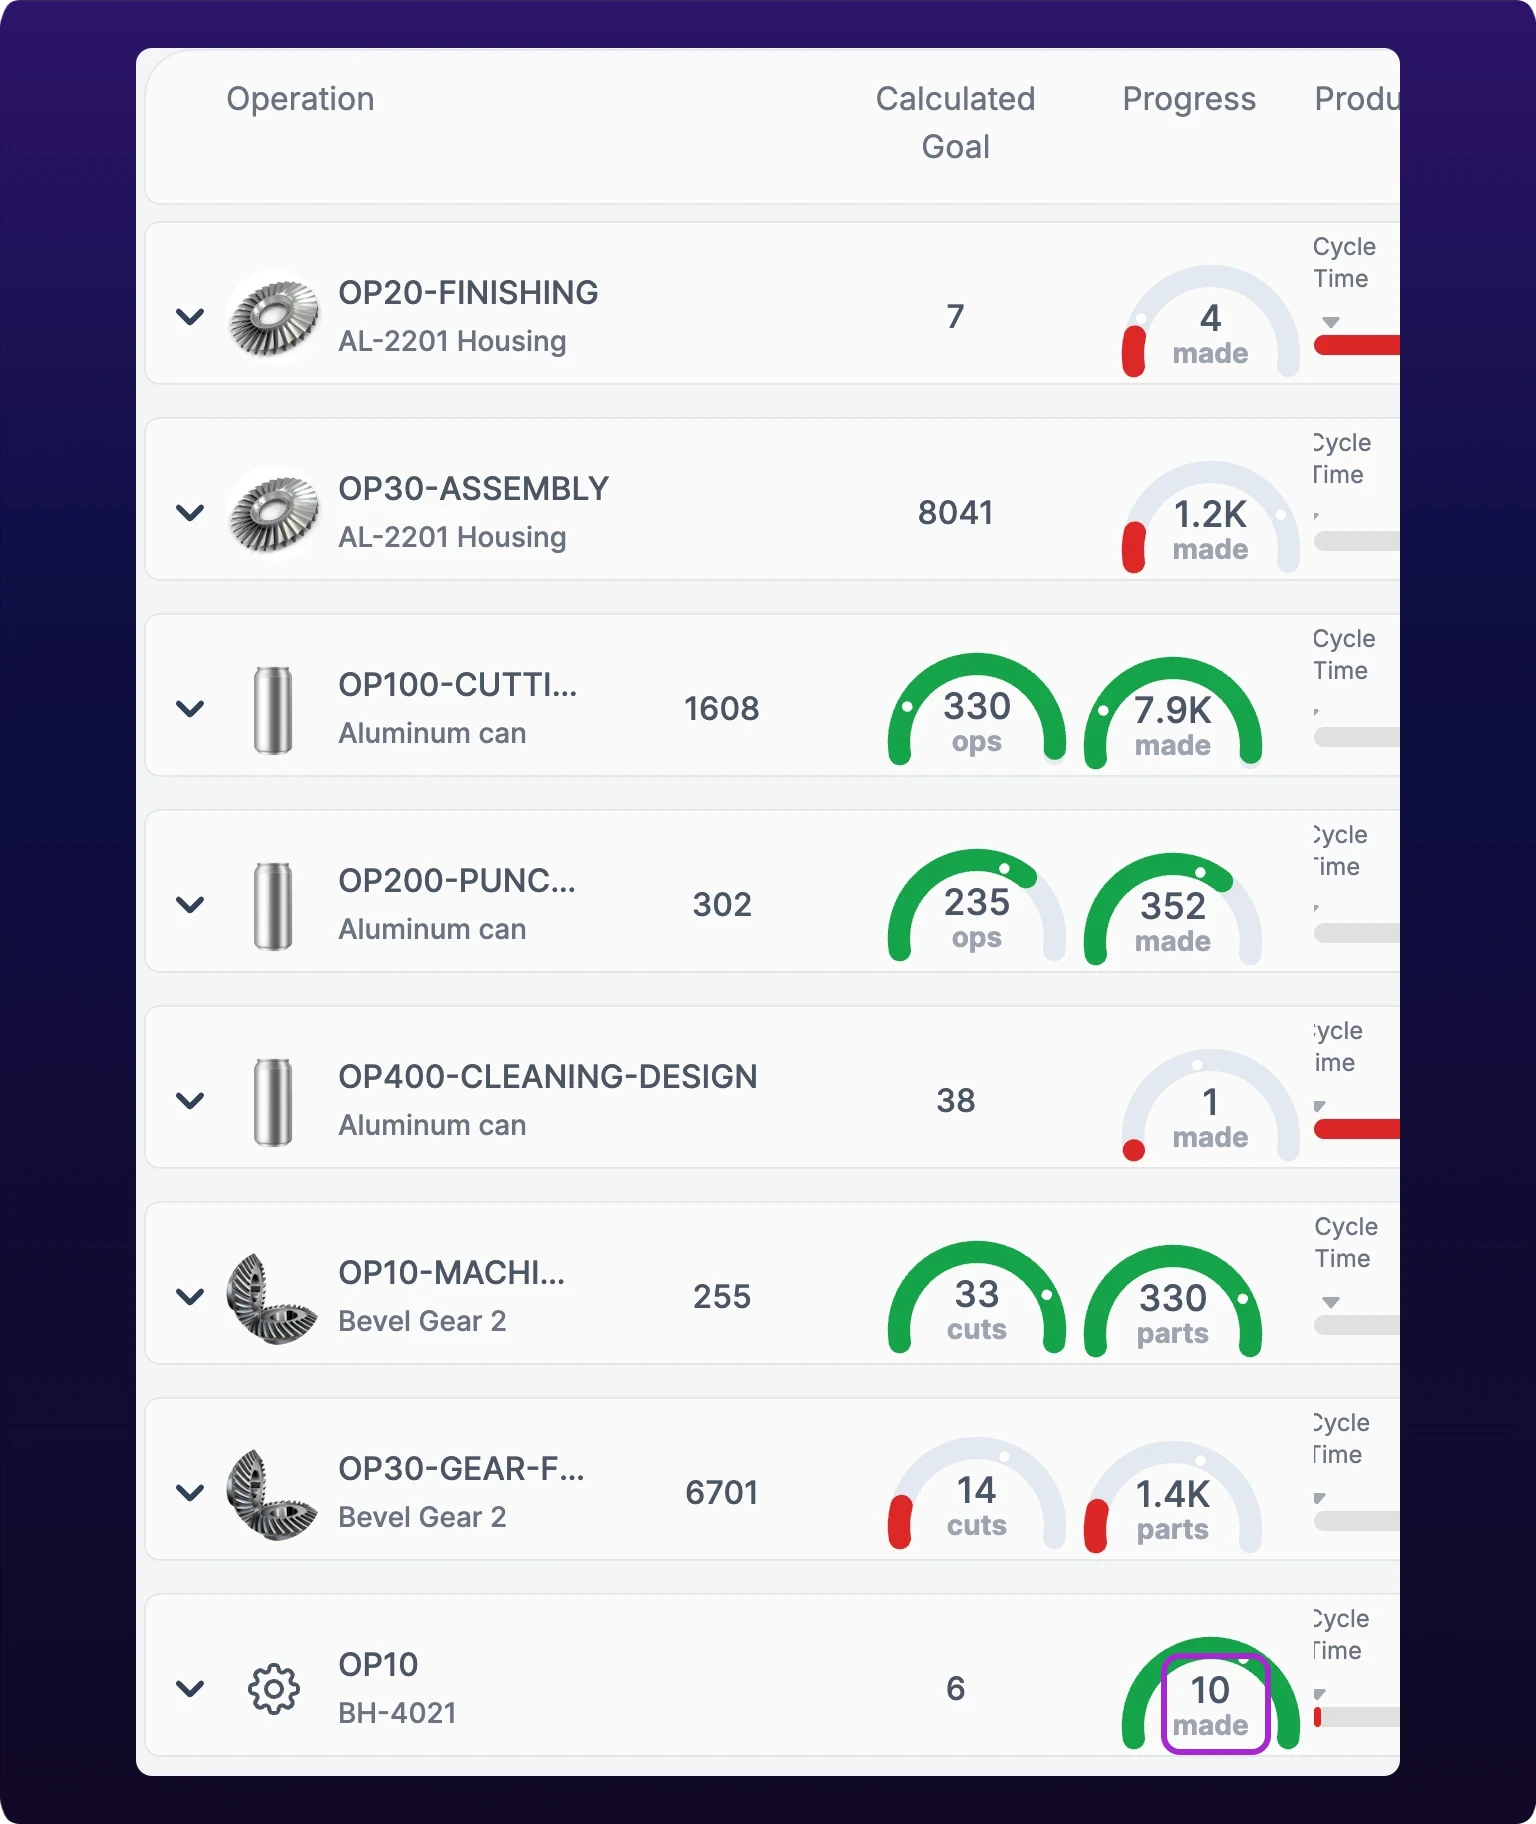 Ten parts run, ten counted. Validate with ten, not with a shift total.
If the count is wrong
Work through the table in order. Four of the six causes are settings you entered on this page, so rule those out before you go near the sensor.
| What you see | Likely cause | Fix |
|---|---|---|
| The row is not on the board at all | The operation is not assigned to the machine, or the machine has not run since you assigned it | Repeat step 5 and check the confirmation toast |
| The count stays at zero while the machine runs | The machine reads as stopped, so there is no running signal to divide or to read cycles from | Check the machine's state on the Assets page, then Set the running and stopping thresholds |
| The count is roughly double | Every part rings twice and both rings are counted | Move to an algorithm that merges, see Switch to a different algorithm |
| The count is roughly half | Two parts run close enough together to read as one cycle | Move to an algorithm that does not merge, same page |
| The count is close but drifts through the shift | The ideal cycle time is off, and Continuous Analysis divides by it | Re-time the cycle and redo step 4 |
| The count is right, the goal is not | The goal comes from the cycle time and the machine's OEE goal, not from the count | See Set OEE and utilization goals |
Anything still wrong after that is on Troubleshoot inaccurate part counts.
What to do next
Repeat steps 1 to 5 for the other parts this machine runs, assigning the discrete ones together in one pass. Nobody has to touch the dashboard at a changeover after that.
See also
From the blog
- Manual vs automatic OEE tracking in the first weekMachine-reported stops move lost minutes from performance into availability. OEE itself moves only if part counts, ideal cycle times or planned time were off.
- What manufacturing data to collect, and how to collect itCollect machine state, part counts, stop reasons and scrap first. See what sensors, controllers and operators each capture, and what to ask a vendor.
Production covers two halves, set up separately and answering different questions. Tracking turns a machine's signal into part counts and is available to every customer: it needs a part, an operation, a detection algorithm and an ideal cycle time, and it produces the Shift Production and Historical boards. Scheduling adds jobs, tasks, sessions, the scheduler board, the Work Queue, ERP import and cost insights, and needs the Scheduling Engine module. Parts and operations are a hard prerequisite for scheduling, because a task is one operation on one machine.
The Parts List at /production?select=parts_list holds every part your plant makes and the operations that make it. A part carries a name, a picture and files; an operation carries the step number, the unit, the quantity per cycle, the detection algorithm and the ideal cycle time, and it is the thing every count, goal and job actually hangs off. Add Part creates a part named New Part with no dialog, and every field after that is edited in place on the row and saved when you leave the cell.